Do you want to enhance the appearance of your 3D prints but don’t know how to go about it? At Imprimy, we are here to guide you through the process of perfecting your 3D prints.

What imperfections can arise from 3D printing?
The various materials used in 3D printing can produce more or less visible imperfections that need correction.
Types of 3D Printing and Common Materials
Different 3D printing techniques use various materials and methods.
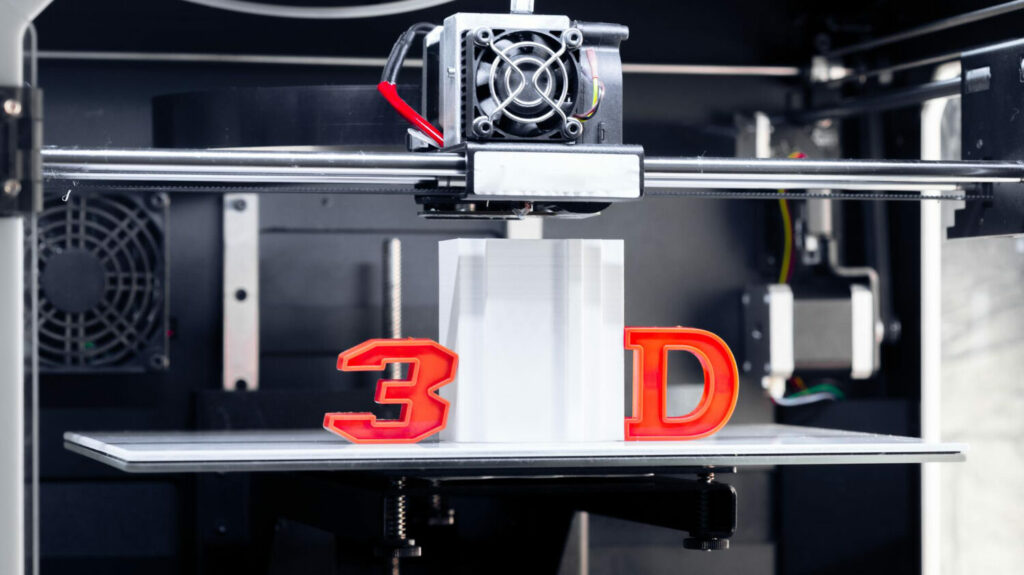
- FDM Printing: This method, the most widely used, involves depositing melted thermoplastic filaments like PLA, ABS, and PETG layer by layer to create the final object.
- Stereolithography (SLA): This technique uses liquid photopolymer resin hardened by laser or UV light, offering high precision and fine details.
- Selective Laser Sintering (SLS): SLS employs lasers to fuse polymer powders like nylon or metal powders, creating robust and complex objects without additional supports.
Each method has pros and cons, often necessitating finishing touches to turn raw prints into polished, display-ready products.
Common Imperfections in 3D Printing
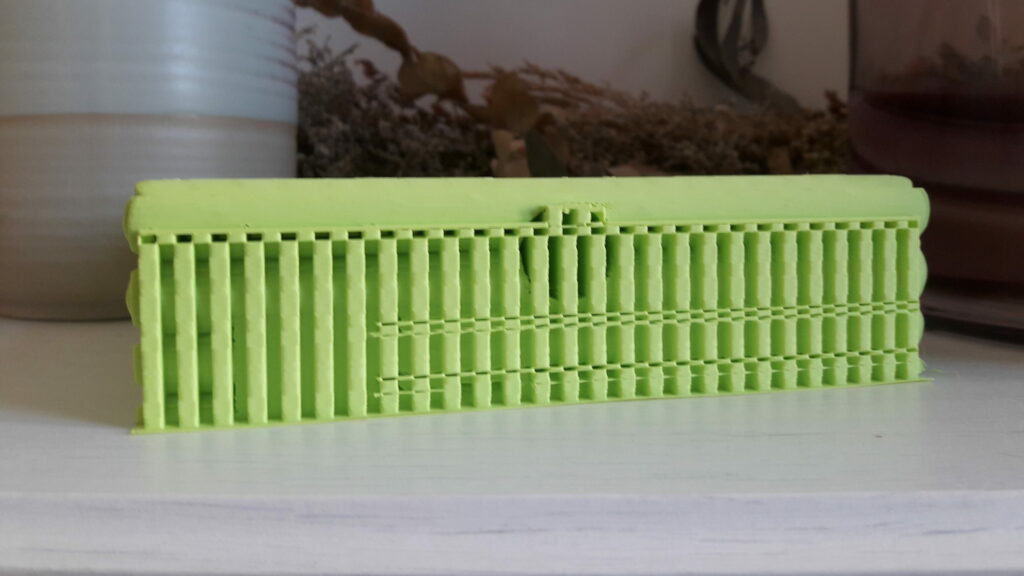
- Layer Lines: Caused by the stacking of layers, these create a rough surface.
- Strings and Blobs: Result from molten filament stretching or extruder movements.
- Support Marks: Residues from supports used during printing may leave unwanted traces.
- Uneven Surfaces: May occur due to incorrect print settings, low-quality filament, or equipment wear.
Post-processing is usually required to address these issues, enhancing the look and functionality of your 3D prints.
Tools and Materials for 3D Print Finishing
Basic Tools
- Sandpaper: Use varying grits to smooth surfaces.
- Precision Files and Nail Files: Ideal for detailed or hard-to-reach areas.
- Modeling Knife: Essential for removing supports and blobs with precision.
These simple tools make the post-processing phase more manageable.
Advanced Tools
- Rotary Tools (e.g., Dremel): Allow for precise sanding and cutting on complex details.
- Airbrushes: Enable even, professional-grade paint application.
- Metal Brushes: Useful for polishing metallic or composite materials.
While requiring more investment and skill, these tools deliver high-quality, professional finishes.
Complementary Materials
- Abrasive Papers: Different grits for removing lines and smoothing.
- Fillers and Smoothing Putty: Used to fix flaws and prepare surfaces.
- Primers: Ensure paint adheres evenly.
- Paints and Varnishes: Add vibrant colors and protect surfaces.
- Solvents: Like acetone for smoothing ABS prints.
- Special Adhesives: For assembling or repairing plastic parts.
Basic Finishing Techniques
Sanding
Sanding removes visible flaws and smoothens surfaces.
- Start with coarse grit sandpaper (100-200) for prominent imperfections.
- Progress to medium grit (400-600) to refine the surface.
- Finish with fine grit (800-1000 or higher) for a polished look.
Hand sanding is ideal for detailed areas, while power tools can expedite larger tasks.
Removing Supports and Blobs
Carefully remove supports using precision cutters or a modeling knife to avoid damaging the print. Sand affected areas with fine sandpaper for a clean finish.
Filling and Repairing
Fill gaps or fix cracks with putty or epoxy resin, then sand once dry. This creates a seamless surface ready for primer or paint.
Advanced Finishing Techniques
Chemical Smoothing
Perfect for ABS prints, acetone vapor smoothing dissolves surface layers, yielding a polished, uniform finish. Ensure proper ventilation and safety gear during this process.
Priming
Apply primers in thin, even layers to seal and smooth surfaces. Sand lightly between coats for a flawless painting base.
Painting and Decorating
Choose paints compatible with your print material, such as acrylics. Use airbrushes for gradients or intricate designs.
Maintaining and Protecting Finished Prints
Protecting Paints and Finishes
Seal painted surfaces with protective varnish (matte, satin, or glossy) to shield the paint and enhance durability.. Apply in clean environments and allow adequate curing time to avoid damage.
Regular Maintenance
Clean finished objects with a soft, dry cloth. Repair minor scratches with touch-up paint or varnish. For prolonged UV exposure, apply additional protective coatings.
Conclusion: Elevate Your 3D Prints with Finishing Touches
Investing time in 3D print finishing transforms raw prints into refined, professional-grade objects. From meticulous sanding to advanced chemical smoothing and detailed painting, each step enhances both aesthetics and functionality. Regular maintenance ensures your creations remain durable and visually appealing over time. By experimenting with these techniques, you can continually improve your 3D printing skills, producing exceptional results that stand out.
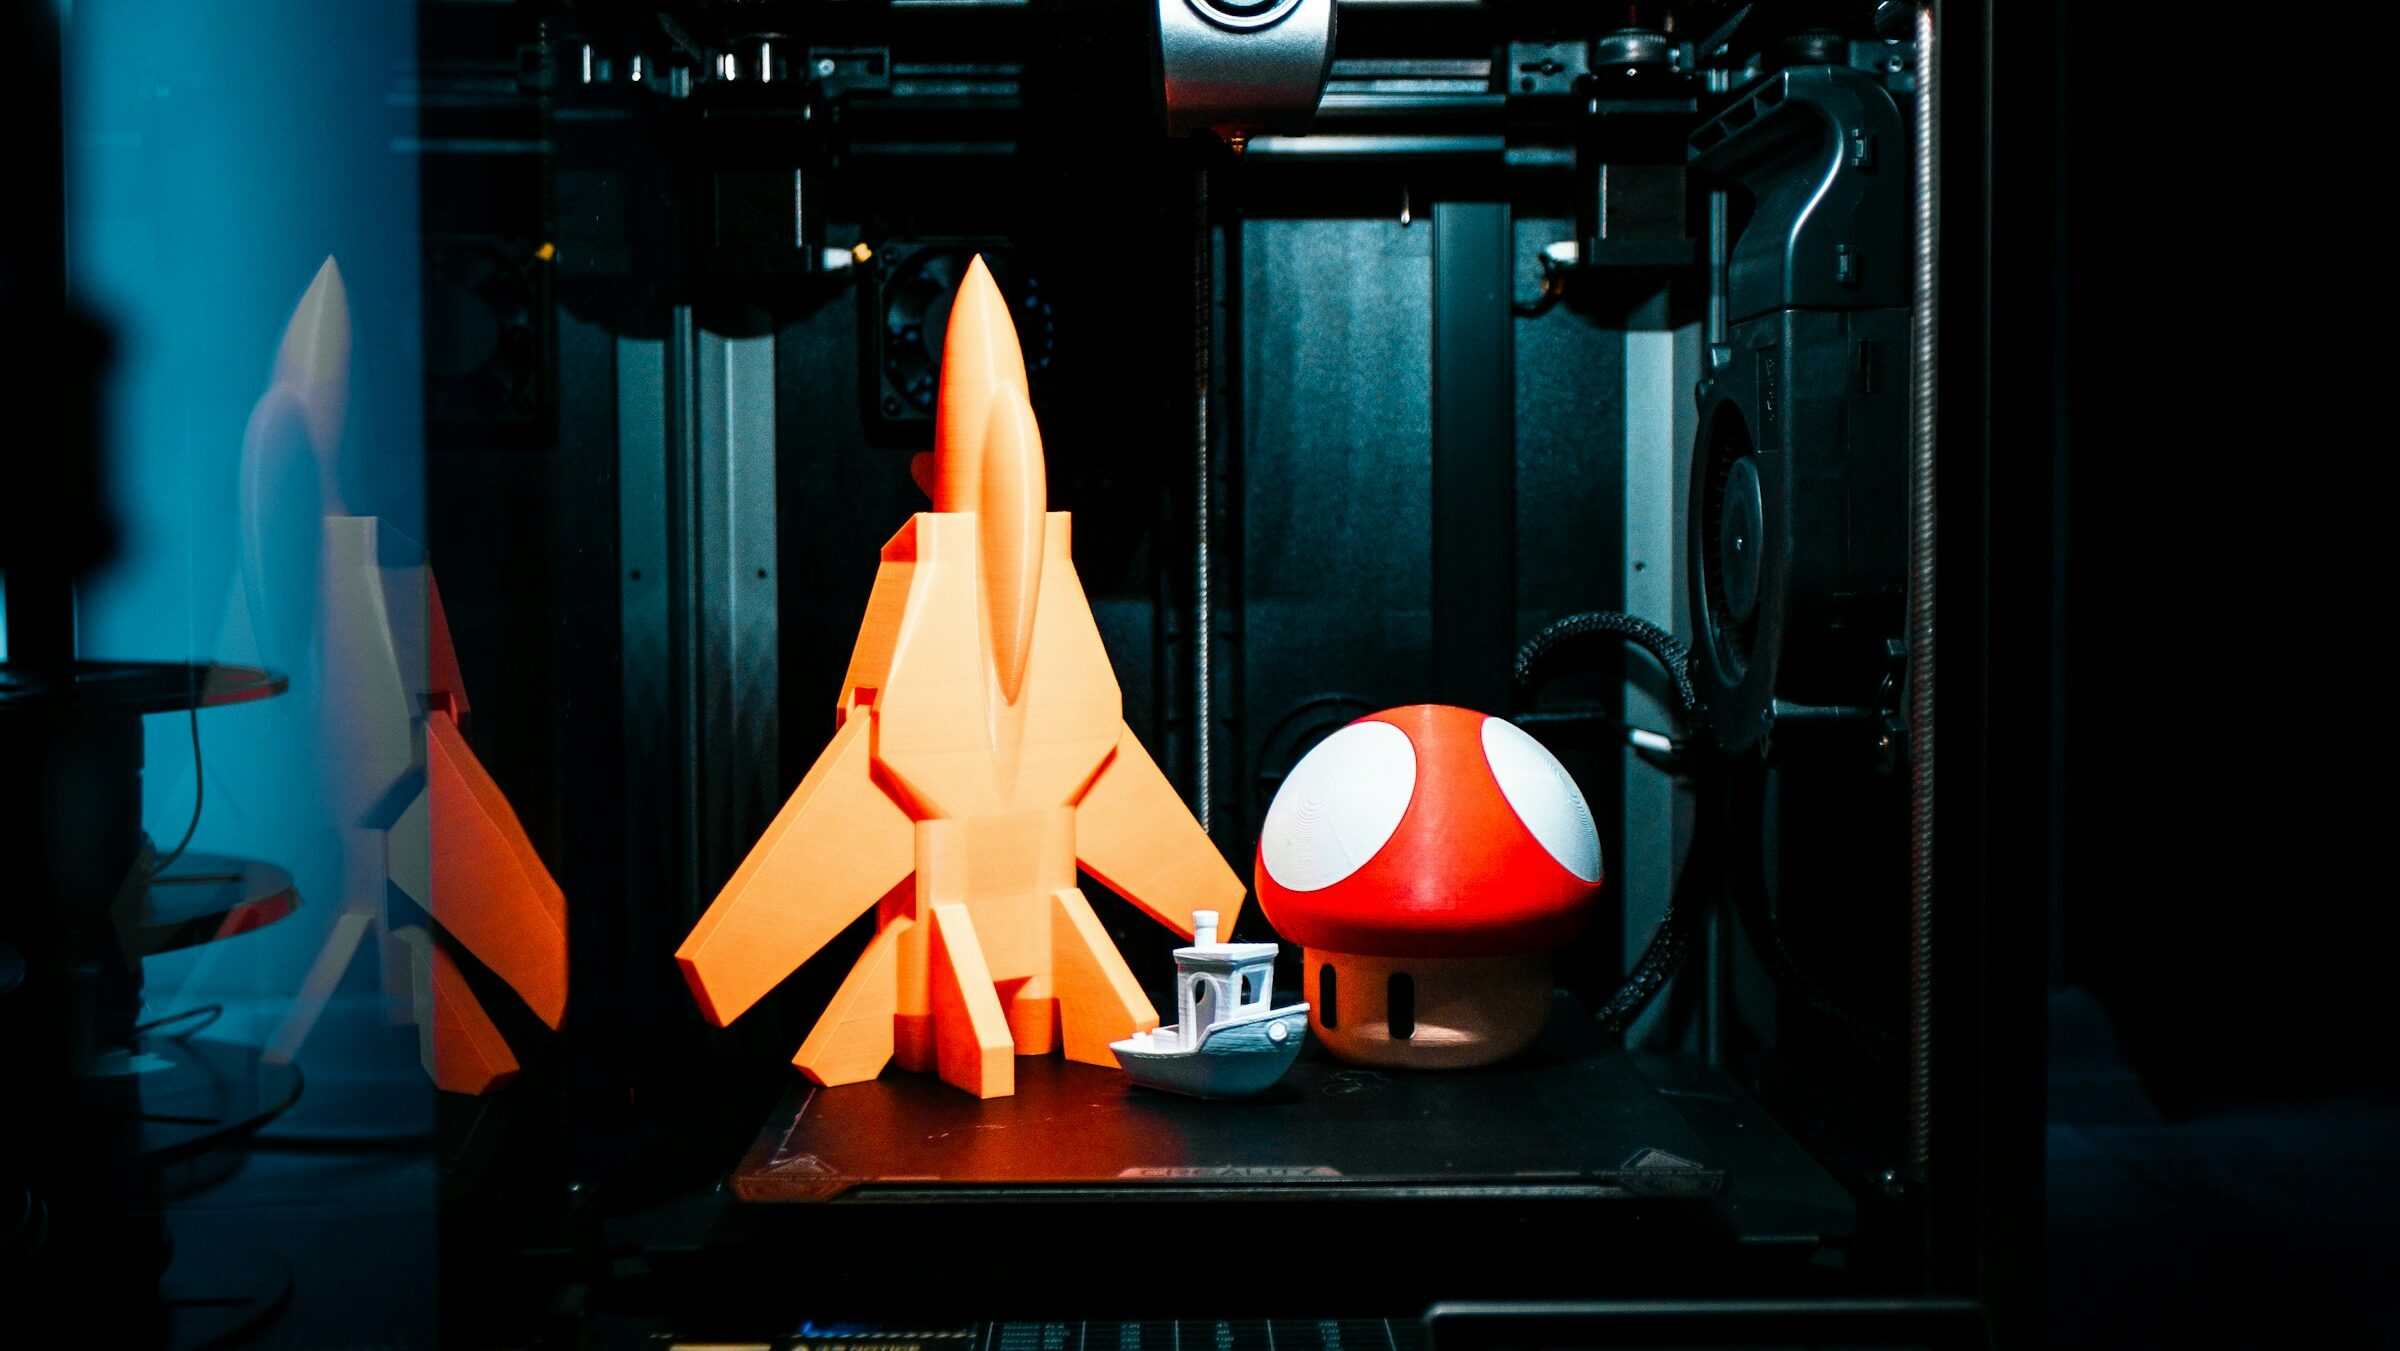
Photo by Efe Yağız Soysal from Unsplash
Check our other contents about the finishing touches
Color 3D printing
Would you like to learn more about color 3D printing and its various applications? At…
Large-format 3D printing
Are you wondering about large-format 3D printing and the possibilities it can offer? At Imprimy,…
Remove the supports from a 3D print
To learn more about 3D printing supports and how to remove them properly, Imprimy.com is…
The articles published on Imprimy.com are for informational purposes only. They are intended to provide general advice and information related to 3D printing. Imprimy.com cannot be held responsible for the results obtained or the consequences arising from the application of the shared information. We recommend always checking the specific instructions for your hardware and materials before use.


