Don’t know how to remove a 3D print that is stuck to your print bed? At Imprimy, we have the solutions to get you out of this situation.
Removing a 3D print requires careful techniques and the right tools to safely detach it from the build plate without causing damage.
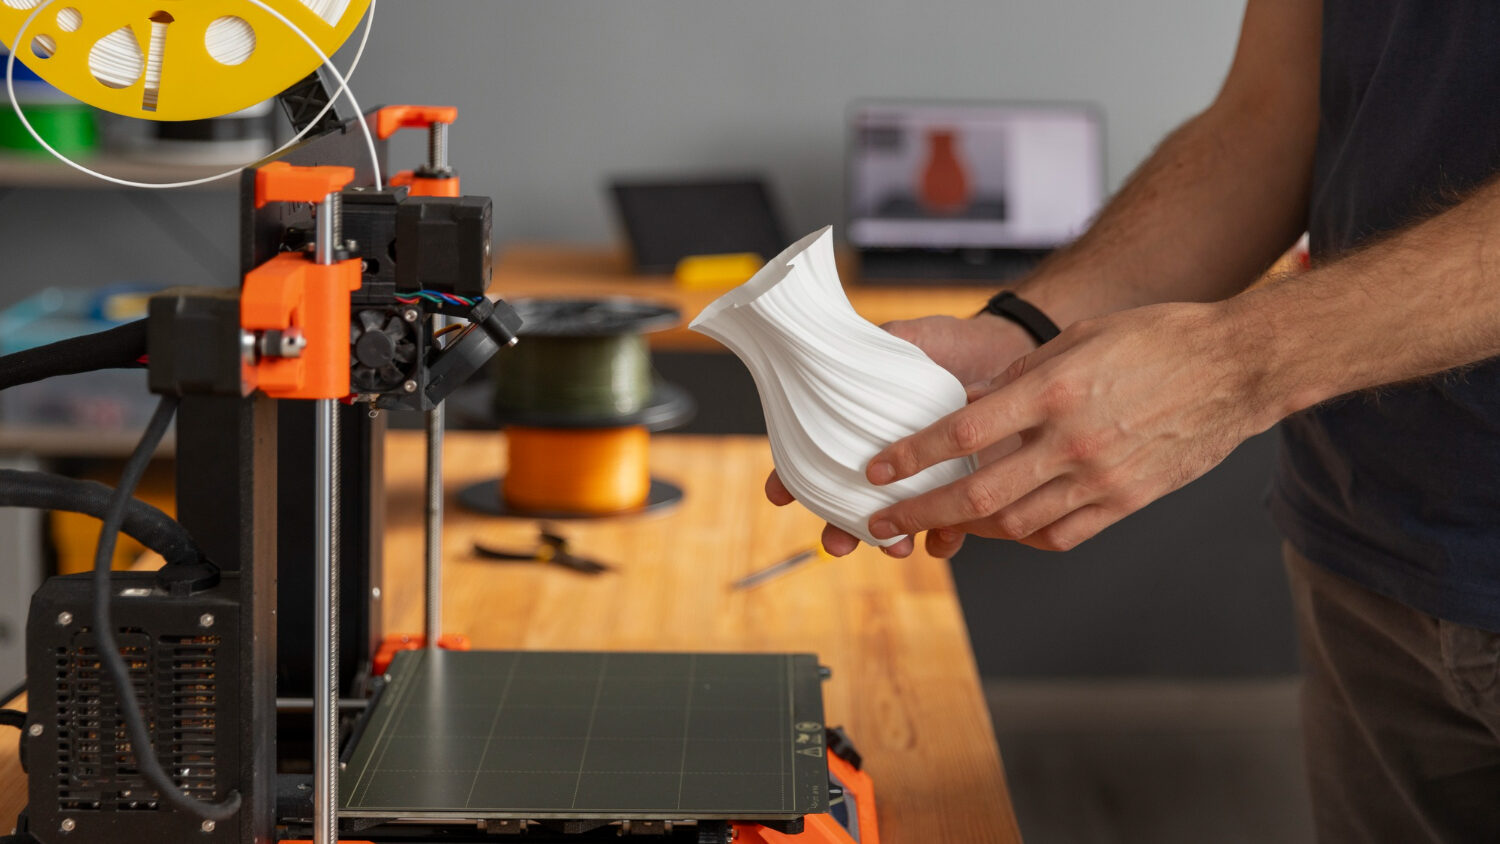
Removing a 3D Print: Why Does Your Print Stay Stuck?
Your 3D print stays stuck when excessive adhesion, high bed temperature, or improper first-layer settings cause the filament to bond too strongly to the build surface.
The Role of Adhesion in 3D Printing
Adhesion is crucial in 3D printing, as it ensures the first layer sticks firmly to the build plate, preventing warping or failed prints. Different surfaces and adhesives, like glue sticks or PEI sheets, can enhance this bond depending on the filament type.
Proper adhesion also makes removing prints easier and the object may break or may detach mid-print. Balancing adhesion is key for clean prints and smooth post-print removal.
Factors of Excessive Adhesion in Your 3D Prints
Excessive adhesion in 3D prints can be caused by a build plate that is too hot, causing the filament to fuse too strongly. Using overly sticky surfaces or adhesives, like certain tapes or glue, can also make prints hard to remove.
Printing the first layer slowly or close to the bed increases contact, intensifying adhesion. Adjusting these factors helps prevent damage when removing your prints.
Tools for Removing a 3D Print
Essential tools for removing a 3D print include a flexible spatula, scraper, tweezers, and pliers to safely lift and separate the print from the build plate.
The Essential Tools for Removing a 3D Print
Removing a 3D print safely often requires tools like a flexible spatula or scraper to gently lift the edges. Pliers or tweezers help with small or delicate parts without causing damage.
A heated bed can soften adhesion, making removal easier. Using the right tools minimizes breakage and keeps your prints intact.
Manual Methods for Removing a 3D Print
Manual removal of a 3D print starts by gently flexing the build plate if it’s removable, helping the print pop off naturally. Using a flat spatula or palette knife, carefully work under the edges to lift the print without snapping it.
Applying slight twisting or rocking motions can ease stubborn prints free. Patience and steady hands are key to avoiding damage.
Thermal Techniques for Removing a 3D Print
Thermal techniques use heat to loosen a 3D print from the build plate. Gently warming a heated bed or using a hairdryer can soften the filament, making it easier to lift. Controlled heat helps prevent cracking or breaking during removal.
How to Prevent Issues for Your Future Prints?
Prevent future print issues by optimizing bed temperature, first-layer settings, and adhesion methods, and by choosing the right build surface for your filament.
Adjusting the Adhesion Settings of Your 3D Prints
Adjusting adhesion settings can make print removal much easier without compromising quality. Lowering the first layer height or reducing bed temperature can prevent the filament from sticking too strongly.
Modifying skirt, brim, or raft settings also helps balance grip and ease of removal. Fine-tuning these parameters ensures clean prints and stress-free post-processing.
Choosing More Adhesive Print Surfaces
Choosing a more adhesive print surface can improve first-layer bonding and reduce warping. Surfaces like PEI sheets, BuildTak, or textured glass provide stronger grip for challenging filaments.
These options are especially useful for flexible or high-temperature materials that struggle to stick. Selecting the right surface ensures prints stay secure while still allowing safe removal.
A Few Tips for Easily Removing Your 3D Prints
To remove 3D prints easily, start by letting the bed cool completely if it’s heated, many prints contract slightly and release on their own. Gently flex removable build plates or use a thin spatula to lift edges without forcing them. Adjusting first-layer settings and using appropriate adhesives can prevent overly strong adhesion.
Conclusion: Removing a 3D Print
Removing a 3D print safely combines the right tools, proper adhesion and patient techniques. Understanding how heat, build surfaces, and settings affect adhesion makes the process smoother.
Manual and thermal methods, when used carefully, prevent damage to both the print and the printer. With practice, print removal becomes quick, easy, and stress-free.
Picture by Freepik.
The articles published on Imprimy.com are for informational purposes only. They are intended to provide general advice and information related to 3D printing. Imprimy.com cannot be held responsible for the results obtained or the consequences arising from the application of the shared information. We recommend always checking the specific instructions for your hardware and materials before use.
Our other contents about 3D printing tutorials:
The history of 3D printing
Would you like to know more about the history of 3D printing to discover how…
Rapid 3D Printing
Are you wondering about rapid 3D printing and its production capacity? At Imprimy, we are…
The layer height in 3D printing
Would you like to discover everything you need to know about layer height in 3D…

