Would you like to know how to launch a 3D print remotely? At Imprimy, we are here to explain everything to you.
What Are the Prerequisites for Launching a 3D Print Remotely?
The prerequisites for launching 3D prints remotely involve specialized hardware, dedicated software, and a stable and secure connection.
Necessary Hardware for Launching a 3D Print Remotely
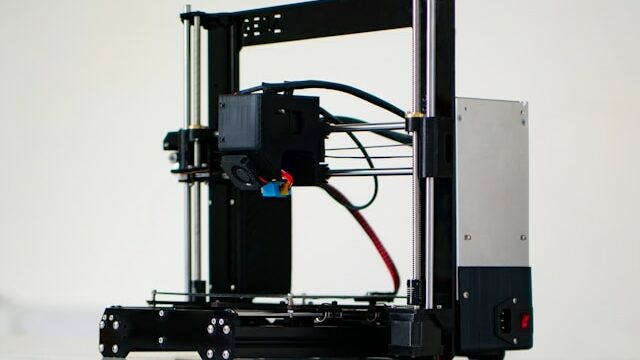
- 3D Printer with Remote Capabilities: Your printer must support Wi-Fi or Ethernet connectivity. Some printers, offer this natively, while others require modifications (e.g., adding Wi-Fi).
- Raspberry Pi or Computer: If your printer doesn’t support remote control, use a Raspberry Pi enabling remote access via a web interface.
- Stable Internet Connection: Ensure both the printer and your remote device have a reliable internet connection for smooth operation.
- Camera (Optional): A camera can provide live monitoring of your print.
- Power Supply: A stable power source is essential to prevent interruptions. A backup power supply is recommended for longer prints.
- Cloud Storage (Optional): Use cloud storage for easy access to print files (STL or G-code) when sending them to the printer remotely.
Software Required for Launching a 3D Print Remotely
To launch a 3D print remotely, you’ll need software suited for each step of the process:
- Remote Control Platforms: For remote management, some platforms or the printer’s native software allow you to control, monitor, and adjust settings on your printer remotely in real-time.
- 3D Modeling Software: This allows you to design or modify your models.
- Slicer Software: Once your model is ready, you’ll need slicer software to convert the model into G-code, which is the machine-readable set of instructions for your printer.
Elements Related to Connection and Security for Remote 3D Printing
- Stable Internet Connection: A reliable Wi-Fi or Ethernet connection is essential for uninterrupted communication between your 3D printer and remote device. Both the printer and the device used for remote access must have a strong internet connection.
- Firewall and VPN: To protect your 3D printer from unauthorized access, use a firewall and consider setting up a VPN (Virtual Private Network). This ensures encrypted communication and adds an extra layer of security.
- Secure Login and Authentication: For remote platforms like OctoPrint or PrusaConnect, enable secure login methods such as two-factor authentication (2FA) to prevent unauthorized access.
- Firmware and Software Updates: Regularly update the printer’s firmware and remote control software to patch security vulnerabilities and improve connectivity.
- Cloud-Based Security: If you’re using cloud services for file storage or remote printing, ensure the platform uses secure protocols (e.g., HTTPS) and offers encryption for data storage.
By addressing these connection and security factors, you can safely and efficiently manage remote 3D prints.
How to Set Up Your System to Launch a 3D Print Remotely
To perform a remote 3D print, you need to have the necessary tools, conduct preliminary tests, and set up specific alerts.
Installing Software and Tools to Launch a Remote 3D Print
- Install 3D Modeling Software: Choose software like Blender, Tinkercad, or Fusion 360 to create or modify your 3D model.
- Install Slicing Software: Use slicer software such as Cura, PrusaSlicer, or Simplify3D to convert your 3D model (STL) into a G-code file that your printer can read.
- Set Up Remote Control Software: OctoPrint: Install OctoPrint on a Raspberry Pi or compatible device, which will act as an intermediary to control the printer via Wi-Fi or Ethernet.
- PrusaConnect: For Prusa printers, set up PrusaConnect for cloud-based control and remote monitoring.
- Native Printer Software: Some printers, like Creality, come with built-in software for remote printing via Wi-Fi or cloud services.
- Install Communication Tools: Ensure your 3D printer and remote device (computer, smartphone, or tablet) are connected to the same network. Use cloud storage (e.g., Google Drive or Dropbox) to store and send your files to the printer remotely.
- Security Setup: Enable two-factor authentication (2FA) for your remote control platform to ensure secure access. Set up a VPN or firewall to secure communication between the printer and your remote system.
- Monitor and Test: Test the system by running a short print and ensure that remote access and control are functioning properly.
Once the software and tools are installed and configured, you can easily start and manage your 3D prints from anywhere.
Calibration and Preliminary Tests for Remote 3D Printing
Calibration and preliminary tests are crucial to ensuring successful 3D prints when operating remotely. Begin by calibrating your 3D printer locally:
- Level the Bed: Adjust the print bed to ensure it is perfectly level. This can be done manually or with automatic bed leveling if your printer supports it.
- Check Axis Accuracy: Verify the precision of the printer’s axes using dedicated tools or test files available online. This ensures that movements are accurate and consistent.
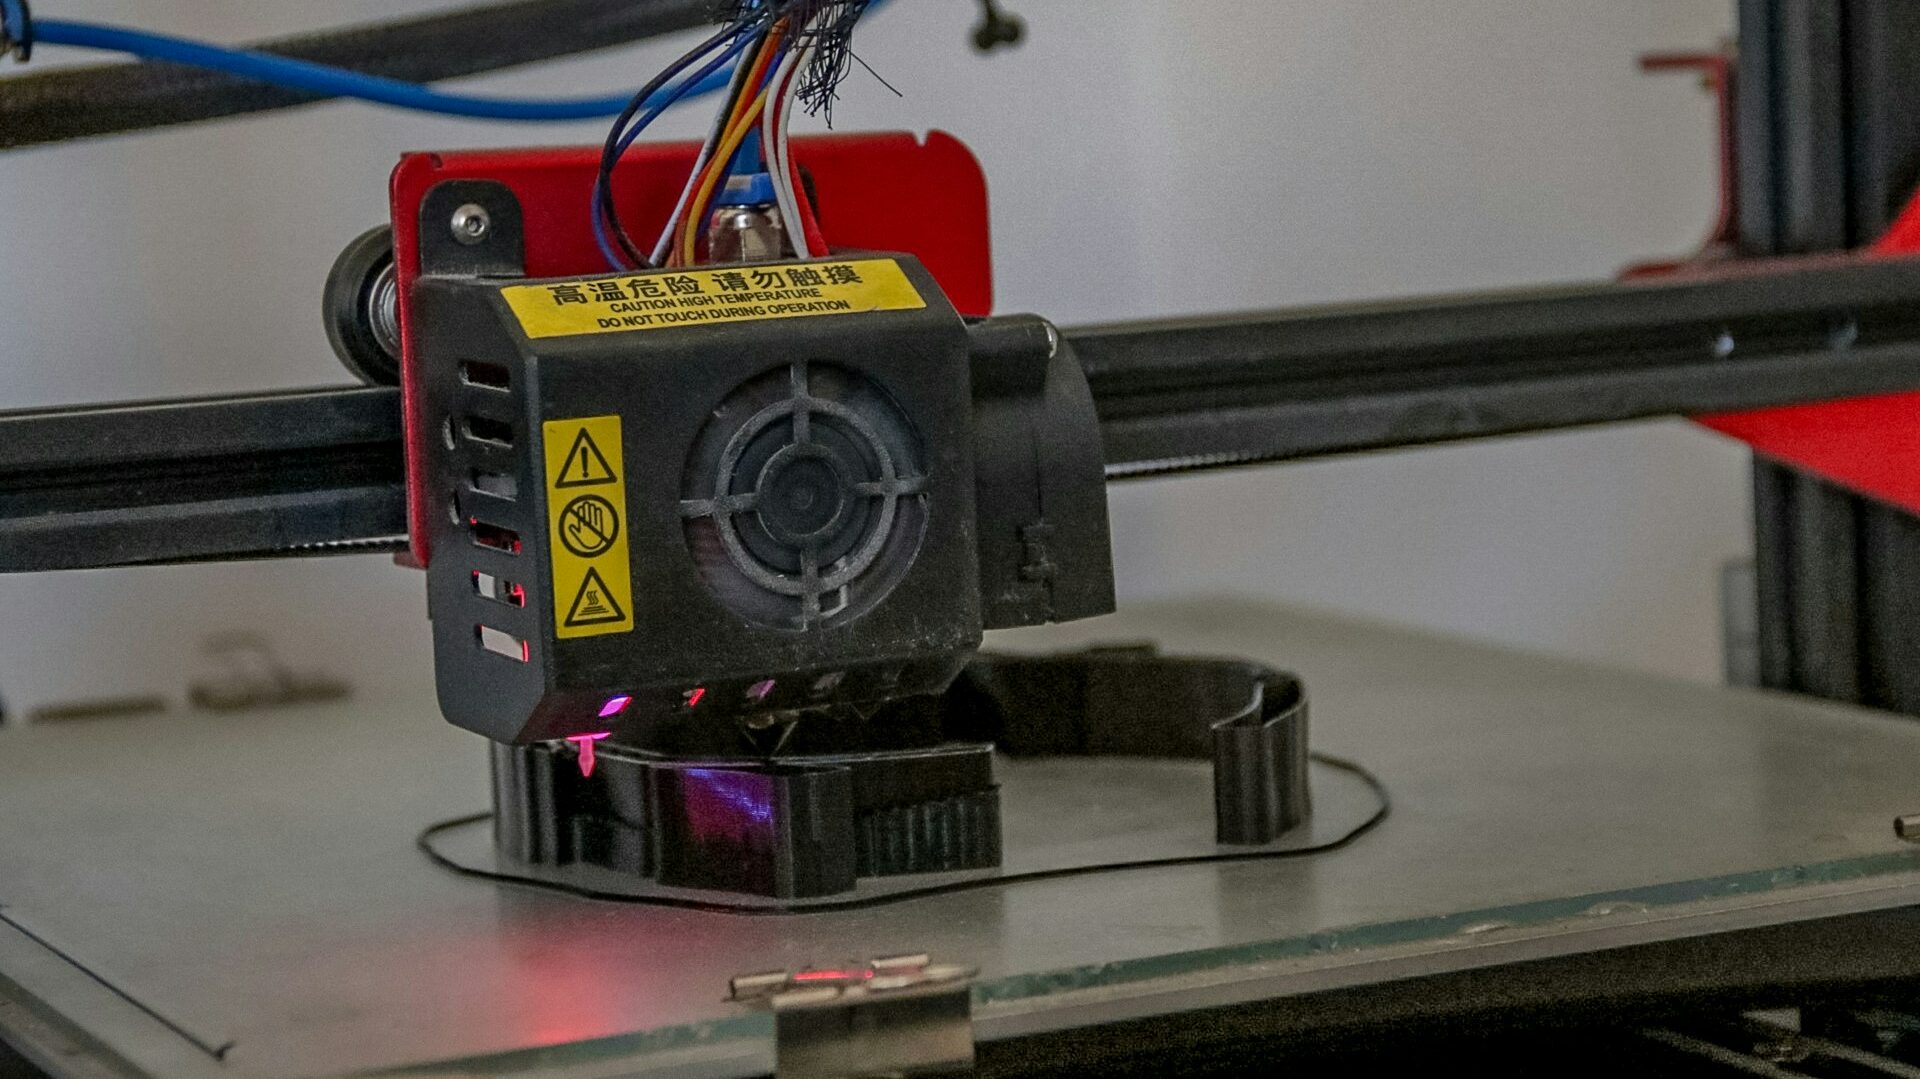
- Extruder Functionality: Confirm that the extruder is working properly, and that filament is feeding smoothly. Check the temperature settings for the hotend and heated bed, making sure they align with the filament’s specifications.
- Test Prints: Perform a calibration print, such as a calibration cube, to verify bed adhesion and dimensional accuracy. This step helps check if the printer is working as expected.
- Simulate Remote Printing: Once everything is calibrated, simulate a remote print using your remote control software. Monitor and adjust the parameters in real-time to spot any potential issues before regular use.
By completing these steps, you ensure that your 3D printer is ready for remote operation, with optimal settings for reliable and high-quality prints.
Setting Up Notifications and Alerts for Remote 3D Printing
Configuring notifications and alerts is crucial for monitoring your 3D prints remotely and responding promptly to any issues. Use specialized software or native apps from connected printers to set up customized notifications. Here’s how to do it:
- Event-Based Alerts:
- Activate alerts for key events such as the start, end, or pause of a print. This ensures you stay informed of your print’s progress.
- Set up notifications for anomalies like abnormal temperatures, extrusion stoppages, or other issues that may affect print quality.
- Alert Delivery:
- Configure your notifications to be sent to your mobile devices or via email. This allows you to monitor your print in real-time, even when you’re not physically near the printer.
- Camera Integration:
- If you use a camera to monitor the printing process, integrate motion detection or periodic snapshots. This can help you identify problems like misprints, clogging, or dislodged parts early.
- Test Your Setup:
- Test the alert system to ensure you receive them in real time. Simulate a print and trigger different events to verify that notifications work properly, enabling you to act quickly when necessary.
By setting up these alerts, you can efficiently manage your remote 3D prints, ensuring you catch and address any problems as soon as they arise.
How to Start and Manage a Remote 3D Print
To start and manage a 3D print remotely, you need to transfer your file, start the print, and then monitor it and make corrections if necessary.
Transfer the file you want to print
To start a 3D print remotely, the first step is to transfer the file to your 3D printer. Here’s how to do it:
- Prepare the Model: Design or download your 3D model software or any other 3D modeling tool.
- Slice the Model: Use a slicing software to convert the 3D model into G-code, which your printer can understand.
- Transfer the G-code:
- Via Wi-Fi or Ethernet: If your printer is connected to your network, you can upload the G-code remotely via a control platform.
- Via SD Card or USB: If your printer doesn’t support direct file transfers, you can manually save the G-code to an SD card or USB drive and insert it into the printer.
Once the file is transferred, you’re ready to start the print remotely.
Start Your 3D Print Remotely
Once you’ve transferred your G-code file to your 3D printer, you can remotely start the print. Here’s how:
- Check Printer Setup: Ensure that your printer is properly prepared:
- The print bed is leveled.
- The filament is loaded correctly.
- The temperatures for the extruder and bed are set according to the filament you’re using.
- Launch the Print:
- Open your remote control software.
- Select the G-code file that you’ve uploaded.
- Press the Start button to begin the printing process.
- Monitor the Start: Once the print begins, check for any early issues, such as improper adhesion or extruder problems. Many remote systems allow you to view real-time data, such as temperature readings and print progress.
By following these steps, you can remotely launch your 3D print and ensure everything is ready for a successful start.
Monitor and Intervene if Necessary
Once your 3D print has started remotely, continuous monitoring is crucial to ensure everything runs smoothly. Here’s how you can oversee and intervene if needed:
- Monitor Print Progress:
- Use your remote platform’s live camera feed (if available) to visually track the print.
- Check the temperature readings for the extruder and heated bed to ensure they stay within the recommended range.
- Monitor print time and layer progress to spot any potential issues early.
- Intervene When Needed:
- If you notice problems like filament jams, clogging, or poor adhesion to the bed, you can pause or stop the print remotely.
- Adjust settings like temperature, speed, or layer height through your remote software to correct issues.
- If a major error occurs, such as extruder failure or power loss, you can restart the print or make repairs to your printer remotely, depending on your setup.
- Set Up Alerts:
- Enable notifications for common problems (e.g., temperature anomalies, filament run-out, or pauses). This way, you can act quickly if something goes wrong.
By actively monitoring and being prepared to intervene remotely, you can ensure the print goes smoothly and make adjustments as needed to avoid failures.
What are the best practices and tips to follow when starting remote 3D prints?
For a successful remote 3D print, you must plan your prints, properly maintain your 3D printer, and address common issues if they arise.
Planning Your Remote 3D Prints
To ensure smooth remote 3D printing, proper planning is crucial. Here are some tips for effective planning:
- Model Preparation:
- Ensure your 3D model is ready for printing, with no errors or imperfections that could affect the print quality.
- Use slicing software to create the optimal G-code for your printer and material.
- Choose the Right Print Settings:
- Select appropriate settings such as layer height, print speed, and infill density based on the complexity of your model.
- Adjust the temperature settings for the filament you plan to use.
- Start with Test Prints:
- Begin with smaller test prints to ensure everything is working correctly before launching larger jobs.
- Monitor Estimated Print Time:
- Be mindful of the estimated print duration, especially if you are printing remotely. Allow enough time for the print to complete and for potential intervention if issues arise.
- Account for Materials:
- Make sure you have enough filament for the entire print and that the material is compatible with your printer.
- Check Printer Health:
- Before starting, ensure the printer is in good condition—check the bed leveling, extruder functionality, and filament spool.
- Plan for Intervention:
- Be prepared to monitor the print remotely and intervene if necessary, especially for long prints.
With good planning, you can avoid unexpected delays or errors and ensure a smoother remote printing experience.
Maintenance to Ensure Smooth Remote Operation of Your 3D Printers
Regular maintenance is essential to ensure your 3D printer functions properly, especially when printing remotely. Here are the key maintenance tasks:
- Bed Leveling:
- Regularly check and adjust the print bed to ensure it’s properly leveled. This is crucial for good adhesion and consistent print quality.
- Extruder Check:
- Clean the extruder and ensure the filament flows smoothly. A clogged extruder can lead to print failures.
- Periodically check for wear in the nozzle, and replace it if necessary.
- Filament Storage:
- Store filament in a cool, dry place to avoid moisture absorption, which can cause printing issues.
- Regularly check the filament spool for tangles or damage.
- Firmware Updates:
- Keep the printer firmware up-to-date to ensure compatibility with new features and improve performance.
- Temperature Calibration:
- Check and recalibrate the hotend and heated bed temperatures as needed, especially if you’re changing filament types.
- Regular Cleaning:
- Clean the print bed after each print to remove debris, dust, or leftover filament.
- Clean the fans and cooling ducts to prevent overheating and ensure proper airflow.
- Monitor Wiring and Connections:
- Inspect the printer’s wiring for wear or fraying, and ensure all connections are secure to prevent interruptions during a print.
- Test Prints:
- Perform regular test prints to check for any issues with the printer’s accuracy, extrusion, and adhesion.
By performing these maintenance tasks, you’ll reduce the risk of failures and keep your printer in optimal condition, allowing for more successful remote printing.
Common Issues and Solutions for Continuing Remote 3D Prints
Common problems during remote 3D printing include network connectivity failures, communication errors between the printer and the control platform, as well as temperature or print quality issues. Here’s how to resolve them:
- Network Connectivity Failures:
- Solution: Check the stability of your internet connection. Restart the printer and router if necessary to re-establish communication.
- Printer Not Responding:
- Solution: If the printer stops responding, reset the firmware or check the settings on your remote control platform to re-sync the device.
- Print Quality Issues:
- Solution: For poor print quality, recalibrate the Z-axis, clean the nozzle, or adjust the temperature settings for the filament remotely. Use tracking tools to monitor the print progress in real-time and ensure the quality is up to standard.
By addressing these common issues and applying the right solutions, you can continue your remote 3D printing operations smoothly and with better results.
Conclusion: Launching a Remote 3D Print
Launching and managing a 3D print remotely can be a convenient and efficient way to maximize your printer’s potential. By ensuring proper setup, maintaining a stable network connection, using the right software and performing necessary calibrations and tests, you can ensure a smooth printing process.
Monitoring the print and being ready to address common issues, such as connectivity failures or print quality problems, will help you achieve the desired results. With the right tools and knowledge, remote 3D printing opens up new possibilities for efficiency and flexibility.
Picture by Caroline Eymond Laritaz on Unsplash
The articles published on Imprimy.com are for informational purposes only. They are intended to provide general advice and information related to 3D printing. Imprimy.com cannot be held responsible for the results obtained or the consequences arising from the application of the shared information. We recommend always checking the specific instructions for your hardware and materials before use.