Would you like to discover everything there is to know about retraction in the context of 3D printing? At Imprimy, we are here to answer all your questions.
Adjusting the retraction settings of your 3D printer is essential to prevent certain printing defects, especially those related to moist filament.
What is retraction in 3D printing?
Retraction is a 3D printing setting that defines how far the filament is pulled back toward the extruder. Retraction must be adjusted according to a whole range of specific factors.
How Retraction Works in 3D Printing
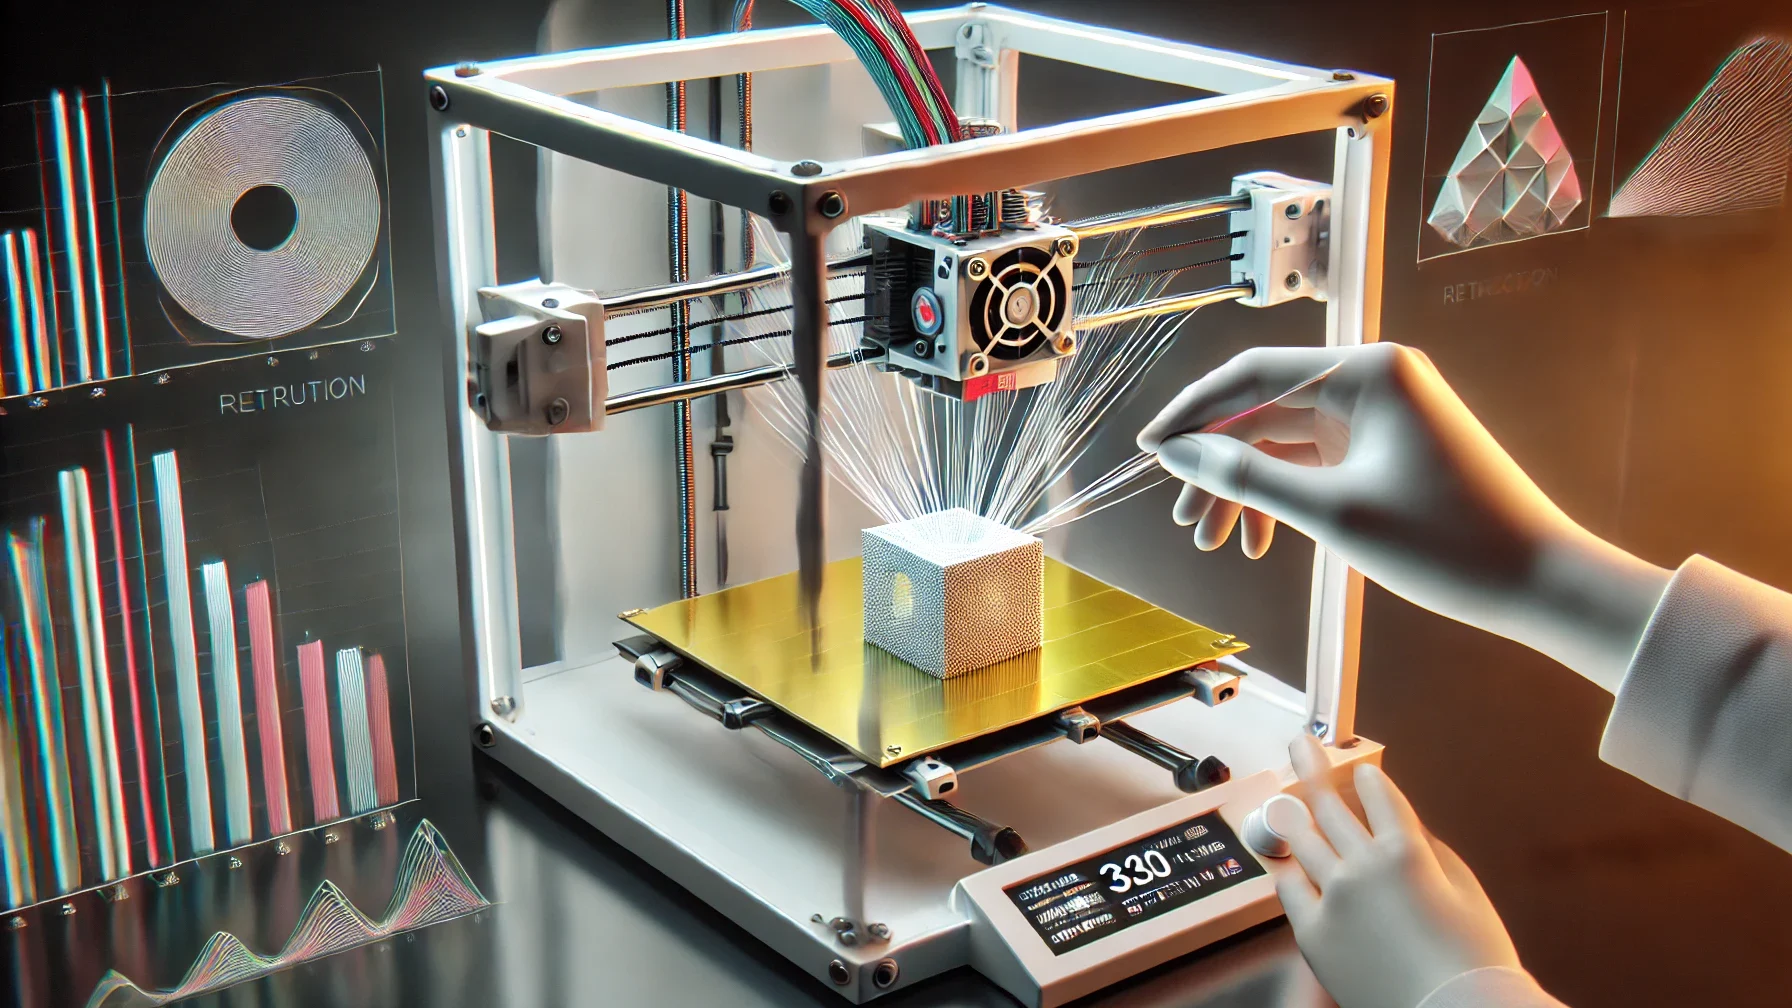
Retraction in 3D printing is the mechanism that reduces the appearance of stringing and oozing when the nozzle moves without extruding filament. During a movement that doesn’t involve printing, your printer slightly pulls the filament back into the extruder, then pushes it forward toward the nozzle once extrusion resumes. This process helps reduce material leakage and improves the sharpness of your 3D prints.
The effectiveness of retraction depends on several parameters, such as retraction distance and retraction speed, which vary depending on the type of 3D printer you have (direct drive or Bowden), as well as the material you are using. You must therefore carefully adjust your retraction settings to avoid both stringing and under-extrusion.
The Goals of Retraction in Your 3D Printer
The main goals of retraction in 3D printing are to improve the print quality by reducing defects caused by the movement of the nozzle. It helps prevent stringing, which occurs when filament continues to ooze unintentionally between two printed areas. This setting also helps minimize blobs and droplets that can affect the final appearance of your part.
A well-adjusted retraction setting also helps prevent over-extrusion and ensures better dimensional accuracy. Finally, it optimizes material flow, ensuring smooth and consistent extrusion, which is essential for producing clean, detailed parts.
Retraction in Relation to Other 3D Printing Settings
Retraction in 3D printing is closely linked to other printing parameters. Extrusion temperature plays a key role: if it’s too high, the filament becomes too fluid and may ooze more; if it’s too low, it can cause under-extrusion.
Both print speed and retraction speed must be well-tuned to avoid retraction that’s too slow (ineffective) or too fast (which could cause a nozzle clog). The type of extruder is also crucial: a Bowden setup typically requires a longer retraction distance than a direct drive system, due to the length of the PTFE tube.
Finally, the material you use has a major impact on retraction: flexible filaments (like TPU) often require minimal retraction to prevent jamming, while PLA, PETG, and ABS each need specific settings to reduce stringing and optimize the final print quality.
What Are the Common Problems Related to Poor Retraction?
The main issues associated with retraction are under-retraction and over-retraction.
Under-Retraction
Under-retraction in 3D printing occurs when the filament retraction is insufficient. This leads to various print defects. The most common symptom of under-retraction is the appearance of thin strings between different printed parts. This defect is caused by excessive oozing of the filament during nozzle movements. Other signs may include droplets on the object’s surface or blobs at the points where extrusion resumes.
Under-retraction can also result from a retraction distance that is too short, a retraction speed that is too slow, or an extrusion temperature that is too high, making the material overly fluid.
To fix this issue, you can gradually increase the retraction distance, speed up the retraction speed, or slightly lower the extrusion temperature. In any case, you should perform test prints after each parameter adjustment to avoid causing over-retraction or further under-extrusion problems.
Over-Retraction
Over-retraction in a 3D printer occurs when the filament retraction is too excessive. This can lead to issues such as holes or missing material in the print. It often happens when the nozzle pulls back too much filament during retraction, preventing smooth extrusion when the 3D print resumes. Other symptoms include frequent nozzle clogs or increased resistance in the extruder during filament movement.
Over-retraction can also be caused by a retraction distance that is too long, a retraction speed that is too high, or an extrusion temperature that is too low, making the filament too rigid and difficult to extrude properly.
To fix this issue, try reducing the retraction distance, lowering the retraction speed, or slightly increasing the extrusion temperature to improve filament flow and avoid creating under-filled areas in your print.
How to Properly Adjust Retraction for Your 3D Prints
To optimize 3D print quality, precisely adjust the retraction length, retraction speed, and printing temperature of your 3D printer.
Adjusting Retraction Distance
Properly adjusting the retraction distance of your 3D printer is crucial for optimizing print quality and avoiding the defects described earlier. The retraction distance determines how many millimeters the filament is pulled back into the extruder when no extrusion is taking place during nozzle movements. If the distance is too short, the filament may continue to ooze; if it’s too long, there may be gaps in material when printing resumes.
The retraction distance depends on the type of extruder your 3D printer uses:
- For a direct drive system, the retraction distance is generally shorter, around 1 to 2 mm, due to the proximity of the extrusion motor.
- For a Bowden setup, the distance is typically longer, around 4 to 7 mm, since the filament travels a greater distance through the PTFE tube.
Retraction distance also varies based on the material used in your print. Don’t hesitate to perform retraction tests to fine-tune the distance for your machine and ensure the best possible quality for your 3D prints.
Adjusting Retraction Speed
A good adjustment of your 3D printer’s retraction speed helps prevent stringing while ensuring smooth extrusion. If the retraction speed is too low, the filament may not retract quickly enough, causing excessive oozing between nozzle movements. Conversely, a speed that is too high can cause clogs or filament skips due to excessive pressure in the extruder.
Generally, retraction speed ranges between 20 mm/s and 100 mm/s, depending on the printer type and filament used. For Bowden extruders, higher speeds may be needed (around 40-60 mm/s), whereas direct drive extruders usually require lower speeds (about 20-30 mm/s).
In all cases, you should test these values to find the optimal balance based on your filament characteristics and the desired print results for your machine.
The Influence of 3D Printing Temperature on Retraction
The printing temperature affects retraction in 3D printing. When the extrusion temperature is too high, the filament becomes more fluid, which can cause excessive oozing of the material during nozzle movements, increasing the risk of stringing. In this case, a greater retraction distance may be necessary to compensate for the filament’s fluidity.
Conversely, if the temperature is too low, the filament becomes more rigid and can jam or deform inside the nozzle, reducing the effectiveness of retraction and potentially causing under-extrusion.
You need to find the ideal temperature for each material:
- Between 190°C and 220°C for PLA
- Between 230°C and 250°C for ABS
- …
Advanced Retraction Settings
By adjusting the advanced retraction settings of your 3D printer, you can solve specific problems such as stringing, blobs, or blotches. These settings include:
- Coasting: This feature stops extrusion slightly before the nozzle moves, helping reduce excess filament that could ooze after finishing each segment. It prevents droplets and blobs by minimizing material oozing.
- Wipe: This setting makes the nozzle pass over the print surface before starting a new path to “clean” the filament tip and reduce the appearance of strings. It’s especially useful for materials prone to buildup on the nozzle.
- Z-hop (or “Lift”): Z-hop slightly lifts the nozzle when moving between areas without printing, preventing it from touching or damaging the current print. This is helpful for high-resolution prints or when retraction isn’t enough to stop the nozzle from hitting printed parts.
- Extra Prime Amount: This setting adds a bit more filament after retraction to compensate for any material lost during retraction, improving extrusion restart. It can be adjusted to fix under-extrusion or slow restart issues.
- Combing Mode: This setting prevents the nozzle from moving over unprinted areas, reducing unnecessary travel in the air and thus minimizing stringing. Combing makes the nozzle move only over already printed parts, reducing visible defects.
These advanced parameters give you better control over filament flow and allow you to fine-tune your printer’s behavior for cleaner, more precise, and aesthetically pleasing results while reducing retraction-related defects.
What Tests and Calibrations Should You Perform to Optimize Retraction on Your 3D Printer?
To reduce the negative effects of poor retraction, you should not hesitate to perform specific tests to optimize your various settings.
Printing Specific Tests
To optimize the retraction settings of your 3D printer and improve the quality of your prints, you should perform certain specific tests. These tests help evaluate the effectiveness of retraction adjustments, particularly distance, speed, and temperature, while identifying issues like stringing, blobs, or under-extrusion. Here are some commonly used tests:
- Stringing Test or Retraction Tower: Print a small model, often tower-shaped, with frequent non-print moves to observe the presence of fine strings between sections. This test allows you to adjust retraction distance, speed, and printing temperature to avoid unwanted strings.
- Blobs and Droplets Test: Print a small model with multiple successive extrusions to check if blobs (filament droplets) appear at each transition. This helps adjust the coasting function or extrusion speed of your printer.
- Over/Under-Extrusion Test: Print single layers and check if the surface is smooth and consistent. If there are holes or under-extruded areas, you need to adjust the extrusion and retraction parameters.
- Z-hop Retraction Test: If you experience blobs caused by nozzle travel, test if raising the nozzle during non-extrusion moves (Z-hop) prevents unwanted contact with the printed part.
These tests let you precisely calibrate each retraction parameter based on the material and printer specifications. After adjustments, it is recommended to print a larger, complete test object to verify the results over the entire piece.
Iterative Adjustment of Your 3D Printer Parameters
Iterative adjustment is a key method to refine the retraction settings of your 3D printer and achieve high-quality prints. This approach involves making small successive adjustments to the parameters, then testing each change by printing a test model. The idea is to proceed step-by-step, observing the results of each modification to find the optimal settings for flawless retraction.
- Start with basic settings: It is recommended to begin with standard values for retraction distance and speed, depending on the printer and filament type. For example, an initial retraction distance of 4 to 6 mm and a retraction speed of about 30 mm/s can serve as a starting point for many materials like PLA.
- Test and observe results: After each test print, carefully examine the piece for defects such as stringing, blobs, or holes. If you see strings between printed parts, you will likely need to increase retraction distance or lower the printing temperature.
- Gradually adjust parameters: If a problem is detected, adjust parameters in small increments. If strings appear, try slightly increasing the retraction distance or increasing retraction speed. If blobs are present, the coasting setting might need adjustment. Always perform a new test after each change to evaluate effectiveness.
- Balance all parameters: Avoid adjusting a single parameter without considering the others. A larger retraction distance might require a lower temperature, or a higher retraction speed could affect filament flow. Adjustments must always be balanced based on tests and observations.
- Record parameters: As you make these adjustments, note down the parameters and results for each test. This helps you easily revert to the settings that gave the best results and avoid future mistakes.
Iterative adjustment is thus a systematic process that, although time-consuming, allows you to optimize print quality and reduce retraction-related errors for every type of filament and printer.
Conclusion: 3D Printing and Retraction
In conclusion, retraction is an essential aspect of 3D printing that plays a key role in the final quality of printed objects. A precise retraction adjustment helps avoid issues such as strings, blobs, and blurring, contributing to cleaner, more detailed, and aesthetically pleasing prints.
Retraction parameters such as distance, speed, and printing temperature must be carefully adjusted based on the printer, filament type, and specific model. Iterative adjustment of these parameters through specific tests is an effective approach to fine-tune settings and achieve optimal results.
By mastering the retraction of your 3D printer, you improve not only the aesthetic quality of your prints but also the reliability and precision of the parts produced.
Image generated by DALL·E, an artificial intelligence model developed by OpenAI.
The articles published on Imprimy.com are for informational purposes only. They are intended to provide general advice and information related to 3D printing. Imprimy.com cannot be held responsible for the results obtained or the consequences arising from the application of the shared information. We recommend always checking the specific instructions for your hardware and materials before use.