Would you like to learn everything about the best way to get started with 3D printing? At Imprimy, we are here to answer all your questions.
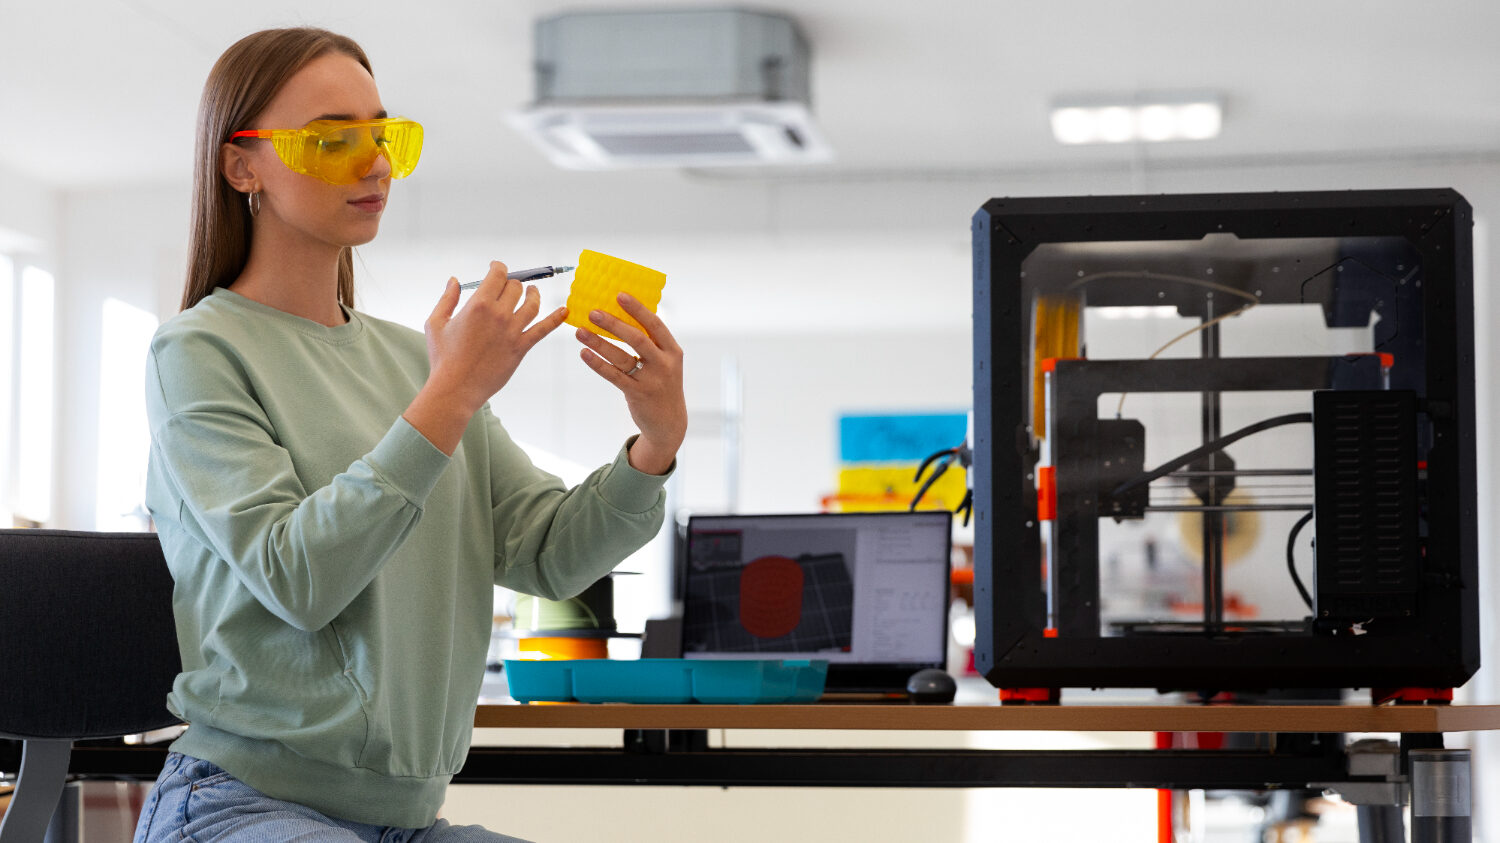
What are the basics of 3D printing for beginners?
To get started with 3D printing, you need to master a few key topics, particularly related to the available materials and the software compatible with 3D printers.
Definition of 3D Printing
3D printing, also known as additive manufacturing, is a process of creating three-dimensional objects by layering material based on a digital model. It involves converting a virtual design into a physical object through successive layers of material, such as plastic, metal, or resin. This process is guided by a computer-generated design (typically in 3D file formats like STL or OBJ) that is sliced into layers, which the 3D printer then uses to construct the object layer by layer.
3D printing is used across a wide range of industries, from prototyping and manufacturing to healthcare, fashion, and art, offering great flexibility in customization and design.
Commonly Used Materials in 3D Printing
- PLA (Polylactic Acid): PLA is the most popular and beginner-friendly material. It’s biodegradable, easy to use, and works well for a wide range of projects. PLA is commonly used for general-purpose 3D printing, prototyping, and decorative items.
- ABS (Acrylonitrile Butadiene Styrene): ABS is a strong, durable plastic known for its impact resistance and heat resistance. It’s often used for functional parts, household items, and toys like LEGO bricks. However, it requires higher printing temperatures and proper ventilation due to fumes.
- PETG (Polyethylene Terephthalate Glycol): PETG is a versatile material that combines the strength of ABS with the ease of use of PLA. It is resistant to impact and chemicals, and it is often used for parts that need to withstand stress and wear.
- Nylon: Nylon is a durable, flexible material that is commonly used for functional parts that require high strength and wear resistance, such as gears, bearings, and mechanical parts.
- TPU (Thermoplastic Polyurethane): TPU is a flexible, rubber-like material often used for parts that require elasticity, such as phone cases, wearables, and seals. It’s durable, shock-absorbent, and resistant to abrasion.
- Resin (Photopolymer): Resin is used in SLA (Stereolithography) and DLP (Digital Light Processing) 3D printers. It is available in different varieties like standard, tough, flexible, and castable resins. Resin provides high-quality, detailed prints, often used in jewelry, dental, and prototype industries.
- Metal (Stainless Steel, Titanium, Aluminum, etc.): Metal 3D printing is used for highly durable, high-performance parts. This material is typically used in industries such as aerospace, automotive, and healthcare for producing parts that need to withstand extreme conditions.
- Wood Filament: Wood filament is a composite material made from a mix of PLA and fine wood fibers. It can be used to create objects with a wood-like appearance and texture, suitable for artistic projects and home décor.
- Carbon Fiber Composites: Carbon fiber-infused filaments are used to create strong, lightweight parts. These materials are often used in aerospace, automotive, and other high-performance industries due to their strength-to-weight ratio.
- Metal Composites: These materials combine metal powder with a base material like PLA or ABS. They allow for 3D printing objects with a metallic finish, providing a unique look and feel for artistic and functional applications.
Each material has unique properties that make it suited for different applications, from aesthetics to functionality, and the choice of material depends on the specific requirements of the project.
3D Modeling and Slicing Software for Beginners
3D modeling and slicing software are essential components of the 3D printing process, helping you design and prepare objects for fabrication. For beginners, there are intuitive modeling tools that simplify the design process, while more advanced software offers greater functionality for complex projects. These tools allow users to create custom models or modify existing designs.
Once the 3D model is complete, slicing software (also known as a slicer) converts the 3D file into machine-readable instructions called G-code. This G-code tells the 3D printer exactly how to build the object layer by layer. Different slicing software options offer advanced settings to fine-tune the quality and speed of your prints, with parameters such as layer thickness, fill density, and print speed, all of which can help ensure the success of your 3D printing project.
These tools enable users to tailor their printing projects for optimal results, whether they are working on simple objects or more intricate designs.
How to choose the right equipment before starting 3D printing?
To get started with 3D printing, you should choose a machine that is easy to use but also includes features and accessories that will meet your needs.
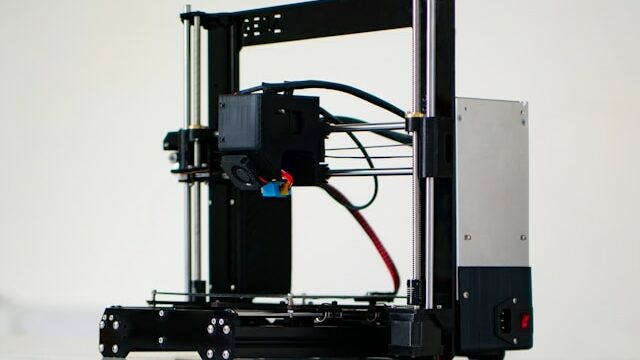
Criteria for Choosing a 3D Printer Suitable for Beginners
To choose a 3D printer suitable for beginners, several factors are essential. Ease of use is crucial: look for a machine with automatic or assisted calibration, an intuitive touchscreen, and an easy setup process. The size of the print area should meet your needs: a standard build plate (around 220 x 220 x 250 mm) is sufficient for most personal projects.
Budget is another key factor: some models offer excellent value for starting out. Also, look for practical features such as a heated bed for better print adhesion and filament run-out sensors to prevent failures. Finally, check the community and technical support associated with the printer: a large user community provides easy access to tutorials, advice, and replacement parts.
Essential Accessories to Get Started with 3D Printing
To get started with 3D printing, it’s important to equip yourself with essential accessories to prepare, manage, and finalize your prints. A heated bed is crucial for ensuring good adhesion of objects during printing, along with adhesives like glue sticks or blue tape to enhance this adhesion. A spatula or removal tool will help you detach your prints without damaging them.
Pliers and filament cutters allow you to handle and neatly cut materials. For storing your spools, airtight containers with desiccant packets are useful to protect filaments from moisture, especially for materials like PLA or nylon. Finally, a cleaning tool kit and needles for unclogging nozzles are handy for maintaining your printer and ensuring successful prints.
Choosing Whether or Not to Invest in Advanced Options
Choosing whether or not to invest in advanced options for a 3D printer depends on your needs and experience level. Features like filament run-out sensors, which stop the print when the filament runs out, can be useful to prevent errors but are not essential for beginners. Plug-and-play printers, which come pre-assembled and pre-calibrated, are an excellent choice for novices as they simplify the experience, but they can be more expensive.
If you’re willing to learn and experiment, a DIY kit may offer better value for money and a deeper understanding of how your printer works. Features like bed leveling detection, touchscreens, or dual extruders can improve print quality and speed, but are often more suited for users who already have a good grasp of the technology. It’s important to assess your budget and future projects before committing to these advanced options.
How to Start Your First 3D Prints?
To make your first 3D prints, you can download a model online, adjust the print settings, and make sure to learn from each mistake to improve your skills.
Download Your First Ready-to-Print Models
To download your first ready-to-print models, you can explore online platforms that offer free or paid files to download and print directly with your 3D printer. These sites provide a wide selection of models in various categories, such as figurines, home accessories, practical tools, or decorative objects. Simply create an account on these sites, search for the models you want, and download them in STL format, the standard format for 3D printing.
Once downloaded, you can import the model into your slicing software, adjust the settings according to your needs, and start the print on your 3D printer. These resources are ideal for beginners, as they offer simple models to print that will help you get familiar with the process.
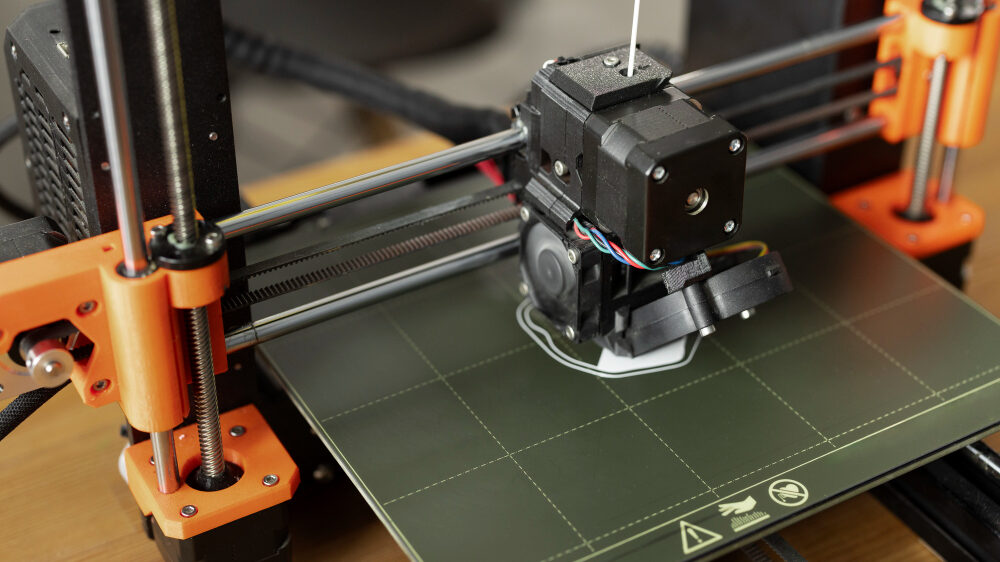
Properly set up your first prints
To properly set up your first 3D prints and ensure their success, start by adjusting the temperature of your printer based on the filament you are using. For instance, PLA typically requires a nozzle temperature of 190-210°C and a heated bed temperature of 50-60°C. Make sure the bed is well leveled and clean to avoid shifts or poor adhesion of the object.
Next, configure the print speed: for optimal results, begin with a moderate speed of 40-60 mm/s to minimize errors that can occur with higher speeds. Set the layer thickness: for a good balance between quality and print time, a layer height of 0.2 mm is ideal for your first prints. Finally, adjust the infill: for solid objects, choose a 20-30% infill, while for decorative pieces, a lighter infill will suffice.
Once these settings are in place, start the print and monitor the first few layers closely to quickly spot any potential issues.
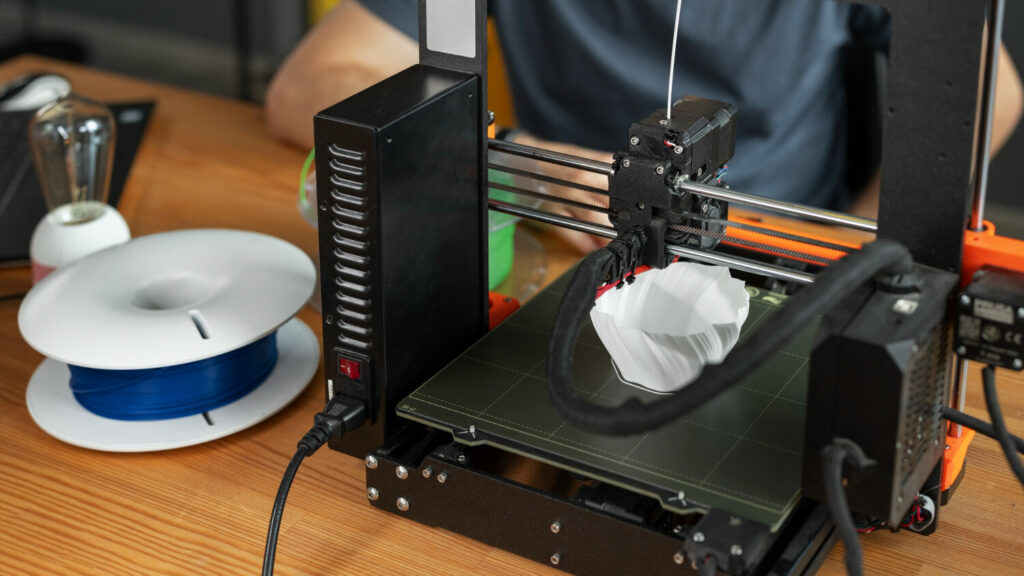
Manage your failures and learn from your mistakes
Managing your failures and learning from your mistakes is essential to progress in 3D printing. If your print fails, first identify the cause:
- If the object doesn’t stick well to the bed, check if it’s clean and properly leveled, and adjust the first layer’s temperature for better adhesion.
- If the layers peel off, the nozzle or bed temperature may be incorrectly set, or the print speed may be too high.
- If your material layers are misaligned, this could be due to mechanical issues like loose belts or miscalibrated motors. In this case, check and tighten all moving parts.
- If the filament is poorly extruded or the nozzle is clogged, clean it with a needle or start a “cleaning print.”
Mistakes are part of the learning process, so each failure will help you improve your settings and refine your technique, thereby strengthening your 3D printing skills.
Create simple projects for beginners
For beginners in 3D printing, it is recommended to start with simple projects that allow you to become familiar with the process while achieving satisfactory results. Creating a personalized keychain is an excellent starting project: this way, you can handle 3D modeling tools while creating a functional object. A phone stand or a simple storage box are also good choices to test your printer’s capabilities while making useful everyday objects. You can also print basic figurines or simple decorative objects, such as vases or pen holders.
These projects will help you master printing settings while allowing you to experiment with different colors and materials. By making these small creations, you can gradually take on more complex projects while developing your 3D printing skills.
Conclusion: 3D Printing for Beginners: How to Get Started Successfully
Starting with 3D printing can be an exciting journey, and by taking on simple projects at first, you can build both your skills and confidence. By working on functional and decorative items, you’ll learn how to use modeling tools, experiment with various materials and settings, and understand your printer’s capabilities. With patience and practice, you’ll be able to tackle more advanced projects, all while enjoying the creative possibilities of 3D printing.
Picture by Freepik.
The articles published on Imprimy.com are for informational purposes only. They are intended to provide general advice and information related to 3D printing. Imprimy.com cannot be held responsible for the results obtained or the consequences arising from the application of the shared information. We recommend always checking the specific instructions for your hardware and materials before use.
Our other contents for beginners :
The history of 3D printing
Would you like to know more about the history of 3D printing to discover how…
Rapid 3D Printing
Are you wondering about rapid 3D printing and its production capacity? At Imprimy, we are…
The layer height in 3D printing
Would you like to discover everything you need to know about layer height in 3D…