Would you like to print or have 3D printed photos? At Imprimy.com, we are here to explain how to create such prints or offer you the option to order your custom 3D printed photos from our shop.
What is 3D printing of photos?
3D printing of photos allows you to transform your ordinary photographs into solid and unique decorative elements using 3D printers.
- What is 3D printing of photos?
- What are some examples of 3D printed photos created by Imprimy?
- What are the advantages of 3D printing photos?
- What is the process of 3D printing photos?
- What are the necessary materials and software?
- What tips should you follow to succeed in your 3D photo prints?
- Conclusion: 3D photo printing
The definition of 3D printing of photos
3D printing of photos is an innovative process that transforms two-dimensional images into physical three-dimensional objects. Using 3D printing technologies such as Fused Deposition Modeling (FDM) or Stereolithography (SLA), an image is first converted into a digital 3D model and then printed layer by layer with materials like plastic or resin.
This technique offers a unique way to bring memories to life, adding a tactile dimension and allowing for endless customization, whether for relief portraits, decorative objects, or unique gifts.
The technologies used to print photos in 3D
3D printing of photos relies on several key technologies that transform images into three-dimensional objects. Among the main methods, there is FDM modeling, where a plastic filament is melted and deposited layer by layer to create the desired shape. Another common technique is stereolithography, which uses a laser to cure a photosensitive liquid resin, providing high precision and fine details. 3D lithography, similar to SLA, also uses resin but with a different approach to solidify the layers.
The differences with 2D photo printing
3D printing of photos differs from traditional 2D printing in several significant ways. Firstly, 3D printing adds a physical dimension to the image, allowing it to be touched and handled, which is impossible with a photo printed on paper. This additional dimension provides a richer and more immersive sensory experience, ideal for relief portraits or decorative objects.
Additionally, 3D printing allows for extreme customization, as each object can be modified in size, shape, and texture according to the user’s preferences, whereas 2D printing is limited to variations in size and surface finish. In terms of process, 3D printing requires digital modeling and the use of various materials such as plastic or resin, unlike the ink and paper used in 2D printing. Finally, although 3D printing can be more expensive and time-consuming, it opens up infinite creative possibilities, transforming flat memories into unique and tangible objects.
What are some examples of 3D printed photos created by Imprimy?
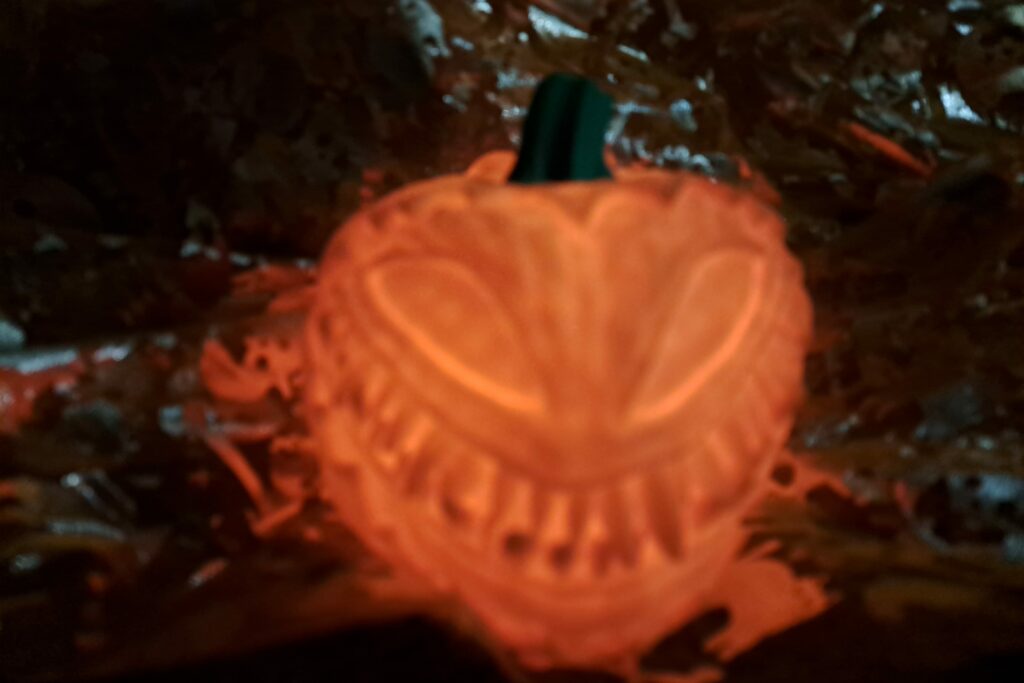
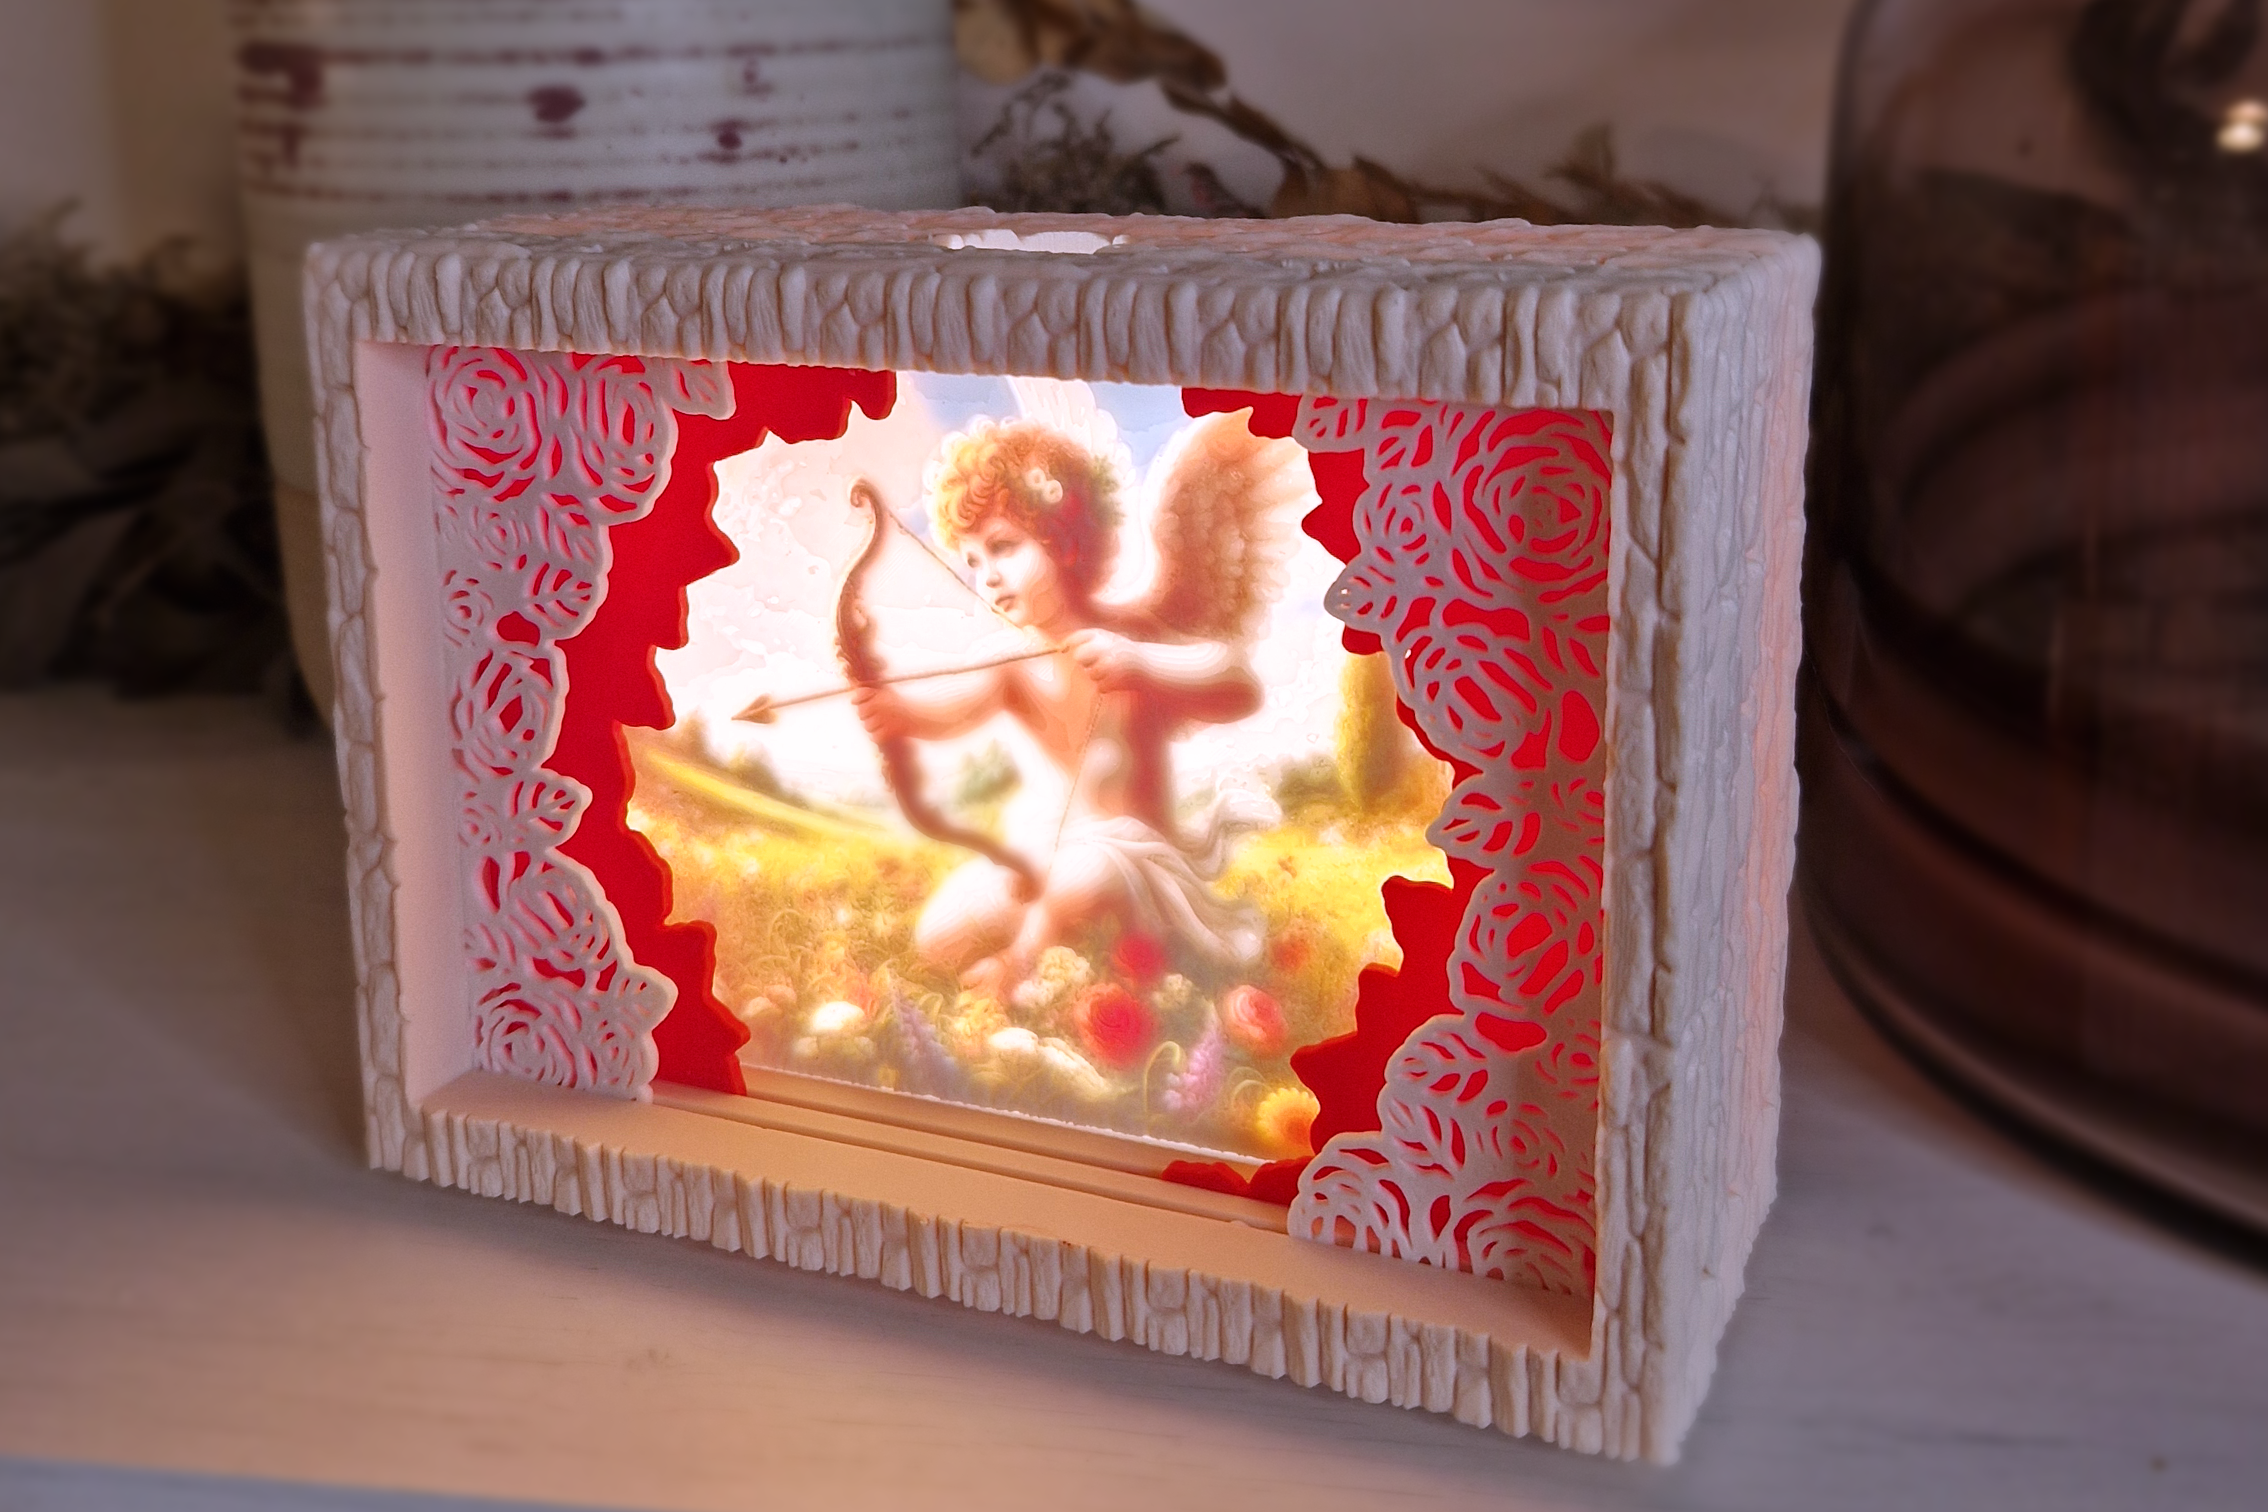
You can visit our Etsy shop to create and order color lithophanes and original light boxes to showcase all the memories that matter to you.
Whether it’s for:
- A wedding,
- A pregnancy announcement,
- A birth,
- Or any other memory that matters to you.
Don’t hesitate and transform all your favorite photos into unique decorative objects with Imprimy.
What are the advantages of 3D printing photos?
The various advantages of 3D printing photos lie in the customization possibilities it offers, the tactile experience associated with 3D printing, and the diverse creative applications available through this technology.
The customization of your 3D printed photos
Customization is one of the main advantages of 3D printing photos, offering a multitude of options to transform your images into unique and tailored objects. You can adjust the size and shape of the printed object to fit your specific needs, whether it’s for a relief portrait or a decorative item.
Additionally, you can choose from a variety of materials, such as plastic, resin, or even metals, each offering a different texture and finish. 3D modeling also allows you to add personalized details, like text or patterns, directly onto the object.
You can also experiment with colors by painting or dyeing the object after printing to achieve the exact look you desire. This flexibility allows you to create personalized gifts, unique mementos, or decorative elements that perfectly reflect your style and tastes.
The tactile experience offered by 3D printing photos
3D printing of photos offers a unique tactile experience that enhances the way we interact with our memories. Unlike traditional photos, which are limited to a flat surface, 3D prints allow you to touch and feel the details of the image, adding an extra sensory dimension. This tactile experience is especially appreciated for relief portraits, where facial features can be physically perceived, or for decorative objects, where textures and shapes come to life under your fingers.
The ability to manipulate these objects creates a more intimate and memorable connection with the captured moments, transforming a simple image into a tangible piece that can be cherished and shared in a more meaningful way.
Creative applications of 3D-printed photos
The creative applications of 3D-printed photos are vast and offer numerous possibilities to express your imagination. You can transform portraits into relief sculptures, capturing a person’s distinctive features in a tangible way. Landscape or architectural photos can be converted into detailed 3D models, perfect for interior decoration or as collectible items.
Artists can explore abstract forms by integrating photographic elements into their three-dimensional works, creating unique pieces that combine visual art and sculpture. Additionally, 3D-printed photos can serve as a base for educational projects, such as historical or scientific models, making concepts more accessible through physical representation. Finally, these prints can also be used to create personalized gifts, such as jewelry or accessories, carrying a special emotional significance, transforming memories into precious and unique objects.
What is the process of 3D printing photos?
To create lithophanes, or 3D-printed photos, you must start by choosing a photo, then modeling it in 3D, proceeding to the printing itself, and finally, the post-processing.
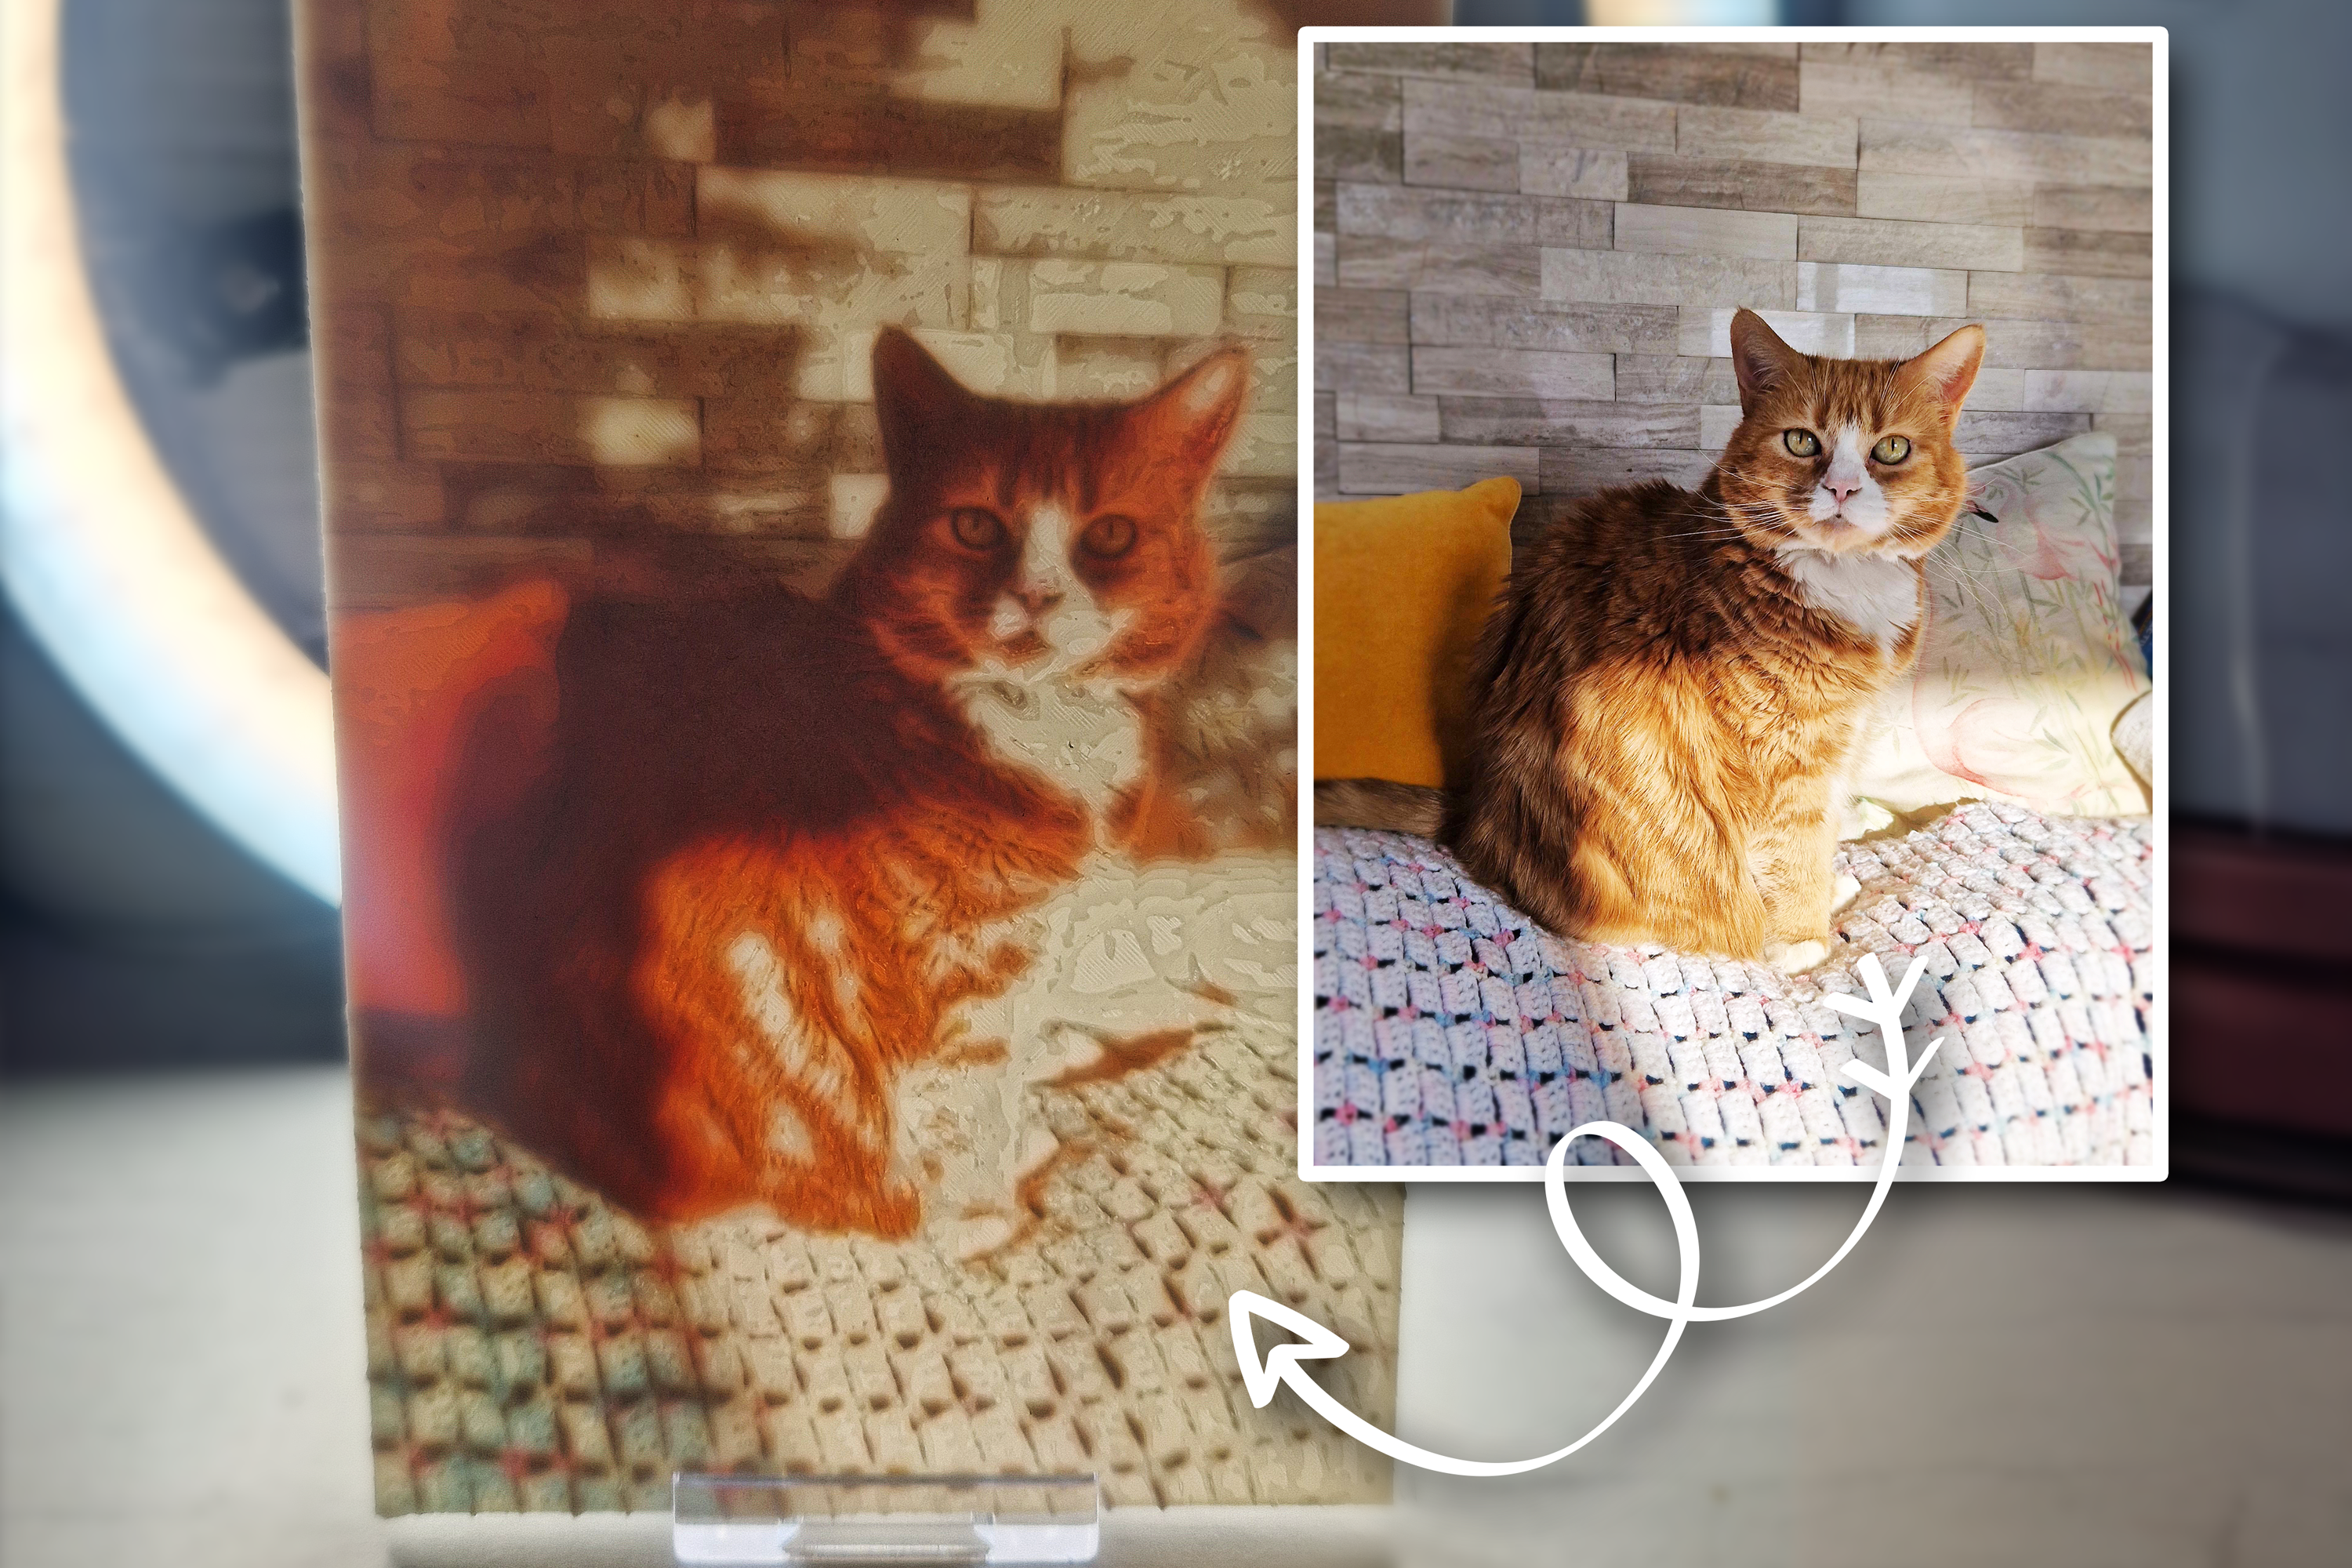
The choice of the photo you want to 3D print
The choice of the photo to 3D print is crucial for achieving a satisfying and impactful result. It is recommended to select an image with good contrast and sharp details, as these elements will translate better into relief. Portraits where facial features are clearly defined, or landscapes with distinct elements like mountains or buildings, are particularly suitable.
Avoid blurry photos or those with a cluttered background, as this can complicate the 3D modeling process and harm the final print quality. Additionally, consider the emotion or memory you wish to capture: a photo that evokes strong feelings or tells a story will be even more valuable once transformed into a tangible object.
Finally, ensure the resolution of the image is high enough to allow for a precise conversion into a 3D model, thus ensuring that fine details will be well rendered in the final print.
The modeling of the image to 3D print
The modeling of the image to 3D print is a crucial step that transforms a 2D photograph into a 3D model ready for printing. This process begins with the use of a 3D modeling software, which allows you to convert the image into an exploitable 3D file. Techniques like photogrammetry, which involves creating a 3D model from multiple photos taken from different angles, or digital sculpting tools to manually add relief and details, can be used.
Once the initial model is created, it is often necessary to optimize it by adjusting the geometry, repairing defective meshes, and adding supports if needed. This step ensures that the model is stable and ready for printing, minimizing the risks of failure during the printing process.
The printing of the 3D printed photo
The printing of the 3D modeled photo is the final step where the digital file is transformed into a physical object. This process begins by uploading the 3D file, typically in STL or OBJ format, into the 3D printer’s software. It is crucial to properly configure the printing parameters, such as resolution, printing speed, and temperature, to ensure an optimal result.
The choice of material, whether it’s PLA plastic, resin, or even metal, will depend on the desired effect and the required durability for the final object. Once started, the printer deposits or solidifies the material layer by layer, gradually building the object in three dimensions. This process can take several hours, depending on the size and complexity of the model.
The post-processing and finishing of the photo after 3D printing
Post-processing and finishing are crucial steps to perfect the appearance and quality of your 3D printed photo. After printing, it is often necessary to remove any support structures that held up the overhanging parts of the model during printing. This operation can be carried out using tools such as pliers or cutters, taking care not to damage the object.
What are the necessary materials and software?
To 3D print photos, you need to have access to a compatible 3D printer, effective software, and suitable materials.
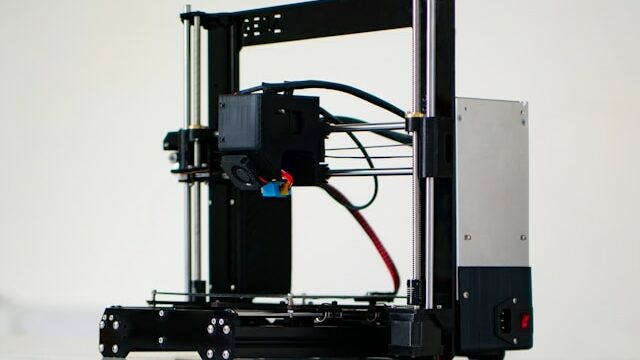
The choice of the 3D printer for making such a print
The choice of the 3D printer for printing 3D photos depends on several factors, including the desired quality, the material used, and the available budget. FDM printers (Fused Deposition Modeling) are often the most accessible and work well for plastic prints, offering good precision for medium-sized projects.
However, for very fine details and high resolution, SLA printers (Stereolithography) or DLP printers (Digital Light Processing) are preferable, as they use liquid resin to achieve smooth surfaces and intricate details, ideal for portraits or complex decorative objects.
Finally, it is important to consider the size of the object to be printed and ensure that the printer’s print volume is large enough to meet your needs.
The choice of the modeling software for printing 3D photos
The choice of modeling software is essential to transform a photo into a printable 3D model. Several options are available, each offering features suited to different levels of expertise and needs. The choice of software will depend on your skill level, the complexity of the project, and the specific features required to achieve the best possible result.
The choice of materials for achieving beautiful 3D photo prints
The choice of materials is crucial for achieving high-quality and aesthetically pleasing 3D photo prints. PLA plastic (polylactic acid) is often favored for its ease of use and ability to reproduce fine details, while offering a wide range of colors. Resin, used in SLA or DLP printers, provides extremely smooth surfaces and highly precise details, ideal for portraits or objects requiring a flawless finish.
For more robust and durable prints, nylon or composite materials can be considered, although they often require more specialized printers. Metals, such as stainless steel or titanium, offer high strength and a premium finish but are generally reserved for specific applications due to their cost and technical requirements.
Finally, innovative materials like composite wood or flexible filaments can add a unique and original touch to your prints, creating objects that stand out due to their texture and appearance. The choice of material will depend on the desired visual effect, the complexity of the model, and budget constraints.
What tips should you follow to succeed in your 3D photo prints?
To ensure success with your 3D prints, you should select the photo that suits your project, properly calibrate your 3D printer, and avoid certain specific mistakes.
Selecting a suitable photo for 3D printing
Selecting a suitable photo for 3D printing is essential to ensure an optimal result. Here are some tips to choose the ideal photo:
- Image quality: Choose a high-resolution photo so that the details are well-defined and can be correctly converted into a 3D model. Blurry or pixelated images will not translate well into three dimensions.
- Contrast and clarity: A photo with good contrast and sharp outlines will make 3D modeling easier. Distinct elements, like facial features or architectural structures, should be clearly visible.
- Central subject: Choose a photo with a well-defined central subject. Portraits or isolated objects are often easier to convert into 3D than complex scenes with many elements.
- Simple background: A cluttered background can complicate the modeling process. Prefer photos with a simple or uniform background to avoid interference.
- Emotion and significance: Select a photo that holds personal or emotional meaning. Turning a precious memory into a tangible object can make the 3D print even more special.
- Orientation and perspective: Consider the orientation and perspective of the photo. Unusual angles can add interest, but make sure they don’t compromise the clarity of the main subject.
By following these tips, you will increase your chances of achieving a successful 3D print that faithfully captures the essence of your photo.
Setting your printing parameters correctly
Correctly adjusting your printing parameters is essential for achieving a high-quality 3D print. Here are some tips to optimize these settings:
- Printing resolution: Adjust the resolution, often expressed in microns, to determine the fineness of the printed layers. A higher resolution (finer layers) improves detail quality but increases printing time.
- Printing speed: Slower printing speeds can improve precision and surface quality, while faster speeds reduce print time but may compromise fine details.
- Printing temperature: For FDM printers, the nozzle and bed temperature should be adjusted based on the material used. For example, PLA typically requires a lower nozzle temperature than ABS.
- Infill: The infill rate determines the internal density of the object. A higher infill makes the object sturdier but increases print time and cost. For decorative items, a lower infill may suffice.
- Support structures: Add supports for overhanging parts or complex details to ensure stability during printing. Make sure they are easy to remove after printing.
- Bed adhesion: Use adhesives or specific sprays to enhance the first layer’s adhesion to the print bed, reducing the risk of warping or detachment.
- Printer calibration: Before starting a print, ensure your printer is correctly calibrated, especially in terms of bed leveling and filament extrusion.
By adjusting these parameters according to the specifics of your project and printer, you can optimize the quality and success of your 3D prints.
Avoiding common mistakes
Avoiding common mistakes when 3D printing photos is crucial for ensuring a satisfying result. Here are some tips to anticipate and avoid these pitfalls:
- Poor model preparation: Ensure the 3D model is well-prepared, without defective meshes or holes. Use mesh repair software to fix these issues before printing.
- Incorrect printing parameters: Check that printing parameters such as temperature, speed, and infill are suited to the material and model. Incorrect settings can lead to failed or poor-quality prints.
- Insufficient bed adhesion: Use adhesives or specific sprays to improve the first layer’s adhesion to the print bed, avoiding detachment during printing.
- Improperly placed or insufficient supports: Overhanging parts need supports to prevent deformation. Ensure that supports are properly placed and sturdy enough.
- Inappropriate materials: Choose a material suitable for your project. For example, PLA is ideal for fine details, while ABS offers better durability.
- Inaccurate calibration: A poorly calibrated printer can result in distorted or inaccurate prints. Regularly check the bed leveling and filament extrusion.
- Neglecting post-processing: After printing, take the time to properly remove supports and sand surfaces for a smooth finish. Painting or varnishing can also enhance the final appearance.
By taking these precautions, you’ll reduce the chances of errors and increase your likelihood of achieving a successful 3D print that meets your expectations.
Conclusion: 3D photo printing
The 3D printing of photos offers a unique and creative way to transform memories into tangible objects. By carefully selecting a suitable photo, properly modeling it in 3D, setting the right printing parameters, and avoiding common mistakes, you can achieve stunning results. Whether for personal keepsakes, artistic projects, or gifts, 3D printed photos capture details in a way traditional photos cannot, offering a new dimension to your cherished memories. With the right tools, materials, and techniques, you can bring your images to life in a way that is both meaningful and visually striking.
Picture by Imprimy.
The articles published on Imprimy.com are for informational purposes only. They are intended to provide general advice and information related to 3D printing. Imprimy.com cannot be held responsible for the results obtained or the consequences arising from the application of the shared information. We recommend always checking the specific instructions for your hardware and materials before use.