Do you want to make or buy 3D printed toys? Discover at Imprimy how to print a toy in 3D or explore the 3D printed toys we offer for sale.
The 3D printing of toys allows for the creation of customized and detailed toys through additive manufacturing, which assembles successive layers of plastic materials.
What is 3D printing of toys?
3D printing allows you to create toys for children in various shapes, and they can have many different features.
The definition of 3D printing of toys
3D printing of toys involves manufacturing toys by creating objects layer by layer from a digital file. This additive technology allows for the production of complex, customized, and unique shapes.
It uses various materials, primarily plastics such as PLA or ABS. 3D printing offers great creative freedom and reduces production costs for small series or prototypes.
The technologies used for 3D printing of toys
The main technologies used for 3D printing of toys are FDM (Fused Deposition Modeling) and Stereolithography (SLA).
FDM is the most common as it is cost-effective and suitable for plastics such as PLA or ABS. SLA offers greater precision using photopolymer resin hardened by a laser. Some applications also use laser sintering (SLS) for more durable and detailed toys.
The differences with traditional toy manufacturing methods
Unlike traditional methods such as injection molding, 3D printing of toys does not require expensive molds. It allows for the production of unique or customized parts on demand, without large production runs.
3D printing reduces waste by using only the necessary material. It also offers more flexibility for testing prototypes or complex designs.
What are the benefits of 3D printing toys?
Like all other forms of 3D printing, 3D printed toys offer numerous benefits such as customization, the educational approach of 3D printing, and the durability of these types of prints.
The customization of your toys through 3D printing
3D printing allows for complete customization of your toys, tailored to the tastes and needs of each child. You can create unique shapes, choose colors, and add custom details.
This technology makes it possible to manufacture custom toys at a lower cost. It encourages creativity by bringing original and unique ideas to life.
The educational experience of 3D printing toys
3D printing of toys offers a genuine educational experience by introducing children to design and digital technologies. It develops creativity, problem-solving, and an understanding of science and technology.
Children can design their own toys and understand the additive manufacturing process. It is also an excellent way to stimulate hands-on learning and the spirit of innovation.
The durability and repairability of 3D printed toys
3D printed toys are often more durable due to the use of resistant plastics such as PLA or ABS. They are easily repairable, as only the broken part can be reprinted instead of replacing the entire toy.
This approach reduces waste and extends the lifespan of toys. It promotes more responsible and eco-friendly consumption.
What is the process of 3D printing toys?
To print a toy in 3D, you must first design the model. Then, you need to prepare the print and proceed to print your object. Finally, post-processing may be necessary to finish your 3D printed toy.
The design of the model you want to print in 3D
The design of the model for 3D printing of toys begins with a 3D drawing created using modeling software like Tinkercad or Blender. It is essential to consider the dimensions, ergonomics, and safety of the toy.
You can create a fully customized model or download a ready-to-print STL file. A good design ensures a functional, original, and 3D printing-adapted toy.
Preparing your 3D print
Preparing your 3D print of toys begins with slicing the model using a slicer software. You need to set the printing parameters: temperature, speed, layer thickness, and infill.
Ensure that the model is properly oriented to avoid unnecessary supports. Good preparation ensures a precise and flawless 3D print for your toys.
Printing your toy in 3D
Printing your 3D toy begins with transferring the sliced file to the printer, which deposits the chosen material layer by layer. During printing, it is important to monitor the quality to detect any potential defects or errors.
Depending on the technology used, printing can take from a few minutes to several hours. Once completed, the toy sometimes requires post-processing such as removing supports or sanding. This step ensures a finished toy, ready to be used or further customized.
Post-processing your 3D printed toy
Post-processing your 3D-printed toy involves removing supports and sanding the surfaces to smooth out imperfections. You can also apply paint or varnish to enhance the toy’s appearance and durability.
Depending on the material used, heat treatment or UV curing may be required. This final step results in a more professional and pleasant-to-touch toy.
What equipment and software are needed to print toys in 3D?
3D printing of toys requires specific machines and materials to ensure that the most suitable products are provided to children.
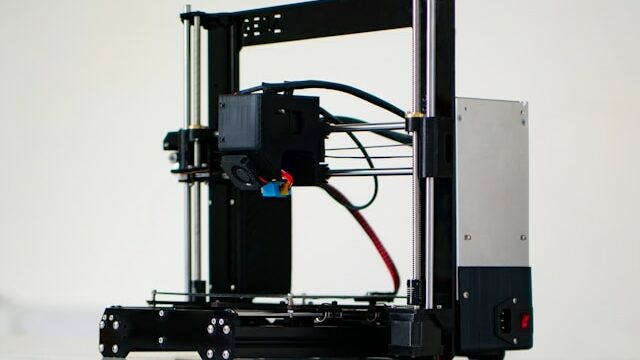
3D printers for making toys
The most suitable 3D printers for making toys are mainly FDM models due to their accessibility and affordable cost. SLA printers offer better precision for highly detailed toys, thanks to the use of photopolymer resin.
Some SLS printers can create strong and durable parts, ideal for long-lasting toys. The choice depends on the level of detail, the desired material, and the available budget.
The most commonly used materials for 3D printing toys
The most commonly used materials for making 3D-printed toys are:
- PLA, valued for its ease of printing and biodegradability.
- ABS is also widely used due to its strength and heat resistance, making it ideal for durable toys.
- Photopolymer resin, used in SLA printing, allows for extremely fine details and precise toys.
- Other materials like PETG or TPU are chosen for their flexibility or extra durability, depending on the toy’s requirements.
What tips should you follow to succeed in 3D printing toys?
To get started with 3D printing toys, you should first find a model to create and then properly prepare your printer to minimize the risk of errors.
Choosing the model you want to print in 3D
The choice of the 3D model to print depends on several criteria such as the toy’s complexity, size, and intended use. It is important to select a file that is compatible with your printer and suited to the expected level of detail.
You can choose a pre-existing downloadable model or create a custom design for more originality. Finally, make sure the model meets safety standards for child use.
Settings to apply to your 3D printer to make a toy
To make a toy in 3D, adjust the extrusion temperature according to the material used (e.g., PLA or ABS) to ensure proper adhesion. Set the printing speed to balance quality and speed, typically between 40 and 60 mm/s.
Choose a thin layer height (0.1 to 0.2 mm) for a smooth and detailed finish. Enable supports if the model has overhangs, and adjust the infill percentage to ensure strength without waste.
Errors that may occur when printing a toy in 3D
Common errors in 3D printing toys include the model lifting off the build plate, often caused by poor adhesion. Nozzle clogs can interrupt extrusion and affect the print quality.
Misaligned layers lead to visible defects and make the toy weaker. Finally, warping (deformation) can occur if the temperature or cooling settings are not suitable for the material used.
Conclusion: 3D Printing of Toys
3D printing is revolutionizing toy manufacturing by offering unlimited customization and creativity. It allows the production of unique toys, tailored to specific needs, and promotes a more eco-friendly approach through repairability.
When well mastered, this technology opens new opportunities for both enthusiasts and toy professionals. Embracing 3D printing means combining innovation, fun, and learning for a truly playful and educational experience.
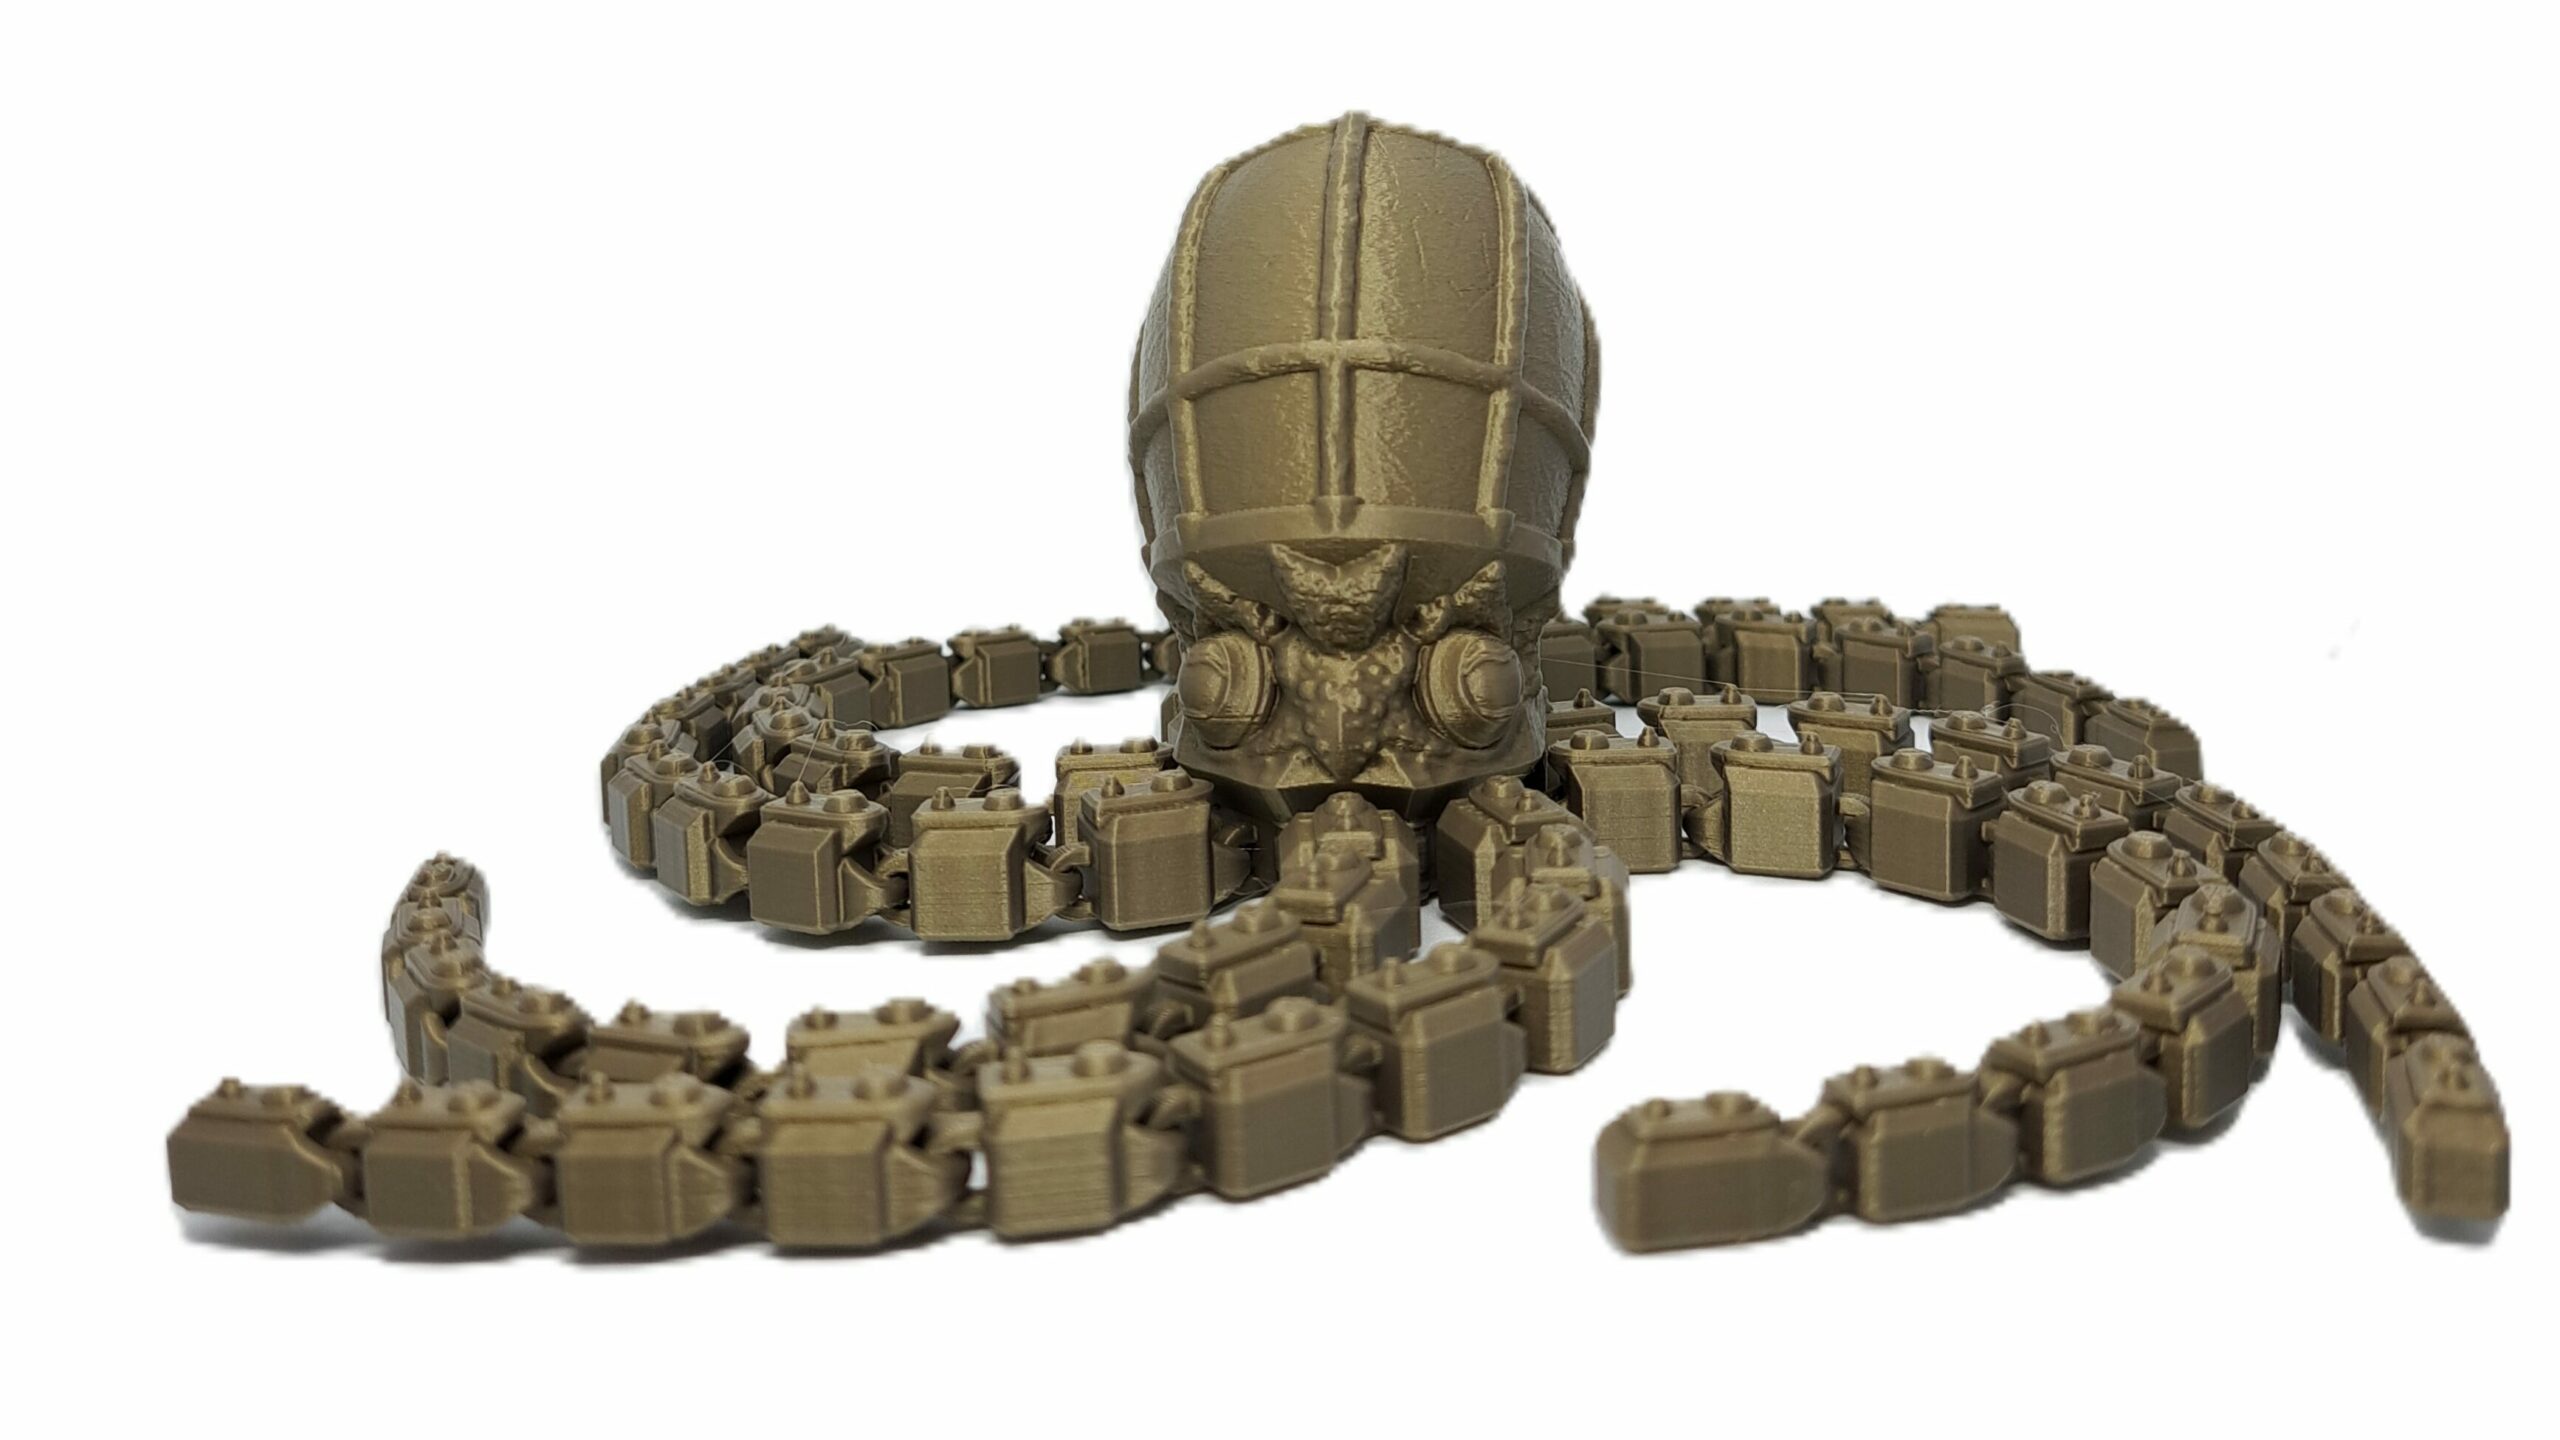
Picture by Imprimy. Design by Props & Beyond.
The articles published on Imprimy.com are for informational purposes only. They are intended to provide general advice and information related to 3D printing. Imprimy.com cannot be held responsible for the results obtained or the consequences arising from the application of the shared information. We recommend always checking the specific instructions for your hardware and materials before use.