Are you wondering what to do with your failed 3D prints? At Imprimy, we answer all your questions.
Faced with failed 3D prints, it is necessary to analyze the causes, repair or recycle the part, document the errors, and adjust the settings to improve the next prints.
Understanding the causes of failed 3D prints
Various technical, design, or even environmental issues can explain why your 3D prints may fail.
Technical issues that can cause 3D prints to fail
Common technical problems in 3D printing include poor bed adhesion, clogged nozzles, and incorrect settings such as temperature or printing speed.
Incorrect calibration can also cause shifts or misaligned layers. Sometimes, poorly extruded filament or filament tangling disrupts the material deposition process. Understanding these defects helps to better correct them and avoid future failures.
Design issues that can hinder your 3D prints
Design problems such as walls that are too thin, poorly supported overhangs, or a lack of support structures can cause failed 3D prints. A complex modeling without considering the printer’s limits often leads to defects or fragile parts.
Additionally, an inadequate orientation of the model can cause inaccuracies or poor adhesion. Optimizing the design before printing is essential for a successful result.
Environmental issues that can cause your 3D prints to fail
Environmental conditions such as a too low ambient temperature or drafts can cause uneven cooling and make the part lift off the bed. A high humidity level can also affect the filament quality, making it brittle or harder to extrude.
The absence of a stable and controlled environment harms the consistency of the print. Creating a dedicated, isolated, and well-ventilated space is therefore crucial to limit these problems.
Evaluating the state of a failed 3D print
You should carefully inspect your prints once the manufacturing process is complete and consider how to reuse your failed prints.
Performing a visual inspection of the 3D print
Visual inspection involves checking the quality of the layers, the presence of defects such as stringing, bubbles, or deformations. It is also important to observe if the part is well adhered to the bed and if the dimensions match the 3D model.
Quickly spotting these anomalies helps to identify the cause of the problem. This step is essential before considering a correction or a new print.
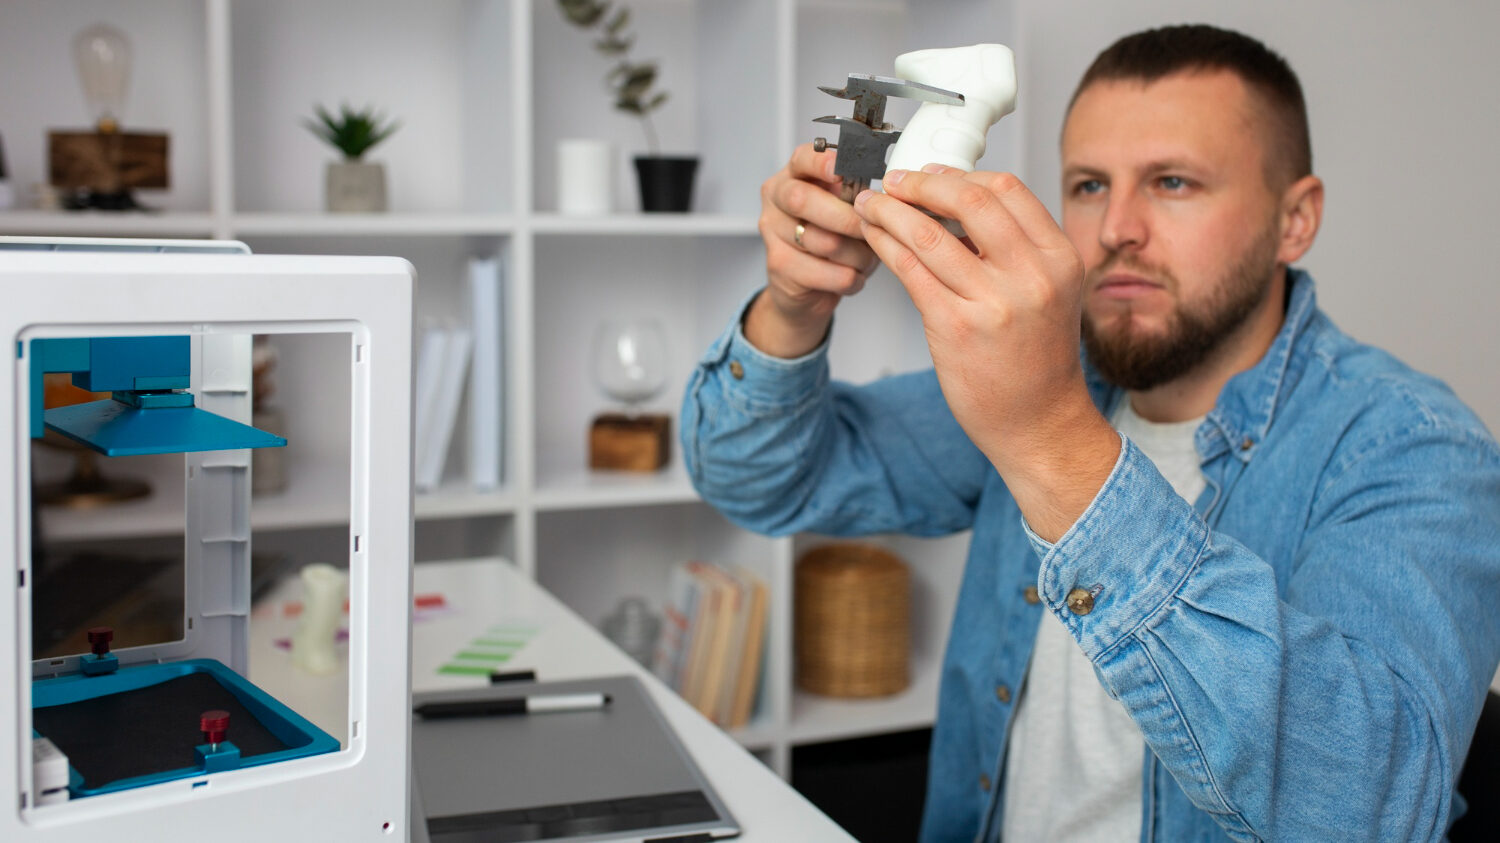
Performing a functional analysis of the 3D print
Functional analysis involves evaluating whether the printed part properly fulfills its intended functions, such as strength, dimensional accuracy, and the mobility of moving parts. It is necessary to test the fit with other components and check the mechanical resistance according to its use.
This step reveals if the print is usable or requires modifications. It complements the visual inspection by focusing on the real performance of the part.
Options for reusing your failed 3D prints
In case of failed 3D prints, you can use these failures instead of discarding them, by incorporating them into a creative process, for example.
Repairing unfinished parts
To repair an unfinished 3D part, start by cleaning visible defects such as burrs or excess strings using a cutter or fine sandpaper. Then, use special plastic glue or a plastic welder to assemble or reinforce fragile areas.
To fill holes or cracks, apply a resin or putty compatible with the material. Finally, sand and, if needed, paint for a clean and functional finish.
Using the failed part in a creative context
A failed part can become a creative raw material for artistic or decorative projects, such as abstract sculptures or mosaics. It can also be recycled into modular elements to create unique objects, like keychains or jewelry.
Turning error into opportunity stimulates innovation and experimentation. Thus, failure becomes a source of inspiration rather than waste.
Learning from the experience gained from these failed 3D prints
You should not hesitate to document your mistakes, adjust certain printing parameters, or use simulation software to reduce the risks of your 3D prints failing.
Document your mistakes to avoid repeating them
Documenting your errors involves carefully noting the causes and the printing conditions that led to a failure. Take photos and write clear observations about the defects encountered and the solutions tried.
This tracking helps to understand error patterns and avoid repeating them. It is a valuable tool to improve and optimize your future prints.
Make adjustments to your printing parameters
To improve your prints, adjust the key settings such as the nozzle and bed temperature, printing speed, and layer height. Also, modify the retraction to avoid unwanted stringing and check the ventilation for optimal cooling.
Test each change gradually to identify its impact. These adjustments help to refine the quality and reliability of your 3D prints.
Use software to perform simulations
Simulation software allows you to anticipate printing defects by modeling filament behavior and mechanical stresses. They simulate parameters such as thermal deformation, overhangs, or necessary supports, helping to optimize the design before printing.
These tools reduce the risk of errors and save time and material. Integrating simulation into your workflow significantly improves the success of 3D prints.
Prevent future failures for your next 3D prints
To prevent future failures in your 3D printing processes, you can apply certain practices such as selecting filaments that are perfectly suited or ensuring that the structure of your model is thoroughly checked.
Best 3D printing practices to apply to avoid failures
To avoid failures, apply best practices such as regular printer calibration, frequent nozzle cleaning, and optimal bed adhesion using appropriate surfaces.
Choose a quality filament and carefully adjust printing parameters according to the material. Prepare your model well by checking the design and adding supports if necessary. Finally, monitor the print to intervene quickly in case of a problem.
A better selection of the most suitable materials
Choosing the right material is crucial: PLA is ideal for beginners thanks to its ease of printing, while ABS offers more strength and flexibility but requires better thermal management.
PETG combines durability and ease, perfect for functional parts. Consider the mechanical strength, operating temperature, and compatibility with your printer to select the material suited to your project.
A more thorough check of your 3D models
A thorough check of your 3D models includes geometry control, detection of mesh errors (holes, inverted faces), and validation of file integrity using specialized software.
Make sure the model meets printing constraints such as minimum thickness and overhangs. Fixing these issues before printing prevents failures and optimizes the final output. Using tools like Meshmixer or Netfabb makes this crucial step easier.
Conclusion: What to do with a failed 3D print?
Faced with a failed 3D print, it is essential to quickly diagnose the technical, design, or environmental causes to avoid repeating the error. You can also repair the part or transform it into creative material to give a second life to your failures.
Documenting each problem and adjusting your printing parameters allows for continuous improvement. Thus, every failure becomes an opportunity to learn and progress in your 3D projects.
Picture by Freepik.
The articles published on Imprimy.com are for informational purposes only. They are intended to provide general advice and information related to 3D printing. Imprimy.com cannot be held responsible for the results obtained or the consequences arising from the application of the shared information. We recommend always checking the specific instructions for your hardware and materials before use.