Would you like to learn more about 3D-printed lithophanes and their specificities? At Imprimy, we are here to answer all your questions or to print your lithophanes for you.
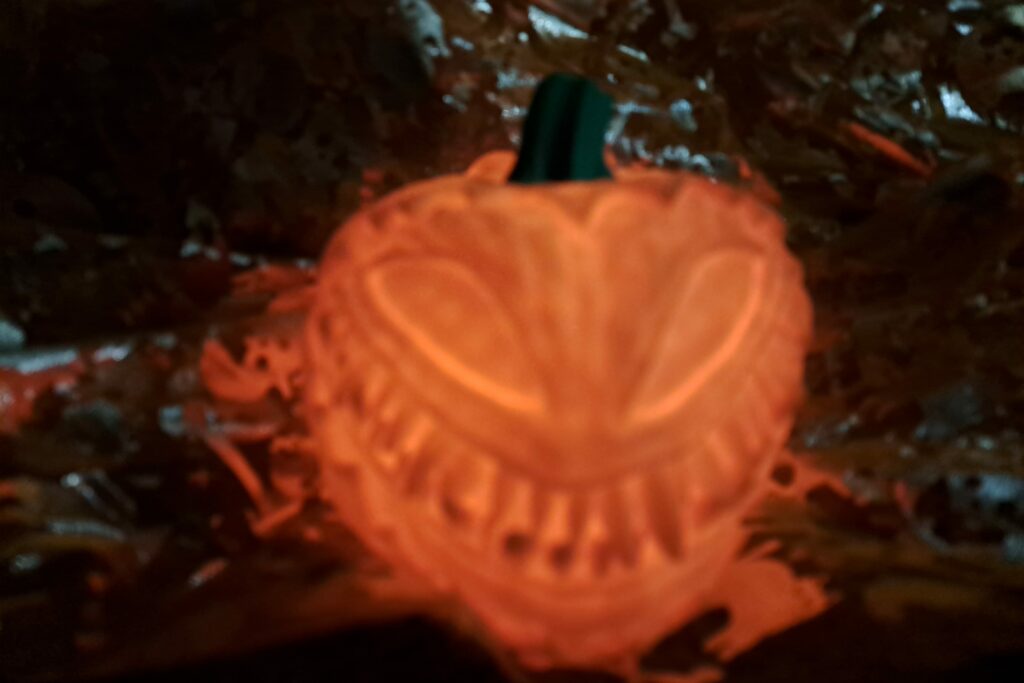
You can transform your photographs into luminous artworks with 3D lithophanes.
What is lithophane?
Lithophane is an artistic technique that involves creating translucent images in relief, often backlit to reveal subtle details.
The historical origin of lithophane
Lithophane is an artistic technique that emerged in Europe during the 19th century, mainly in France and Germany. It involves engraving or molding relief images onto a thin sheet of translucent porcelain, revealing subtle details when backlit.
Its development is attributed to innovations in Saxon porcelain production, especially in Meissen, where artisans refined the method to create elegant works for interior decoration. Quickly adopted by the aristocracy and bourgeoisie, lithophane experienced growth thanks to the progress of industrialization, which made mass production easier.
The functioning of lithophanes
Lithophanes work thanks to the variation in thickness of a thin sheet of translucent porcelain or resin, which alters the amount of light passing through each area. Thicker parts appear darker, while thinner zones let more light through, creating a luminous relief image with subtle contrasts.
When placed in front of a light source (such as a candle, lamp, or natural light), these sheets reveal details that are invisible to the naked eye without illumination. Today, 3D modeling and 3D printing allow this technique to be reproduced with great precision.
The comparison between traditional lithophanes and those 3D-printed
Traditional lithophanes and 3D-printed lithophanes are based on the same principle of using variable thicknesses to control light, but they differ in materials, techniques, and final appearance. Traditional versions are made from translucent porcelain, often sculpted or molded, offering superior fineness and durability, but requiring artisanal expertise and a delicate firing process.
In contrast, 3D-printed lithophanes are made from plastic (such as PLA or resin) or sometimes ceramic, allowing for fast customization and lower cost thanks to modeling software and 3D printers. However, they may have less transparency and a finish that is sometimes less refined than porcelain pieces.
How to make a lithophane using 3D printing?
To make a lithophane with a 3D printer, follow these steps: Create a 3D model of your image, print it using a suitable filament, and backlight it to reveal the details.
Choosing an image suitable for lithophane
For a successful lithophane, it is essential to choose an image with high contrast and a good distribution of shades of gray. Portraits, landscapes with light contrasts, and detailed black-and-white scenes are particularly well-suited. Images with too many uniformly dark or light areas may lose clarity once illuminated. A high-resolution photo with sharp details will allow for better reproduction of the luminous reliefs. It is also recommended to increase the contrast before converting to a lithophane to enhance the depth and brightness effect.
Generate a 3D model from your image
To convert your image into a 3D model for a lithophane, follow these steps:
- Choose a software – Use lithophane generators like Lithophane Maker, Image to Lithophane, or a 3D modeling software like Fusion 360.
- Upload your image – Import your high-contrast image into the software.
- Adjust the settings – Modify the thickness, curvature, and dimensions of the model. Many tools allow you to select if you want a flat, dome-shaped, or cylindrical lithophane.
- Convert the image – The software will generate a 3D model where the thickness varies according to the light intensity of the image.
- Preview the model – Ensure that the details and shading appear as expected before saving the file.
- Export the model – Save the file in a format such as STL to prepare it for printing.
Now, you have a 3D model ready for printing your lithophane!
Properly set up your 3D print
To properly set up your 3D print for a lithophane, follow these recommendations:
- Orientation: Print the lithophane vertically (standing) to achieve the best detail and avoid the layer compression effect.
- Material: Use white or translucent PLA filament to optimize light diffusion.
- Resolution: Opt for a layer height of 0.1 mm for optimal fineness.
- Infill: Set to 100% to avoid any unwanted transparency and ensure a sharp image.
- Minimum and maximum thickness: Adjust between 0.8 mm (light areas) and 3 mm (dark areas) for good contrast.
- Print speed: Reduce to 30-40 mm/s to improve the accuracy of details.
- Cooling: Set the fan to 100% to prevent warping.
With these settings, your lithophane will have a detailed rendering and an optimal lighting effect once illuminated!
Some ideas and inspirations for creating a 3D lithophane
For ideas and inspirations for 3D lithophanes, consider using family photos, natural landscapes, artistic portraits, or abstract patterns, and experiment with different frame shapes and light sources.
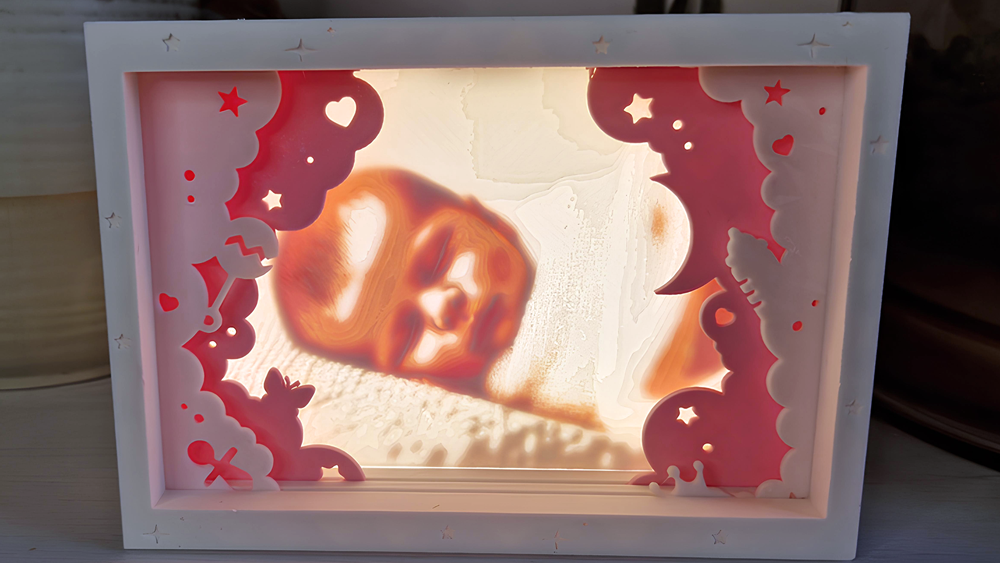
Insert your lithophanes into backlit frames
To insert your lithophanes into backlit frames, follow these essential steps:
- Choose a suitable frame: Opt for a photo frame with an open back or a LED frame specifically designed for lithophanes. Make sure it matches the dimensions of your 3D print.
- Secure the lithophane: Use clips, double-sided tape, or a 3D-printed holder to properly secure the lithophane in place.
- Light source: Install a warm white or neutral LED strip, a light panel, or a diffused lamp behind the lithophane. Ensure that the lighting is even to avoid shadowed areas.
- Power supply: Prefer a USB power block or rechargeable batteries for more flexibility.
- Customization: Add a switch or dimmer to adjust the intensity of the light according to the desired ambiance.
With the right lighting, your lithophane will reveal its depth and add a unique artistic touch to your interior!
Make personalized night lights
To make a custom night light with a lithophane, follow these steps:
- Create the lithophane: Use software like Lithophane Maker or PrusaSlicer to convert an image into a relief. Print using white or translucent PLA, positioned vertically for better detail.
- Choose a base: Opt for a 3D-printed stand or a base that fits your lithophane’s dimensions. You can integrate an LED socket or a space for a LED candle.
- Light source: Use an energy-efficient LED (white or colored) to prevent overheating and ensure a soft light suitable for a night light.
- Power supply: Prefer a USB cable or rechargeable batteries for more convenience. A touch switch or light sensor can be added for added comfort.
- Personalization: Add a decorative frame, an engraved name, or a themed pattern (such as animals, stars, etc.) for a unique touch.
Once assembled, your lithophane night light will emit a soft, calming light, perfect for creating a warm and relaxing ambiance!
Create a lithophane lampshade
To create a lithophane lampshade, follow these steps:
- Choose a suitable image: Opt for a photo with good contrast and marked details, as the light effect will reveal the reliefs.
- Create the 3D model: Use software like Lithophane Maker or Fusion 360 to generate a cylindrical lampshade model or a custom shape (cone, sphere, etc.).
- 3D print: Use white or translucent PLA, set a fine layer height (0.1 mm) for precise details, and print vertically for the best image quality.
- Fixing and structure: Design a 3D-printed frame or use a metal frame to hold the lampshade. Ensure it fits properly with the lamp socket.
- Lighting: Use an LED bulb (avoid incandescent bulbs, which get too hot). A warm light will highlight the details of the lithophane.
- Personalization: Add engraved patterns, textures, or even a name for a unique effect.
Once lit, your lithophane lampshade will emit a soft, artistic glow, perfect for creating a warm ambiance!
Create personalized gifts
Creating personalized gifts with lithophanes is an original and heartfelt idea. Here’s how to proceed:
- Choose the image: Select a meaningful image for the person receiving the gift, such as a family photo, a portrait, a favorite landscape, or a special scene (birthday, wedding, etc.). Make sure the image has good contrast to stand out when lit.
- Create the lithophane: Use software like Lithophane Maker, PrusaSlicer, or Image to Lithophane to convert the image into a 3D model.
- 3D printing: Print the lithophane using white or translucent PLA for optimal light diffusion. Choose a fine layer height (0.1 mm) for more detailed results.
- Personalize the product: Add decorative elements or text (names, important dates) to make the gift unique. You can add backlit frames, night lights, keychains, or even custom lampshades.
- Assembly: If needed, secure the lithophane in a frame, night light, or other support, and add a light source (LED lamp, LED candle). Make sure the lighting is soft and even for a beautiful effect.
- Packaging: For an even more special gift, choose personalized packaging (decorated box, custom gift wrap, etc.).
Lithophanes create a unique atmosphere and a fascinating lighting effect, making them perfect for personalized gifts like lamps, illuminated keychains, photo frames, or even lampshades. It’s a practical and sentimental gift that always touches those who receive it.
What are our tips to help you improve the quality of your lithophanes?
To improve the quality of your lithophanes, use white or translucent filament, adjust your print settings for fine details, and make sure you have uniform lighting at the back.
Advanced settings for better results
To achieve better results when printing lithophanes, here are some advanced settings to consider:
- Reduce print speed: Reduce the print speed to around 30-40 mm/s to improve the accuracy of the details, especially in the fine areas of the image.
- Fine layer height: Use a layer height of 0.1 mm to ensure fine details. If your printer allows it, you can even try smaller layers for even more precise details.
- Extrusion temperature adjustment: Slightly lower the extrusion temperature to achieve better contrast and a better finish. Generally, 200-210°C for PLA works well, but this can vary depending on the filament brand.
- Cooling settings: Set the cooling fan to 100% to prevent warping of fine details and ensure a sharp contrast. This helps solidify each layer quickly, which is essential for a good result.
- Infill density: Use 100% infill for a solid and uniform lithophane. This helps prevent translucent areas and ensures optimal contrast between dark and light zones.
- Support and orientation: Print the lithophane vertically to maximize accuracy and avoid distortions. Use minimal supports (e.g., low-density supports or supports touching only the smallest parts of the piece).
- Image optimization: Before converting the image into a 3D model, apply filtering or adjust the grayscale levels in editing software to ensure the contrasts are well defined, especially in the light and dark areas.
By adjusting these settings, you will achieve a more detailed lithophane, with precise lighting effects and striking contrast once illuminated.
Post-processing of a 3D lithophane
Post-processing a 3D lithophane is essential to improve its final appearance, readability, and lighting effect. Here are the post-processing steps to follow:
- Removal of supports: If you used supports, carefully remove them using a cutter or pliers. Be careful not to damage the fine areas of the lithophane.
- Sanding:
- Light sanding: Use fine-grit sandpaper (220-400 grit) to eliminate surface imperfections and smooth the edges. This also helps create a more uniform finish for the light that will pass through the piece.
- Sanding gently: If your lithophane was printed with visible layers, a gentle sanding can make the surface more uniform. You can also use a hand sander for larger surfaces.
- Washing: Wash your lithophane with warm water and mild soap to remove any dust or support residue. Dry it carefully to avoid moisture marks.
- Improving transparency: If you want to enhance transparency, you can use products like clear acrylic varnish or epoxy resin to coat the surface. This helps to smooth the surface and gives it a more shiny and translucent look. You can also apply a light layer of plastic polish for a more polished finish.
- Coloring: If you want to add specific colors (e.g., shades on certain areas) and didn’t print it in color, you can use permanent markers or acrylic paint to customize certain parts of your lithophane. However, be careful not to cover areas that should let light pass through.
- Lighting finish: Place the lithophane in a backlit frame or install a LED light source behind it. To improve the lighting effect, choose either white or warm light (RGB LEDs can also be used for special effects). You can also paint the interior of the frame with a white or light color to enhance the light diffusion behind the lithophane.
Post-processing is a way to enhance your lithophane, improve its details, and maximize its effect when illuminated. With the right care, your 3D lithophane will have an outstanding result, with clear contrasts and well-defined lit areas.
The addition of an LED support will illuminate your lithophane
The addition of an LED support to illuminate your lithophane is an excellent way to fully reveal its raised details and create a fascinating light effect. Here are the steps to install an LED support behind your lithophane:
- Choose a suitable LED support: An illuminated LED support can be bought or made by printing a 3D base specifically designed to hold LED strips or a lamp. You can also use a frame with integrated backlighting. LED strips are ideal because they provide even light across the entire surface of the lithophane. Opt for white or warm LEDs for a soft and natural light, or RGB LEDs for a colored effect.
- Prepare the lithophane: If you are printing a custom frame, make sure it has enough space to accommodate the LED strips without them being too visible. Ensure the back of the lithophane is completely flat to ensure uniform contact with the light source, which will allow for even light diffusion.
- Install the LEDs: Attach the LED strips or LED lamp behind the lithophane. For the LED strips, measure the length needed to cover the base of the frame. Stick the LED strips inside the support or frame using double-sided tape or adhesive putty. Make sure the LEDs are not too close to the lithophane to avoid overheating.
- Connect and power: Connect the LEDs to a power source (USB plug, power adapter, rechargeable batteries, or battery). If you want to add a practical touch, use a touch switch or a light sensor to turn the LEDs on or off as needed. You can also use a dimmer to adjust the light intensity to match the desired ambiance.
- Test the lighting: Once everything is assembled, test your lithophane by turning on the light source. You should see the raised image reveal itself with a soft, uniform light. If necessary, adjust the position of the LEDs to optimize the lighting or reduce unwanted shadows.
With a good LED support, your lithophane will be beautifully illuminated and offer a spectacular visual effect, perfect for a unique interior decoration, a personalized gift, or even a practical decorative item!
Conclusion: 3D Lithophane
A 3D lithophane is a stunning and unique way to showcase images in a tangible form. By utilizing the contrast between light and shadow, it brings photographs or designs to life in a way that traditional prints cannot. The addition of an LED support enhances the visual impact, creating a soft, uniform glow that reveals intricate details and gives the lithophane a mesmerizing, three-dimensional effect.
Whether displayed as a piece of art, used for personalized gifts, or as a decorative item in a home or office, a 3D lithophane is a versatile and visually striking creation. With the right installation, you can enhance its beauty, creating a piece that is both functional and captivating, with a touch of elegance and innovation.
Picture by Imprimy.
The articles published on Imprimy.com are for informational purposes only. They are intended to provide general advice and information related to 3D printing. Imprimy.com cannot be held responsible for the results obtained or the consequences arising from the application of the shared information. We recommend always checking the specific instructions for your hardware and materials before use.