Want to start painting your 3D prints? At Imprimy, we will guide you through the process and highlight the key details you need to pay special attention to.
Why Paint Your 3D Print?
Painting a 3D print adds a personal touch, allowing you to give your prints a more refined aesthetic while also giving you the freedom to experiment.
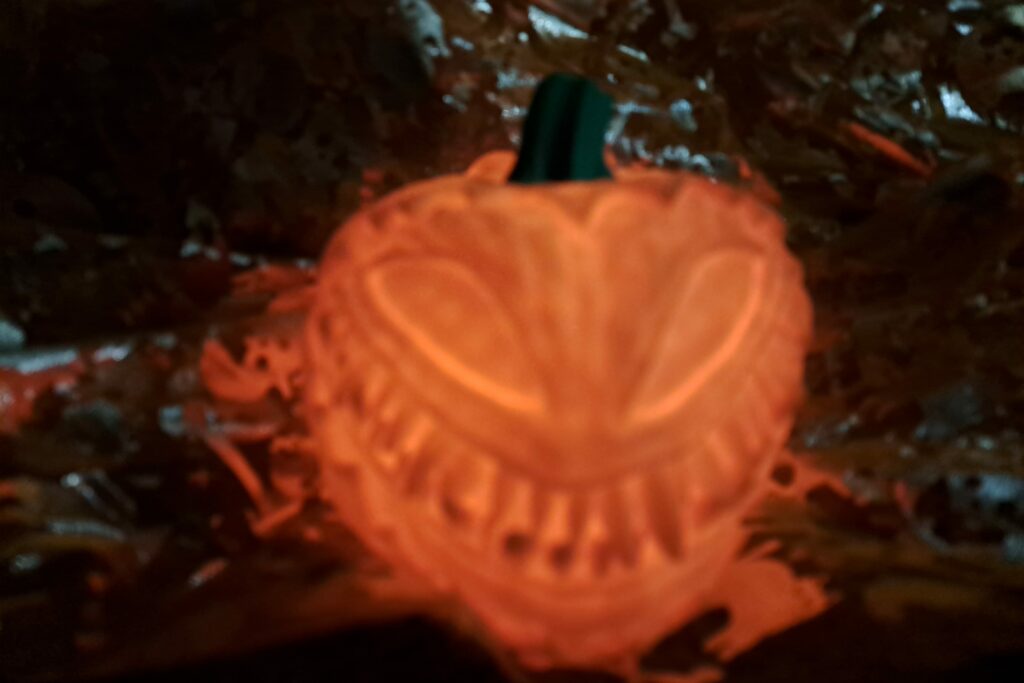
Add a Personal Touch to Your 3D Print
Adding a personal touch to your 3D prints allows you to transform standardized objects into unique and original creations. Whether it’s for customizing figurines, enhancing decorative items, or creating cosplay accessories, painting provides an opportunity to express your creativity while making your pieces more visually appealing.
By personalizing your prints, you can also add special details or effects, such as weathered textures or metallic finishes. These aesthetic touches will give your creations a professional and distinctive character.
Give a Professional Finish to Your 3D Print
Giving a professional finish to your 3D prints enhances your creations by concealing layer lines and any imperfections left by the printing process. By using appropriate techniques such as sanding, applying a primer, and carefully painting, you can achieve a smooth and even result that highlights every detail of your piece.
This is especially useful if you plan to present your objects to clients, participate in competitions, or simply elevate the aesthetic quality of your personal projects. A well-finished print transforms your creations into pieces worthy of expert craftsmanship.
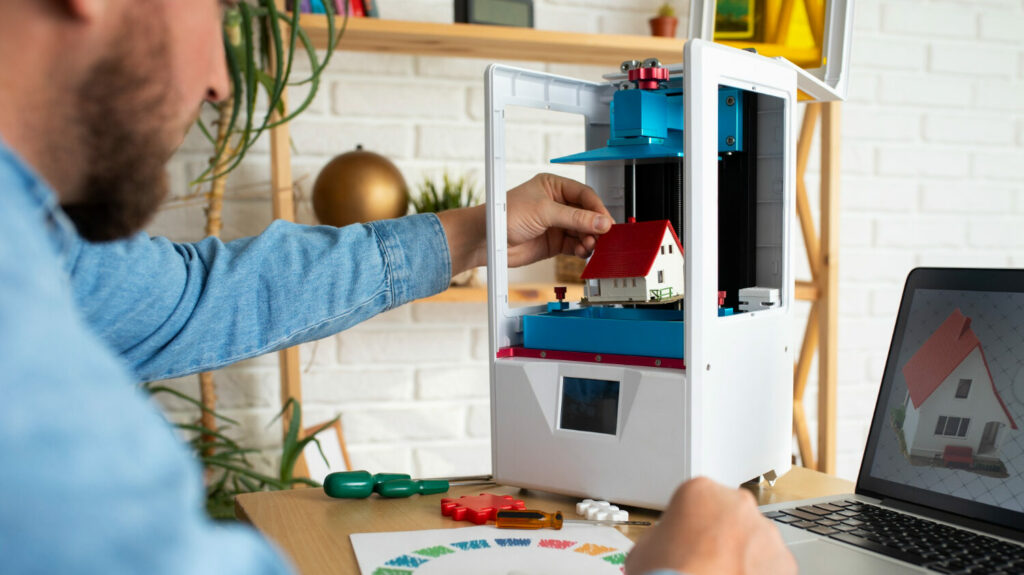
Experiment with a More Creative Approach to 3D Printing
Experimenting with a More Creative Approach to 3D Printing opens up a world of artistic possibilities to elevate your creations. By playing with colors, textures, and special effects like gradients, patinas, or metallic finishes, you can bring your objects to life in a unique and captivating way.
This exploration allows you to go beyond simple technical reproduction and infuse real personality into your creations. Whether you’re aiming to create artistic pieces, original accessories, or refined design prototypes, let your imagination run wild—transforming your 3D prints into true works of art.
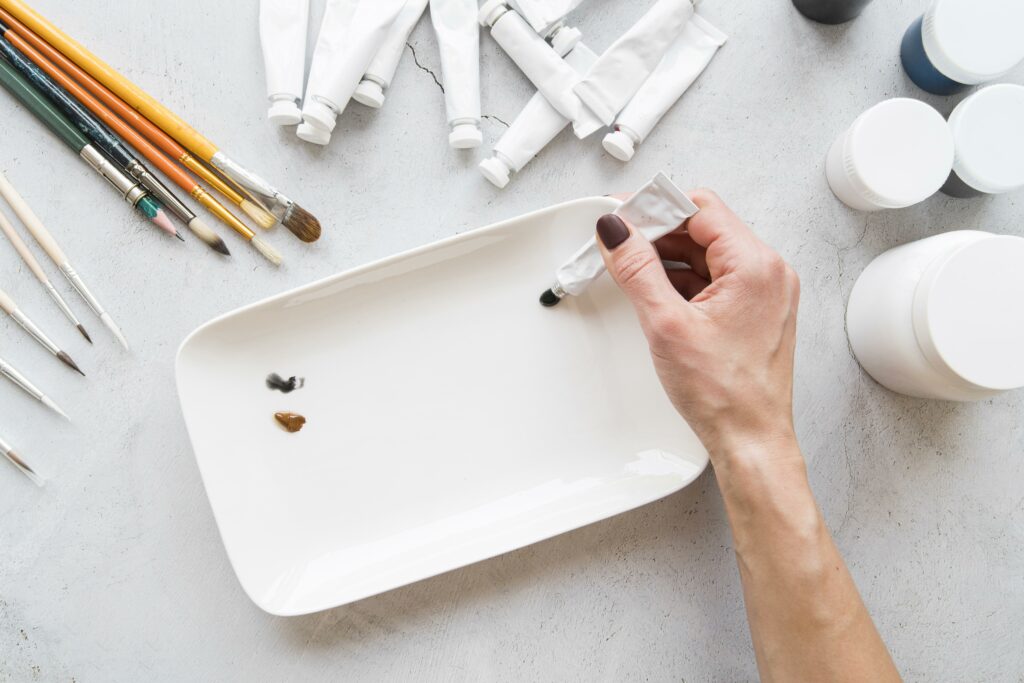
What Materials Are Needed to Paint Your 3D Print?
To paint a 3D print, you’ll need to prepare tools, primers, paints, and even specific equipment that will allow you to paint your object properly.
The Tools You Need to Prepare Properly
To paint your 3D print correctly, here are the essential tools:
- Sandpaper: Fine-grit sandpaper (200 to 400) to smooth the surface and remove small imperfections.
- Primer: A spray or liquid primer, ideal for preparing the surface and improving paint adhesion.
- Acrylic Paint: Acrylic paints, available in spray or brush form, in a wide range of colors and finishes.
- Brushes: Various sizes of brushes for applying fine details or special effects.
- Varnish: A protective varnish (matte, satin, or glossy) to protect the paint and provide a durable finish.
- Masking Tape: To mask off areas you don’t want to paint and create clean lines.
- Gloves and Mask: To protect your hands and avoid inhaling paint fumes.
With these tools, you’ll be well-prepared to give your 3D prints a professional and polished finish!
Primers to Prepare Your 3D Print
Priming is an essential step before painting your 3D print. Here’s what you need to know about primers:
- Purpose: Primers create a smooth and uniform surface for the paint to adhere to, improving the overall finish. They also help fill in small imperfections and provide a base for better coverage.
- Types of Primers:
- Spray Primer: A quick and easy option, spray primers work well for covering larger areas and ensuring even coverage.
- Brush-On Primer: Ideal for more detailed work or when you need to control the amount of primer applied. It is also useful for small or intricate parts.
- Filler Primer: If your print has visible layer lines or imperfections, a filler primer helps to smooth the surface and minimize these imperfections.
- Choosing the Right Primer: Make sure to choose a primer designed for the type of plastic your 3D print is made of (such as PLA, ABS, or resin). Using the right primer ensures better adhesion of the paint.
- Application Tips:
- Apply the primer in light, even coats to avoid drips.
- Let the primer dry completely between coats.
- Sand lightly between coats if you need a smoother finish.
Using the correct primer ensures a more professional result and prepares your 3D print for a flawless paint job.
The Paints to Apply to Your 3D Prints
Choosing the right paint is key to achieving a great finish for your 3D prints. Here’s what you need to know about the different types of paints and how to apply them:
- Types of Paints:
- Acrylic Paint: The most popular choice for 3D prints. It’s versatile, dries quickly, and is available in a wide variety of colors and finishes (matte, satin, or glossy). Acrylic paints work well with plastic materials like PLA and ABS.
- Spray Paint: Ideal for covering large areas quickly, spray paint provides an even coat. It’s perfect for achieving a smooth, professional finish, but it requires good ventilation.
- Enamel Paint: Enamel paint offers a more durable finish than acrylic, making it great for items that will experience wear and tear. However, it takes longer to dry and may require more careful handling during application.
- Metallic Paint: If you want to achieve a shiny or metallic look, such as for sci-fi models, props, or detailed designs, metallic paints are a great option. They give a reflective, eye-catching finish.
- Glow-in-the-Dark Paint: For something truly unique, glow-in-the-dark paints add an exciting effect to your 3D prints, perfect for night-time displays or fun designs.
- Choosing the Right Paint:
- Make sure the paint is compatible with the material your 3D print is made of (e.g., PLA, ABS, resin).
- For detailed work or parts with intricate designs, consider using brush-on paint for greater control over application.
- If you’re painting a large area, spray paint can be a quicker and more even option.
- Application Tips:
- Apply paint in thin, light coats, allowing each layer to dry completely before adding the next.
- When using spray paint, hold the can at least 6-12 inches away from the surface to avoid drips and ensure an even coat.
- Use fine brushes for small details and touch-ups.
By selecting the right type of paint and applying it carefully, you’ll achieve a stunning, durable finish for your 3D prints.
Brushes and Tools for Painting Your 3D Print
Using the right brushes and tools will help you achieve a clean and detailed finish for your 3D prints. Here’s a guide to the essential brushes and tools you’ll need:
- Brushes:
- Flat Brushes: Ideal for covering larger areas, flat brushes are perfect for applying base coats and primer. They help you achieve smooth, even layers.
- Round Brushes: Great for painting fine details, small areas, and intricate designs. They are perfect for adding highlights, shading, or texturing.
- Detail Brushes: Small, precise brushes with fine tips are essential for delicate work and tiny details, such as lettering or patterns on your print.
- Filbert Brushes: A mix between round and flat brushes, filbert brushes are versatile and perfect for curved or soft, blended strokes.
- Other Tools:
- Palette Knife: Useful for mixing paint, applying thick layers, or creating texture effects on your prints.
- Sponges: Sponges are ideal for creating textured or weathered effects, such as patinas or distressing. They can also be used to blend colors for a smoother transition.
- Airbrush: If you want to achieve smooth, even coats of paint with a professional finish, an airbrush is a fantastic tool. It’s particularly great for gradients, shading, or achieving subtle effects.
- Painting Dishes or Palettes: A surface for mixing your paint, ensuring you get the right color and consistency before applying it to your print.
- Cotton Swabs and Cloth: Handy for cleaning up excess paint or for fine-tuning details. Cotton swabs can be used for precision touch-ups, especially around tight areas or edges.
- Additional Tools:
- Tweezers: Useful for positioning tiny parts, such as decals or accessories, on your print.
- Masking Tape: Protect areas you don’t want to paint, or create sharp lines and boundaries for design work.
- Rotary Tool (optional): For fine sanding or polishing, a small rotary tool can help with smoothing rough patches or adding extra detailing to the surface before painting.
By selecting the right brushes and tools, you’ll have more control over your painting process, ensuring a clean, professional, and detailed result on your 3D prints.
Products to Apply for the Finishing Touch
To give your 3D prints a polished, professional look, you’ll need the right finishing products. Here’s a list of key products to apply after painting to ensure durability and an outstanding finish:
- Varnish:
- Matte Varnish: Provides a non-glossy finish and reduces shine, ideal for giving your 3D print a more natural or subtle appearance.
- Glossy Varnish: Adds a shiny, high-gloss finish that enhances the colors and gives a sleek, polished look to your print.
- Satin Varnish: Offers a balanced, semi-gloss finish that’s not too shiny or too matte, giving your 3D print a refined and elegant appearance.
- Spray Varnish: A convenient option for applying a smooth, even coat of varnish. It’s ideal for covering larger areas without disturbing painted details.
- Clear Coat: A clear coat protects your paint from scratches, dirt, and other wear. It also adds durability to your print. Clear coats come in various finishes (matte, satin, or gloss) and can be applied either by brush or spray.
- Epoxy Resin: Epoxy resin is a thicker, more durable finish often used for creating high-gloss, hardened surfaces. It gives your prints a glossy, glass-like appearance, enhancing depth and detail while protecting the paint.
- Weathering Products:
- Wash: A wash can be used to enhance details and create depth by darkening recessed areas. It’s often used for adding a weathered or aged effect.
- Pigment Powders: Pigments can be applied to create textured finishes or effects like rust, dirt, or a patina.
- Chalk Pastels: For subtle shading or adding a dusty or aged effect, chalk pastels can be lightly applied to the surface and blended with a brush or cloth.
- Polishing Products: After sanding your print, you may want to polish the surface for a shiny, smooth finish. Polishing compounds are great for smoothing out rough spots and adding shine to your 3D print, especially if you’re working with certain materials like resin.
- Decals and Transfers: For adding intricate designs, logos, or text to your print, decals or water-slide transfers can be used. They are applied over the painted surface for detailed customization and professional-looking designs.
By applying these finishing products, you’ll be able to protect your 3D print, enhance its appearance, and make sure it lasts over time while maintaining its vibrant finish.
What Are the Preparatory Steps Before Painting Your 3D Print?
To Paint Your 3D Print, You Must Start by Cleaning the Object and Applying a Primer Coat
Cleaning Your 3D Print
Cleaning your 3D print before painting is an essential step to ensure proper adhesion of paint and a smooth finish. Here’s how to effectively clean your 3D print:
- Remove Excess Filament or Supports:
- After printing, you may notice small filament strings or supports left on the object. Use pliers, cutters, or a small saw to carefully remove any support structures. Be gentle to avoid damaging delicate parts of the print.
- Remove Dust and Debris:
- Dust and debris can accumulate during the printing process. Use a soft brush (like a paintbrush or makeup brush) to gently remove any particles from the surface. This ensures that no dirt interferes with the painting process.
- Wash with Soapy Water:
- PLA prints: Wash the print in warm soapy water to remove any oils, dust, or residues left from handling. Use a soft sponge or cloth to wipe down the surface.
- Resin prints: For resin prints, you should rinse the object in isopropyl alcohol (IPA) to remove any uncured resin from the surface. You can also use a resin wash station to clean prints more effectively.
- Rinse and Dry:
- After washing, rinse your print with clean water to remove any remaining soap or IPA. Let the print dry completely before moving on to the next steps.
- Check for Imperfections:
- Inspect your print for any remaining imperfections such as layer lines, rough spots, or holes. These can be fixed in the next step, sanding or filling.
Once your print is clean, dry, and free of debris, it’s ready for priming and painting! This cleaning step ensures that the paint adheres properly and that your 3D print looks as good as possible.
Applying a Primer Coat to Your 3D Print
Applying a primer coat on your 3D print is essential to ensure good paint adhesion and achieve a uniform finish. Before proceeding, make sure your piece is clean and free from dust or moisture.
Use a primer suited to the material of your print, keeping a distance of about 20-30 cm (8-12 inches) to avoid drips. Apply the first thin, even layer, then allow it to dry according to the manufacturer’s instructions.
If necessary, you can add a second coat to improve coverage. This step helps to smooth out small imperfections and prepares the surface for painting.
What Techniques to Use for Effectively Painting Your 3D Print?
You Can Paint Your 3D Prints by Hand, with an Airbrush, or Even Use Advanced Techniques, Before Applying a Varnish Once the Painting is Finished.
Paint your 3D print by hand
Painting your 3D print by hand allows you to precisely control the details and achieve a customized finish. To do this, start by selecting acrylic paints suited to your needs, choosing high-quality colors that offer good coverage. Use a fine brush for small areas and intricate details, and a larger brush for bigger surfaces.
Apply multiple thin coats rather than one thick layer, allowing each coat to dry before the next to avoid drips and achieve an even finish.
Work in small sections to control the paint application and avoid brush marks. This method enables you to add precise and creative touches while ensuring a neat and detailed result.
Paint your 3D print with an airbrush
Painting your 3D print with an airbrush gives you a smooth and professional finish, ideal for gradients or subtle effects. To start, choose paint specifically designed for airbrushing, which is often more fluid, and make sure the airbrush is clean and ready for use.
Hold the airbrush about 15 to 20 cm from the surface and apply several light coats, making regular passes to avoid paint buildup and drips.
This technique allows you to create smooth transitions between colors, add shadows, or enhance details, all while ensuring an even finish and flawless coverage. With practice, the airbrush will enable you to achieve creative effects that are difficult to replicate with a traditional brush.
Use advanced techniques to paint your 3D print
Using advanced techniques to paint your 3D print adds an artistic dimension to your creations, giving them a more detailed and realistic appearance. Dry brushing, for example, involves applying a small amount of paint to a nearly dry brush to highlight textures and raised details, creating a weathered or worn effect.
Washing, on the other hand, adds shadows and depth by applying a diluted paint that seeps into the crevices and fine details of your object. You can also experiment with metallic or pearlescent effects using special paints to mimic surfaces like metal or glass.
These techniques add nuances, texture, and impressive realism to your prints, while highlighting every detail of your work.
Secure and protect the paint you applied to your 3D print
To secure and protect the paint you applied to your 3D print, it is essential to finish with a layer of varnish. Choose a varnish that suits your desired effect, whether matte, satin, or glossy. Apply it evenly in several thin coats, using a spray to avoid brush marks, and allow each coat to dry before the next. The varnish creates a protective barrier against wear, scratches, and moisture, while preserving the paint’s shine. It also protects against UV rays, preventing your creations from fading, especially if they are exposed to light. This final step ensures the durability and longevity of your painted prints.
What are the common mistakes when painting 3D prints and how to avoid them?
Making certain mistakes, such as not using the right primer, applying the wrong type of paint, or not following the usage instructions properly, can harm the quality of your 3D prints.
Not using a primer
Not using a primer before painting your 3D print can negatively affect the final quality of your project. The primer is essential to ensure good paint adhesion to the surface of the object, especially by masking small imperfections and smoothing out the layer lines.
Without this preparatory step, the paint may peel or fail to adhere properly, creating an uneven result that is less durable. Furthermore, skipping the primer can make it more difficult to apply multiple layers of paint, affecting the color uniformity and professional finish of your object. Therefore, it is highly recommended not to neglect this step, even if it may seem optional.
Using the wrong paints on your 3D prints
Using the wrong paints on your 3D prints can compromise not only the appearance of your creations but also their durability. Some paints, such as solvent-based ones or those not designed for plastics, may not adhere properly to the print surface or can cause cracks and peeling over time.
Additionally, paints that are too thick can obscure the fine details of your object or create irregularities on the surface. It is essential to choose acrylic paints specifically designed for 3D printing materials like PLA or ABS to ensure an even finish, good adhesion, and increased longevity of your projects.
Applying too many coats of paint on your 3D prints
Applying too many coats of paint on your 3D prints can lead to several problems, affecting the quality of your finish. Layering thick coats risks masking the fine details of the object, making the surface rough, or creating visible drips.
Additionally, thick paint takes longer to dry, which can result in unwanted marks or insufficient adhesion between layers. It is better to apply several thin, even coats, allowing each to dry in between, to achieve a smooth, precise, and durable result without compromising the structure of your print.
Ignoring drying times
Ignoring drying times between paint layers can compromise the quality of your work and cause visible defects on your 3D print. If you don’t allow enough time for each layer to dry properly, the paint may mix or spread, creating smudges, brush marks, or uneven surfaces.
Additionally, applying new layers to a still-wet surface can prevent optimal adhesion, which could lead to peeling or flaking of the paint over time. It is essential to respect the recommended drying times to ensure an even, durable, and professional finish.
Conclusion: Painting your 3D prints
In conclusion, painting your 3D prints is an excellent way to add a personal and professional dimension to your creations while enhancing their design. By following preparation steps such as cleaning, sanding, and applying a primer, you ensure optimal paint adhesion.
Using appropriate techniques and products, whether acrylic paint, varnish, or airbrushing, will allow you to achieve an even, durable, and aesthetic finish. By taking the time to respect each step, you will transform your 3D prints into true works of art, ready to impress and last over time.
Picture by Freepik.
The articles published on Imprimy.com are for informational purposes only. They are intended to provide general advice and information related to 3D printing. Imprimy.com cannot be held responsible for the results obtained or the consequences arising from the application of the shared information. We recommend always checking the specific instructions for your hardware and materials before use.
Check our other contents about 3D prints finishing :
Smooth a 3D print
Do you want to start smoothing a 3D print but don’t know how to do…
Paint Your 3D Print
Want to start painting your 3D prints? At Imprimy, we will guide you through the…
The joints of 3D prints
Would you like to know how to create effective and strong joints in your 3D…