To learn more about 3D printing supports and how to remove them properly, Imprimy.com is here to answer all your questions on this topic.
To remove the supports from a 3D print, use tweezers to gently detach them, then sand the rough areas with fine-grit sandpaper.

What are 3D printing supports?
3D printing supports are temporary structures added during printing to support overhanging or suspended parts of a model.
The definition and usefulness of 3D printing supports
3D printing supports are temporary structures added during printing to support overhanging or suspended parts of a model. Their usefulness lies in preventing deformations and collapses, ensuring the accuracy and integrity of the final product.
They are particularly essential for complex designs with sharp angles or floating elements, enabling a successful print that would otherwise be impossible.
The different types of supports in 3D printing
In 3D printing, various types of supports exist to meet different model requirements:
- Soluble supports are made from materials that dissolve in water or chemical solutions, allowing for easy removal without damaging the model.
- Breakaway supports are designed to be manually removed by breaking them off.
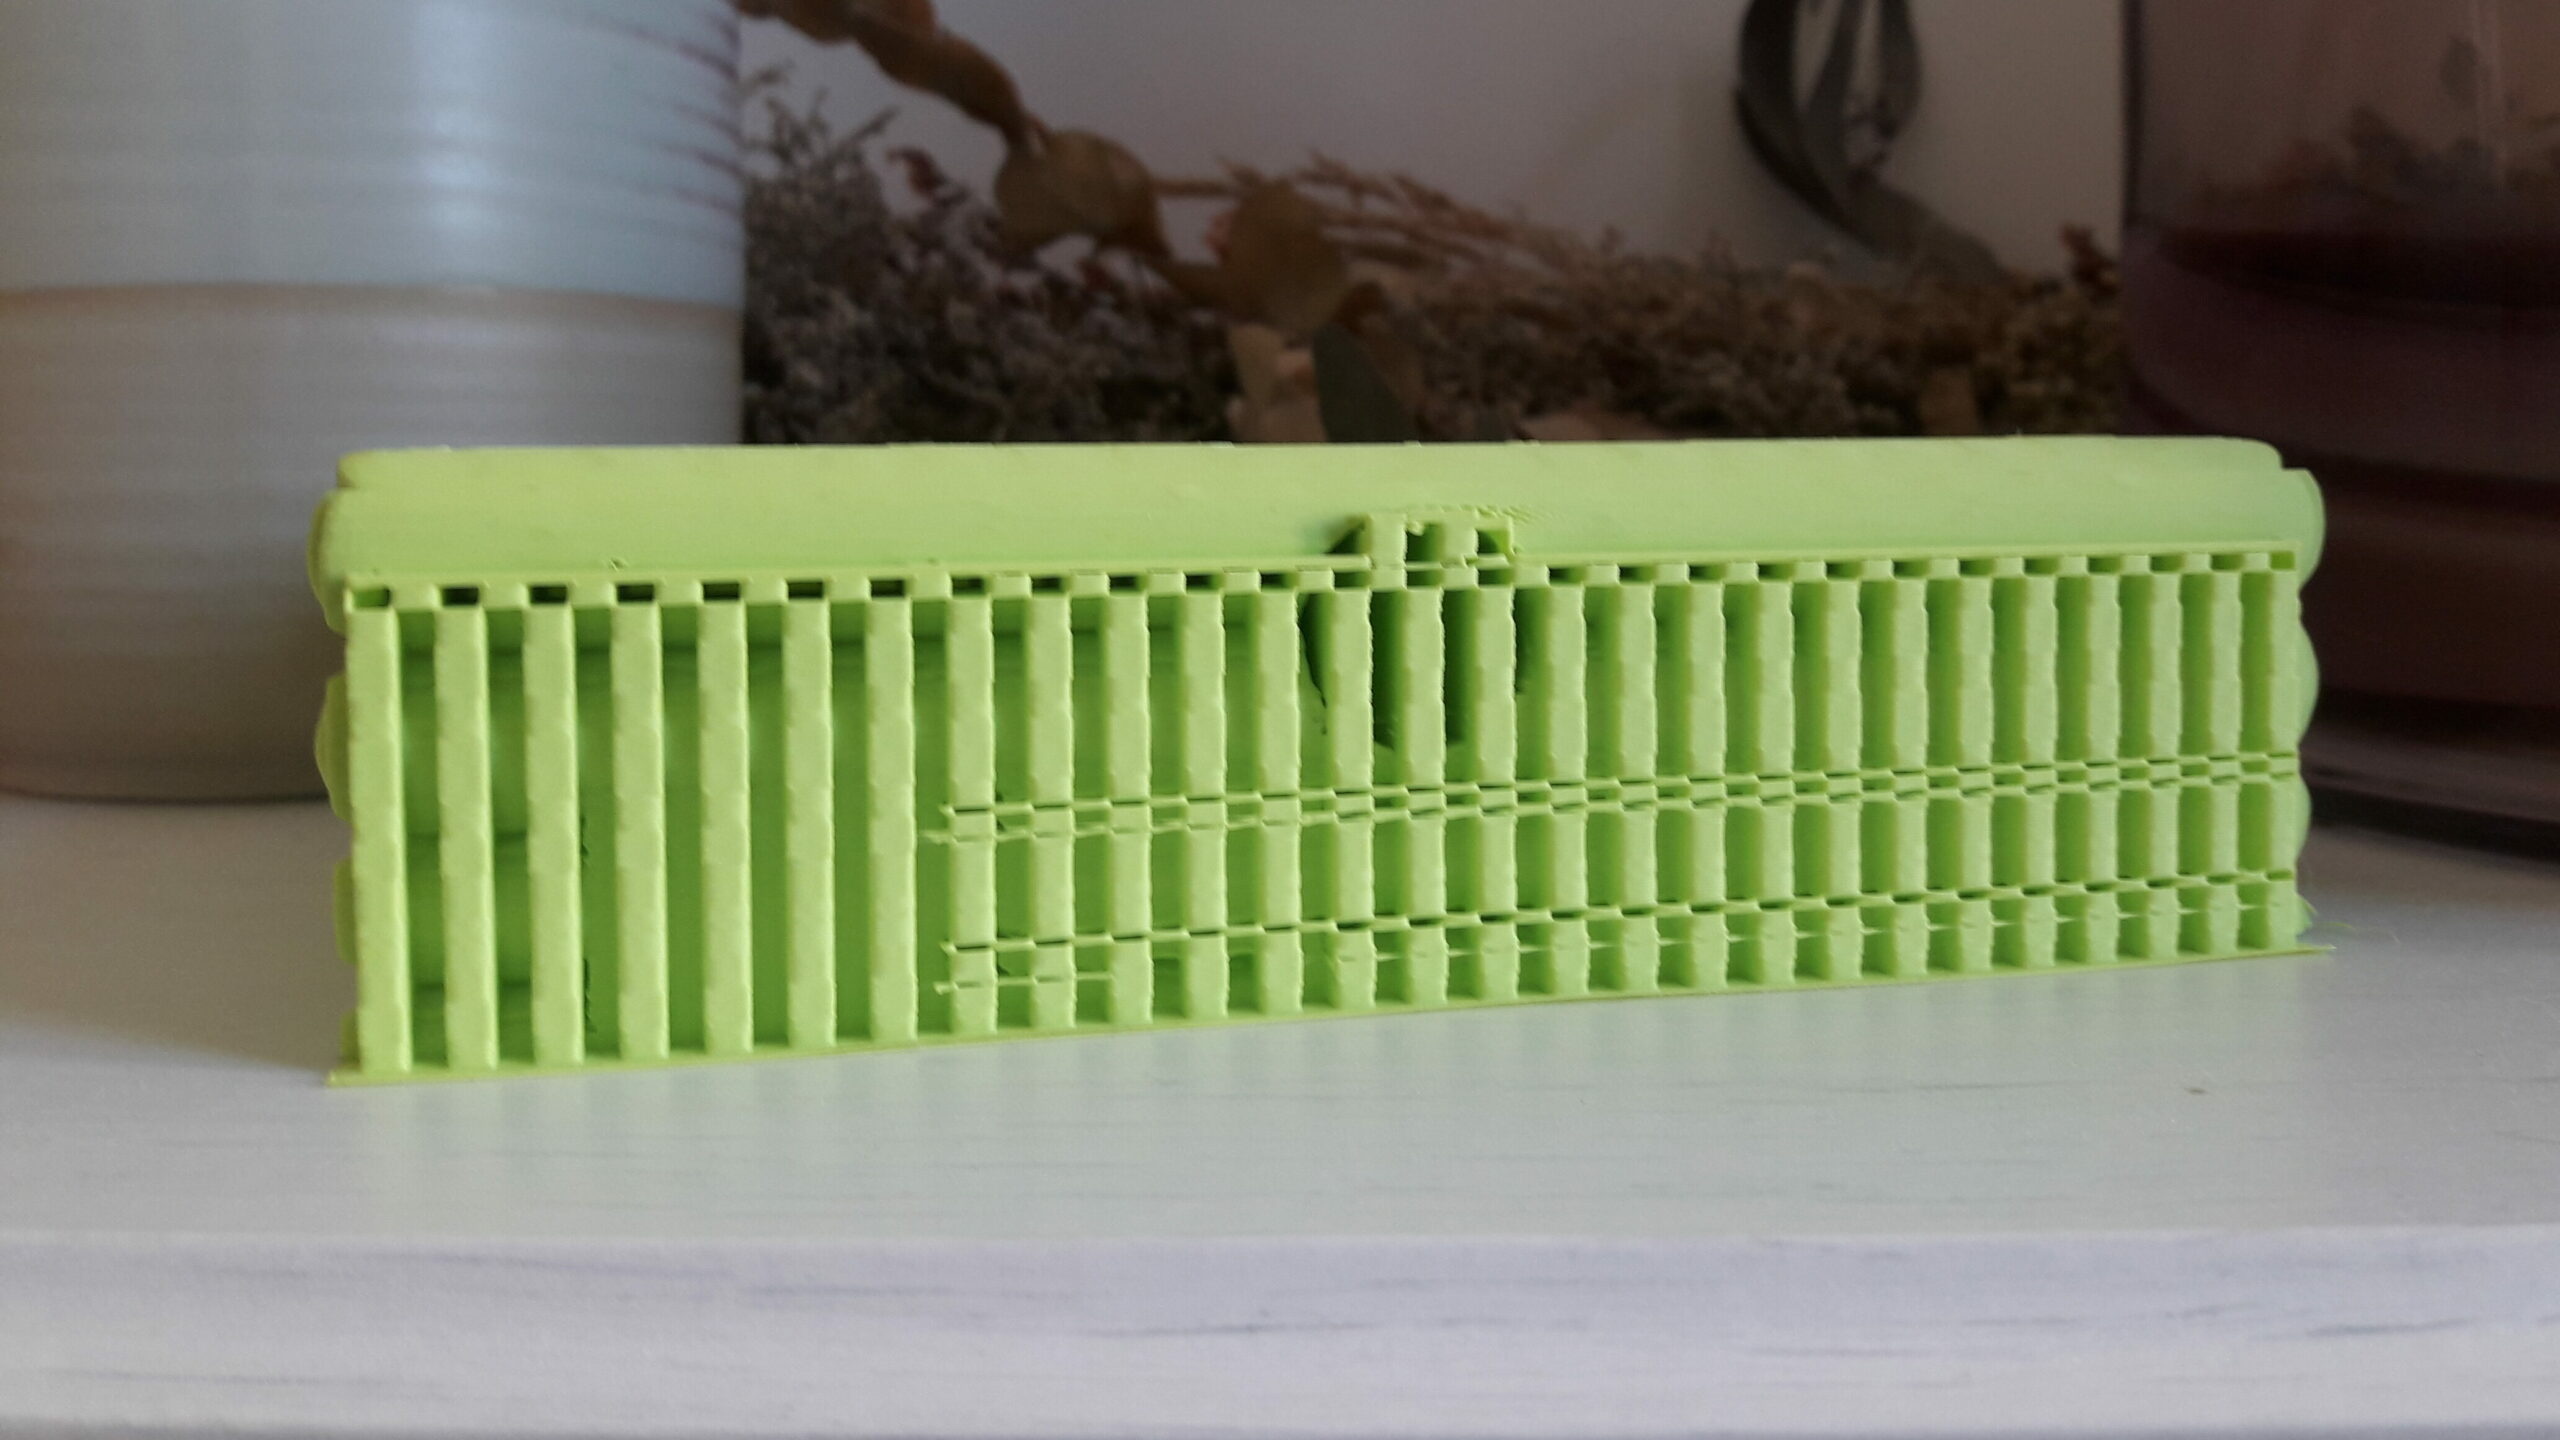
- Lattice supports provide a lightweight and material-efficient structure, ideal for large surfaces requiring minimal support.
- Tree supports are used for complex structures, minimizing contact with the model for a smoother finish.
Each type of support has its specific advantages, affecting the final quality and ease of post-processing.
How to prepare for removing 3D printing supports?
To remove 3D printing supports, prepare tweezers, a cutter, and fine sandpaper, and ensure you work on a stable and well-lit surface.
Choose your material wisely
Choosing the right 3D printing material is crucial and depends on several factors, including the functionality, durability, and budget constraints of the final model.
- Plastics, such as PLA and ABS, are commonly used for their ease of printing and affordability, though their mechanical properties differ.
- Resins provide a smooth and detailed finish, making them ideal for high-precision models.
- Metals are preferred for applications requiring high strength and durability.
- Composite materials combine the benefits of multiple materials to achieve specific properties.
It is essential to consider the project’s requirements, such as heat resistance, flexibility, and biocompatibility, to select the most suitable material.
The necessary tools to remove your 3D printing supports
To effectively remove 3D printing supports, several tools are necessary.
- Tweezers and pliers allow for careful handling and removal of supports, while cutters and scissors are used to cut through sturdier supports.
- Files and sandpaper help smooth the surfaces after support removal.
- For soluble materials, an ultrasonic bath or simple immersion in water can dissolve the supports without manual effort.
The use of these tools depends on the type of support and the material used, ensuring a clean and precise finish of the printed model.
The precautions to take when removing your 3D printing supports
When removing 3D printing supports, certain precautions are essential to avoid damaging the model. It’s crucial to work slowly and precisely, using appropriate tools to avoid damaging delicate surfaces. Avoid applying excessive force, as this could cause breaks or scratches.
For soluble supports, follow the dissolution instructions carefully to prevent altering the model’s material. Wear gloves to protect your hands from material residues and to handle tools safely. Finally, regularly inspect the model during the removal process to ensure that the supports are completely removed without leaving any marks.
What are the different methods of removing 3D printing supports?
The methods for removing 3D printing supports include using manual tools such as tweezers and cutters, immersion in water or chemical solutions to dissolve soluble supports, and using finishing machines for automated removal.
Manual removal of your 3D printing supports
Manual removal of 3D printing supports requires a careful approach to maintain the integrity of the model. Start by identifying the contact points between the supports and the model, often visible as lines or junctions. Use tweezers to gently grip and remove accessible supports, being careful not to apply excessive force.
For more robust supports, a cutter or scissors may be necessary to cut through the connections. Then, use a file to smooth any rough areas left by the supports for a clean surface. Work under good lighting and wear gloves for a better grip and to protect your hands.
A final inspection ensures that all support residues have been removed, ensuring a clean and professional finish.
Using chemical solutions to remove your 3D printing supports
Using chemical solutions to remove 3D printing supports provides an effective, non-abrasive method, especially suitable for soluble materials. These solutions are designed to dissolve the supports without damaging the main model, preserving fine details and delicate surfaces.
The process typically involves immersing the model in a chemical bath for a specified period, followed by rinsing to remove any residues. It’s essential to follow the manufacturer’s instructions regarding concentration and immersion time to avoid degrading the model’s material.
Wear protective equipment, such as gloves and goggles, to handle the chemical solutions safely. This method is ideal for complex prints where manual removal might be risky or impractical.
Specialized tools for removing 3D printing supports
For the removal of 3D printing supports, specialized tools are available to make the process easier while minimizing the risk of damaging the model.
- Dissolution stations are designed to immerse models in chemical solutions or water, often equipped with heating and agitation systems to speed up the dissolution of soluble supports.
- Ultrasonic baths use sound waves to disintegrate supports, providing a fast and effective method for compatible materials.
- Specialized cutting tools, such as support cutters and precision tweezers, allow for controlled and precise manual removal.
All of these tools are typically made from corrosion-resistant materials for prolonged use with chemical solutions, ensuring safe and effective support removal while improving the final quality of 3D prints.
What post-processing should be done after removing your 3D printing supports?
After removing the 3D printing supports, perform light sanding to smooth rough surfaces, then apply a finish or paint if needed to enhance the final appearance of the model.
Cleaning after removing your 3D printing supports
Cleaning after removing 3D printing supports is a crucial step to achieve a flawless finish.
- Start by rinsing the model with clear water to remove any soluble support residues or chemical solution if that method was used.
- Use a soft-bristle brush to gently remove any remaining particles without scratching the surface.
- For rough areas or imperfections, lightly sand with fine-grit sandpaper or a file to smooth the surfaces.
- Ensure the model is thoroughly dried before proceeding with any further post-processing steps.
These practices ensure a clean surface, ready for use or further customization.
Finishing steps for successful 3D prints
To achieve successful 3D prints, several finishing techniques can be applied after removing the supports.
- Sanding smooths rough surfaces and eliminates imperfections.
- Applying primers or specialized paints enhances the appearance and protects the model.
- Varnishing adds a protective layer and can give a shiny or matte finish depending on preference.
- Polishing techniques using abrasive pastes or polishing machines can provide a mirror-like finish on certain materials.
- For models requiring increased strength, specific coatings, such as epoxy resins, can reinforce the structure.
- Finally, the use of thermal or chemical treatments can improve the mechanical properties of the material.
These finishing touches contribute to both the aesthetics and durability of 3D prints, ensuring a high-quality final product.
Conclusion: Removing supports from a 3D print
Removing supports from a 3D print is an essential step to ensure the model’s final quality and functionality. By carefully selecting the right removal method—whether through manual tools, chemical solutions, or specialized equipment—you can avoid damaging the model and preserve its details.
Post-removal, processes like sanding, cleaning, and finishing enhance the aesthetics and durability of the print. Whether for complex designs or simple shapes, proper support removal ensures your 3D print looks polished and professional, ready for further use or display.
Picture by Imprimy.com.
The articles published on Imprimy.com are for informational purposes only. They are intended to provide general advice and information related to 3D printing. Imprimy.com cannot be held responsible for the results obtained or the consequences arising from the application of the shared information. We recommend always checking the specific instructions for your hardware and materials before use.


