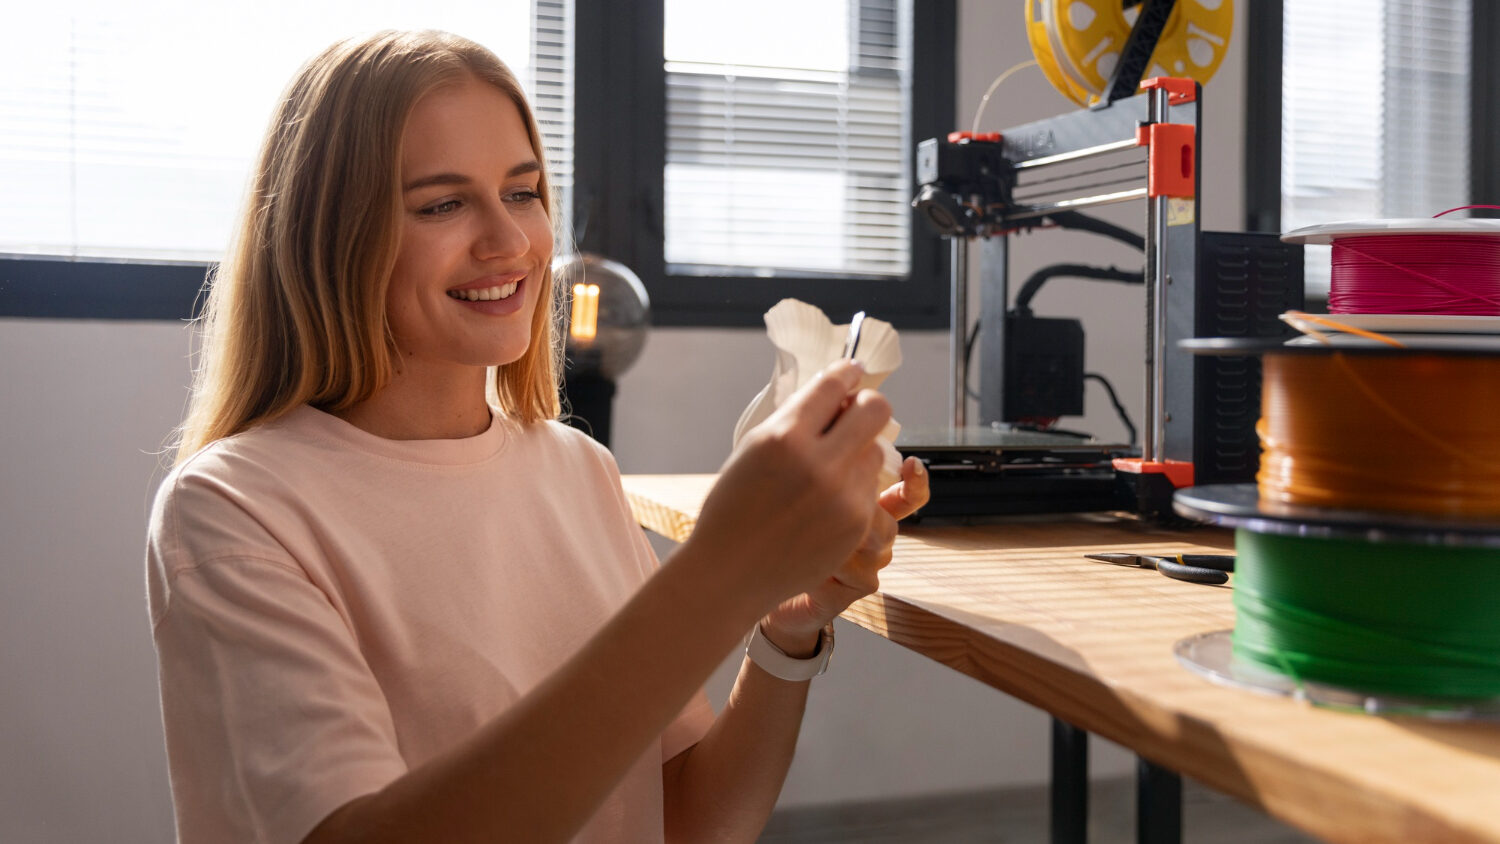
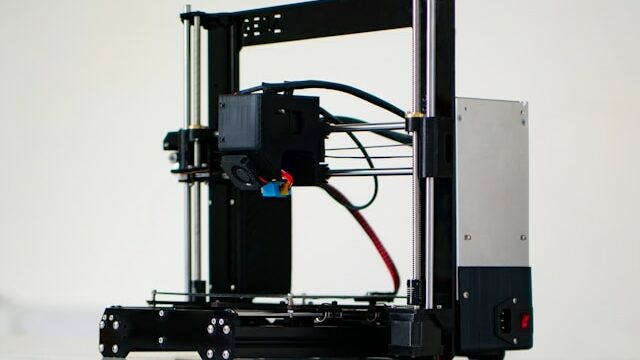
Do you want to start smoothing a 3D print but don’t know how to go about it? We at Imprimy.com are here to explain everything about smoothing 3D prints.
To smooth a 3D print, you can use techniques such as sanding, applying filler or epoxy resin, or even steam polishing for PLA parts.

How to properly prepare a 3D print before smoothing?
To properly prepare a 3D print before smoothing it, you must start by choosing the right print quality, then perform deburring and an initial sanding.
Choosing the right 3D print quality from the start
To achieve a high-quality 3D print and minimize defects that require post-processing, you need to properly set up your printer from the beginning. Choose a layer height suitable for your project: a low layer height (0.1 mm) allows for a more detailed finish, while a higher layer height (0.2–0.3 mm) speeds up printing at the cost of layer finesse.
Also, use a moderate print speed to avoid vibrations and ensure a consistent filament extrusion. Choosing the right infill, generally between 15% and 25% for a good balance between strength and material consumption, as well as proper bed and extruder calibration, are key factors to avoid visible defects and achieve an optimal result straight from your 3D printer.
Deburring and initial sanding of 3D prints
You need to deburr and sand your 3D prints to improve the finish of your objects by eliminating visible imperfections. First, carefully remove supports and excess material using a precision cutter or cutting pliers, making sure not to damage the piece.
By applying progressive sanding with coarse-grit sandpaper (120–200), you can smooth the most pronounced layers. You should sand using circular motions and adjust the pressure based on the fragility of your piece. Thanks to this first phase, you can effectively prepare the surface of your 3D print for later finishes, such as fine sanding, primer application, or coating.
Which smoothing methods to use depending on the materials?
You can apply certain 3D print smoothing methods, such as mechanical smoothing and chemical smoothing, depending on the materials you have used for your projects.
Mechanical smoothing of 3D prints
Mechanical smoothing of a 3D print involves using abrasive tools, such as sandpaper, files, or rotary discs, to remove the layer lines left by the printing process. You can start with a coarse grit (around 100–200) to remove major irregularities, then progressively refine with finer grits (400–1000) to achieve a truly smooth surface.
You can use a vibrating sander or a Dremel tool to speed up the process, but you must be gentle to avoid overheating or damaging your piece. For an optimal result, you can then apply a primer and do wet sanding with very fine grit before painting or varnishing.
Chemical smoothing of your 3D prints
Applying chemical smoothing to a 3D print involves exposing your piece to vapors or liquid solvents. These solvents react with the surface of your print to slightly melt it, thereby eliminating the print lines. This method is especially effective for materials like:
- ABS, which can be smoothed using acetone
- PLA, which reacts with tetrahydrofuran or other specific solvents.
You can suspend the piece in an airtight container containing the solvent in vapor form, carefully controlling the exposure to avoid any deformation. You can also apply the solvent with a brush or a soaked cloth, although this method is often less uniform.
This technique requires precautions, including proper protective equipment and adequate ventilation due to the toxic fumes from the solvents used.
What are the other existing methods to smooth 3D prints?
Other smoothing methods for 3D prints include the application of filler (putty) or adding a primer followed by painting on your 3D printed piece.
Applying filler on your 3D print
Applying filler is an effective solution to smooth your 3D prints by filling in layer lines and imperfections before finishing. You can use a spray filler, such as a surfacer primer, or a putty filler, which can be made of polyester or epoxy, applied with a spatula. After applying the filler, you must let it dry completely before sanding with medium-grit and then fine-grit sandpaper to achieve a uniform surface.
This method is especially useful for prints with large irregularities or requiring a perfectly smooth finish before painting. For the best result, it’s better to apply multiple thin layers rather than one thick layer to avoid overloading and better control the smoothing of your 3D print.
Primer and painting your 3D print
Applying a primer followed by paint on your 3D print is an essential step to perfect the smoothing of a 3D print and achieve an aesthetic and durable finish. The primer helps to even out the surface, reveal any imperfections, and improve paint adhesion. Don’t hesitate to apply several thin coats, lightly sanding between each with fine-grit sandpaper (600–1000) for a perfectly smooth result.
Once the primer is completely dry, you can apply the paint in multiple thin, even layers, preferably using spray paint to avoid brush marks. Finally, to protect and enhance the finish, a matte, satin, or glossy varnish can be added, ensuring better scratch resistance and wear durability for your 3D prints.
Conclusion: Smoothing a 3D Print
Smoothing a 3D print is a key step to improve its appearance and finish. It helps to eliminate the layer lines left by the printing process. Several methods can be used depending on the material and the desired result:
- Mechanical smoothing with progressive sanding,
- Chemical smoothing by exposure to solvents,
- Application of filler to fill in irregularities,
- Primer and paint for a flawless final appearance.
Each technique has its advantages and can be combined with others to achieve an optimal result. By taking the time to carefully refine the surface and choosing the right products, you will get a smooth and aesthetic piece, ready to be displayed or used.
Picture by Freepik.
The articles published on Imprimy.com are for informational purposes only. They are intended to provide general advice and information related to 3D printing. Imprimy.com cannot be held responsible for the results obtained or the consequences arising from the application of the shared information. We recommend always checking the specific instructions for your hardware and materials before use.


